

This copycat recipe for PF Chang’s Mongolian Beef makes it simple to make your favorite takeout dish at home.
If you love this recipe, be sure to try my Mongolian Chicken and Mongolian Meatballs too!
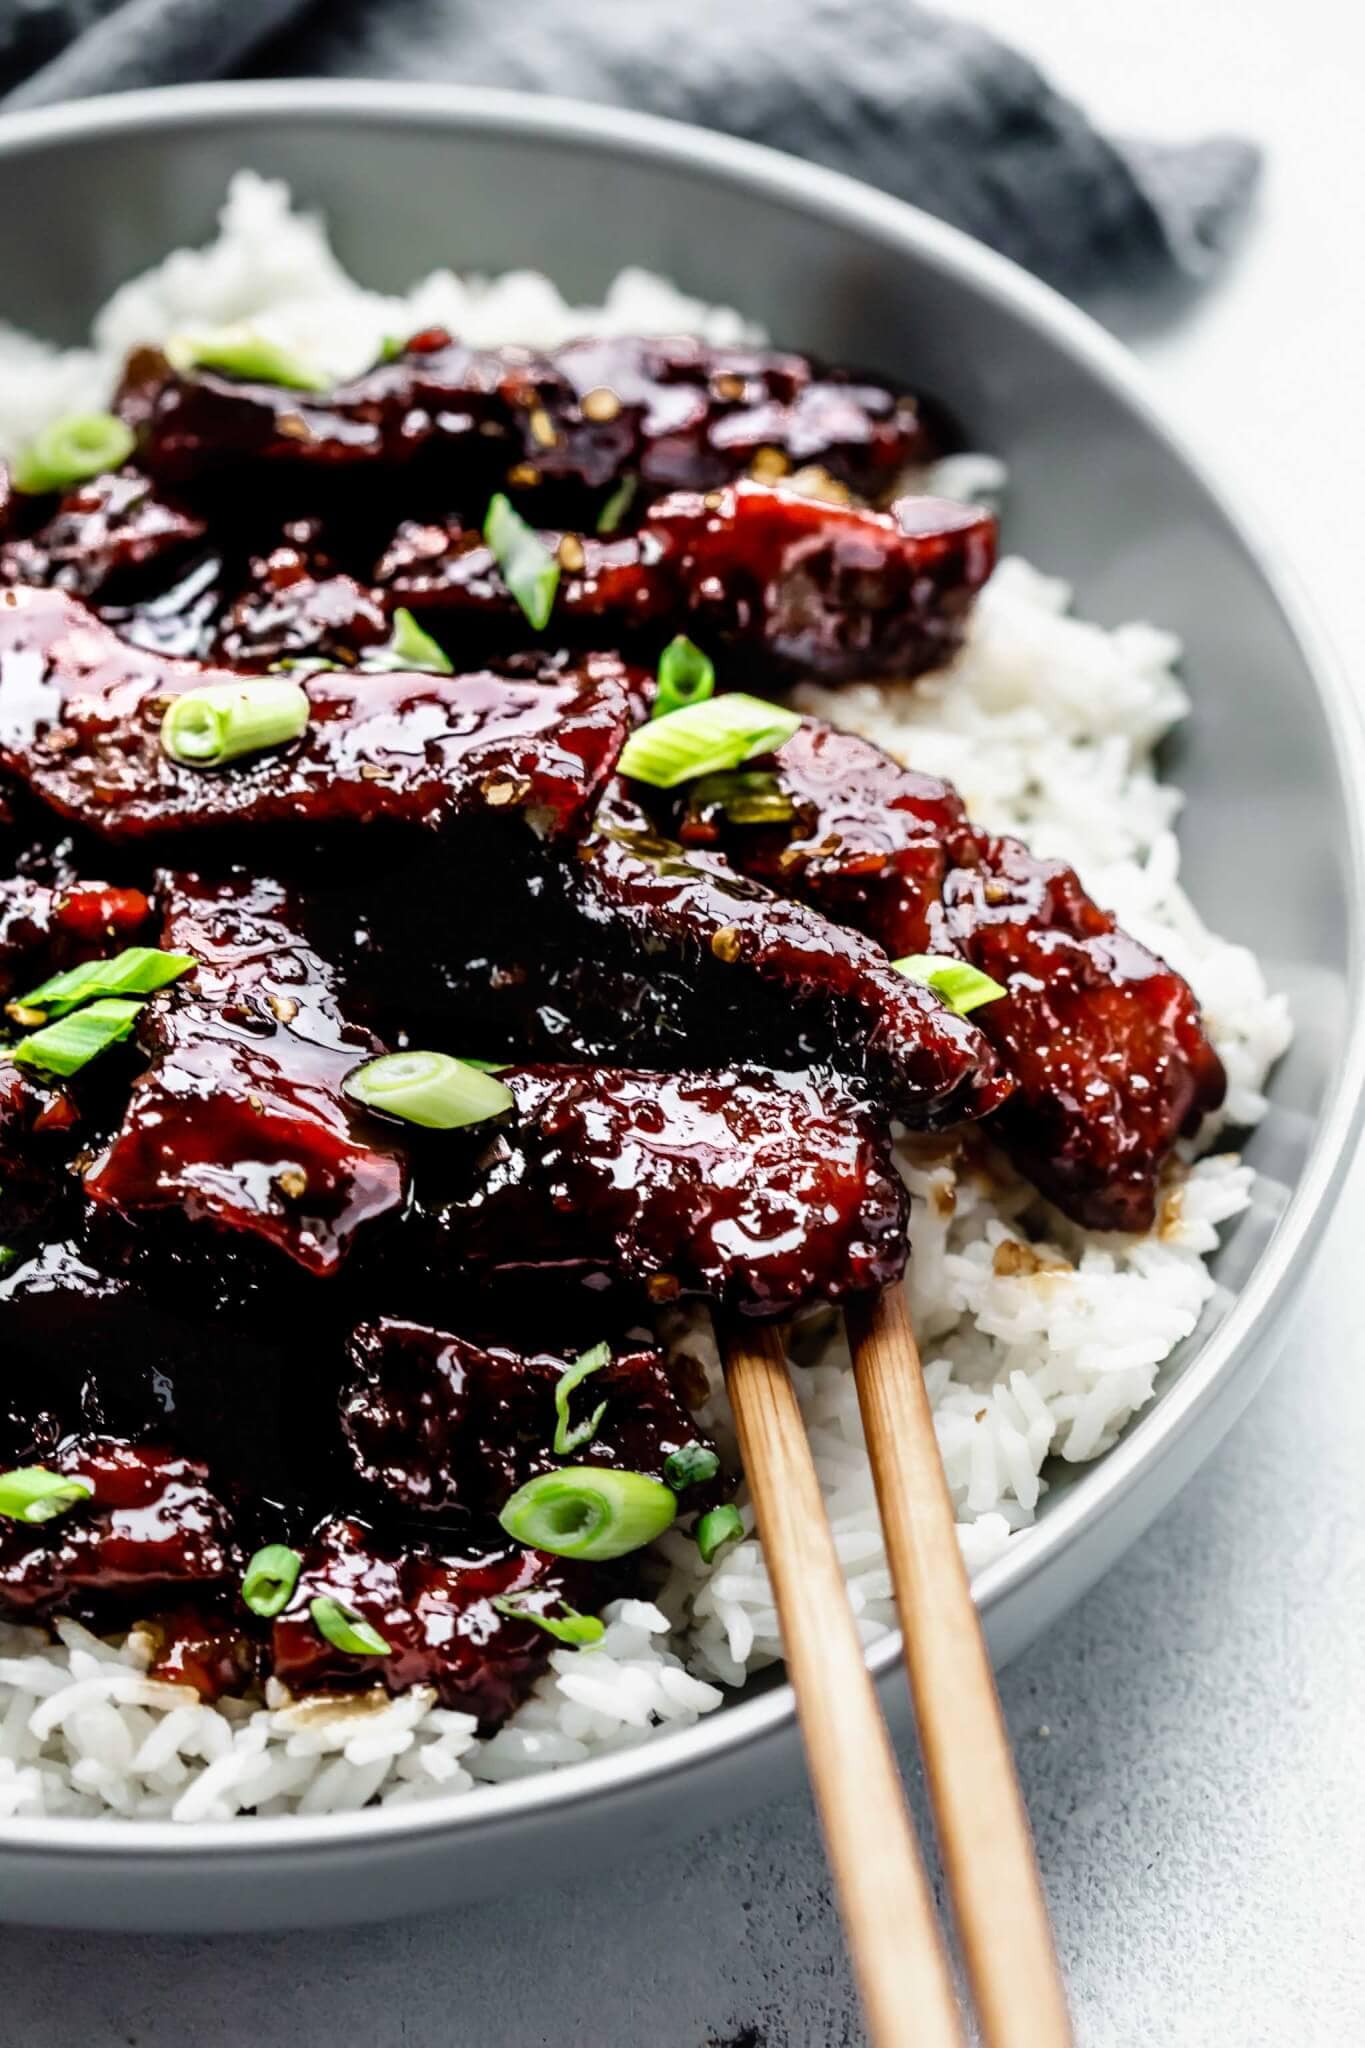
I talked in this recent post of my FOF (fear of frying) and how I vowed to overcome that fear. With this recipe, I have taken on that challenge. Crispy fried strips of beef (so crispy!) with a delicious, thick, sweet sauce.
The color is so lovely and the flavors so great. I could NOT wait to devour the leftovers the next day.
It really turned out to not be scary at all. My fears of the batter not sticking and the meat being raw inside were tackled with a couple of simple steps.
First, I started with my beef. Placing it in the freezer for 15 minutes really helps firm up the steak so that you can get a nice, thin slice. I figured that with slices this thin, it’s really hard to not fully cook the meat even with just a quick frying. Check one!
Second, my method for coating the strips in cornstarch, really seemed to work quite well. I poured the cornstarch into a large Ziploc bag, added my beef, and shook until the pieces were well coated.
I then poured the strips out into a large mesh strainer set over the sink and shook further to get all of the excess cornstarch off of the pieces (you could also use a colander). They turned out to be evenly coated but not overly covered in the cornstarch. Check two – No excess batter to fall off!
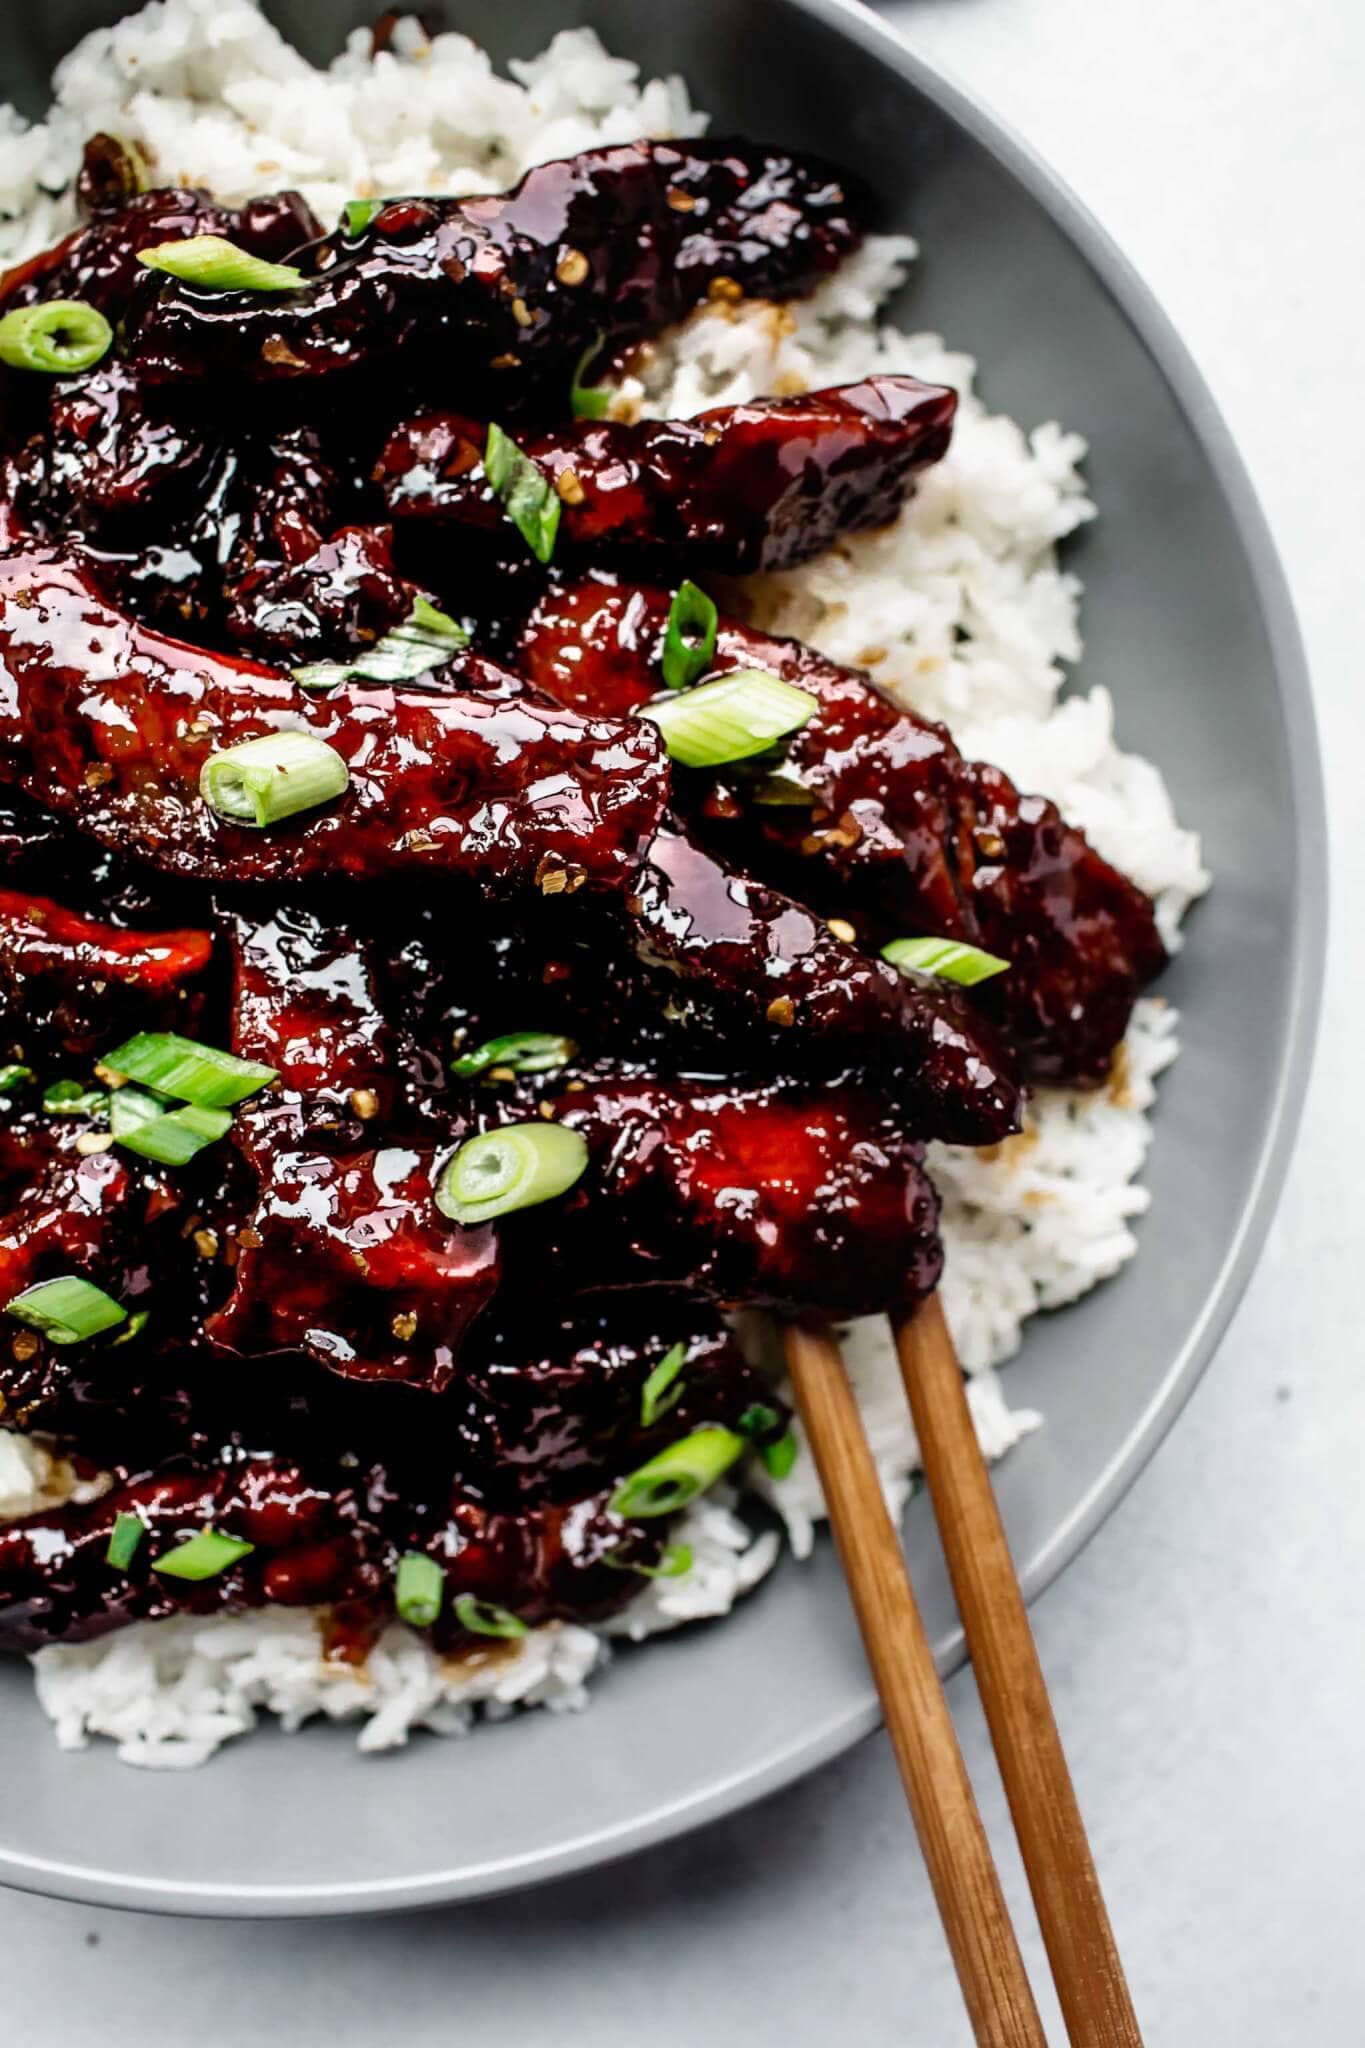
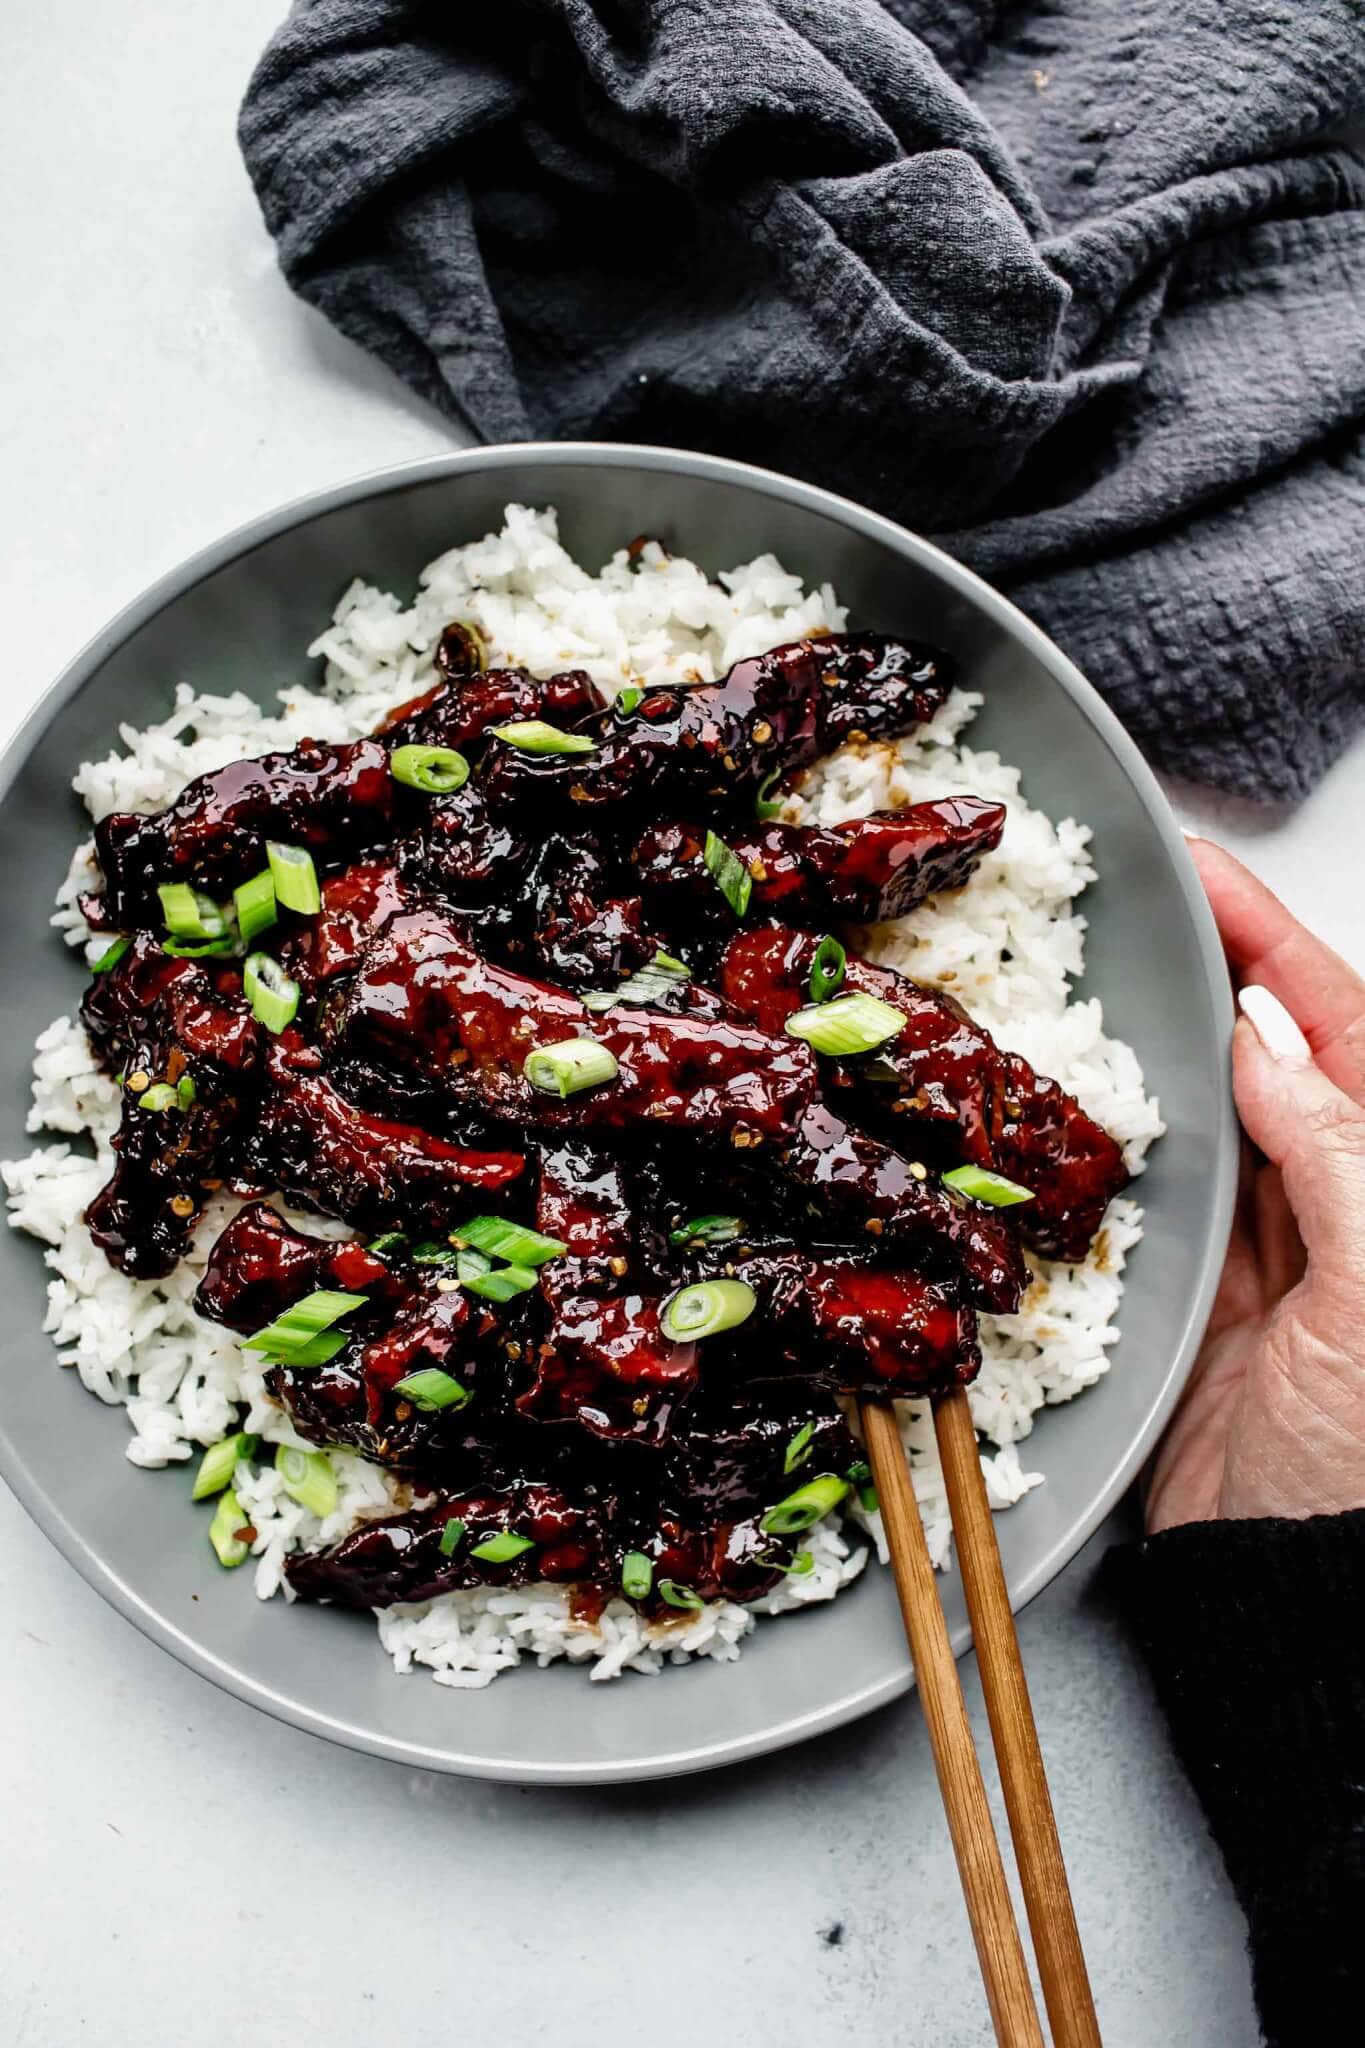
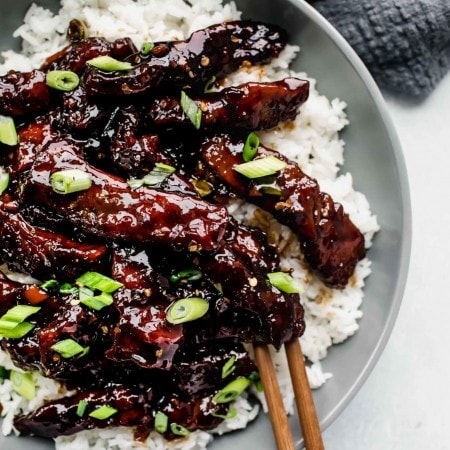
Fry these pieces in batches so that they’re in a single layer, flipping once or twice, to brown evenly on both sides. These crispy bites of goodness are then tossed with the yummy sauce until they’re beautifully coated. A perfect accompaniment to a bowl of instant pot rice or rice cooker rice.
Sprinkle some green onions on top for added flavor and break out those chopsticks!
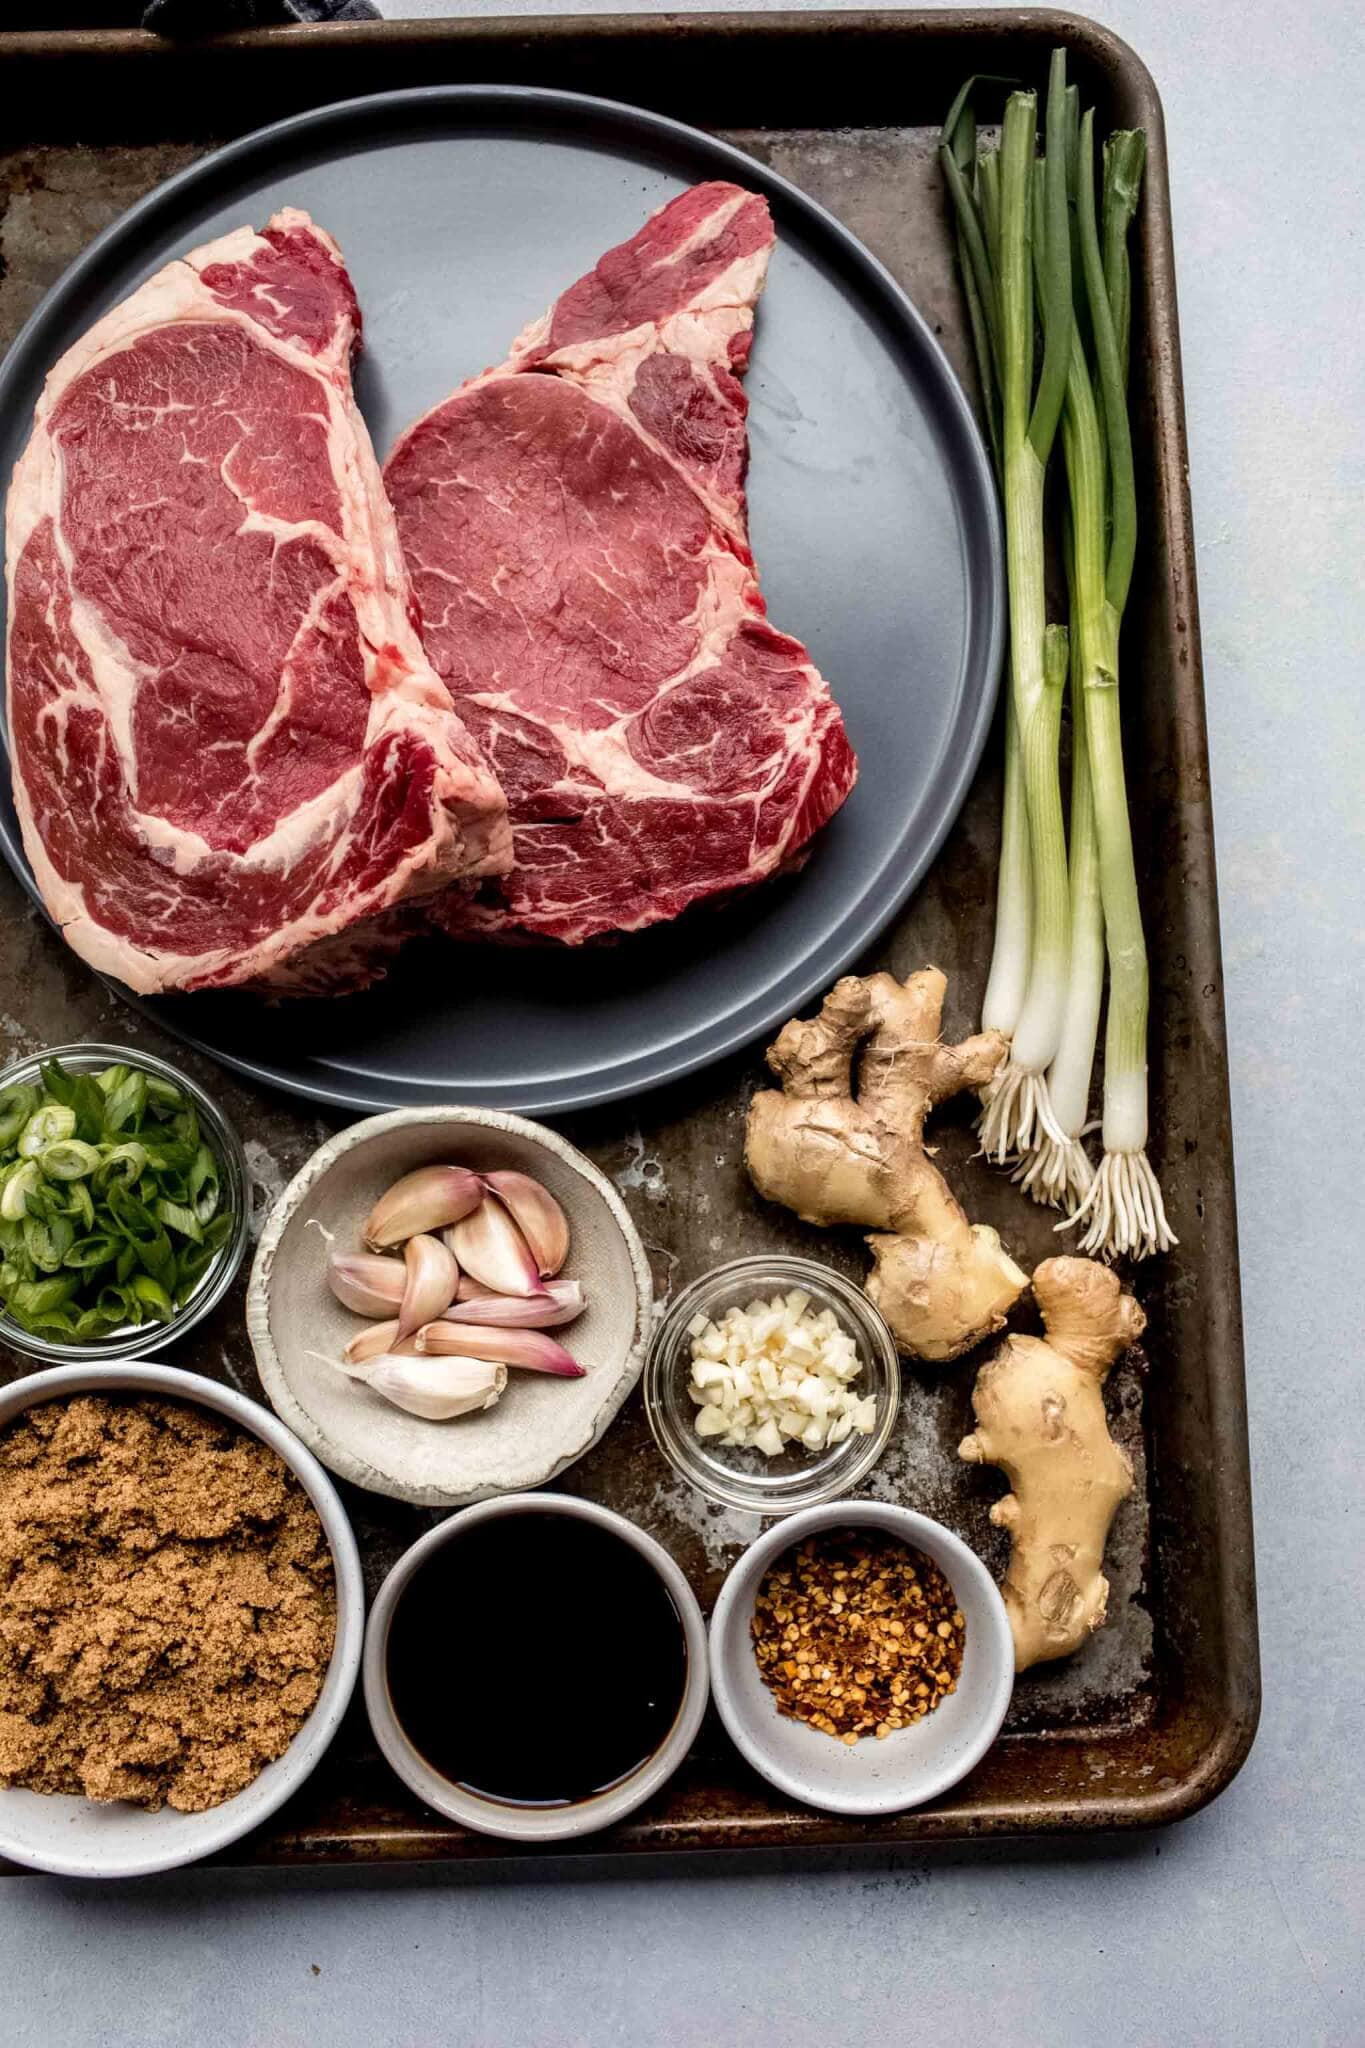
Ingredients needed
- NY strip steak – Or, ribeye steak or flank steak.
- Cornstarch
- Soy Sauce – Be sure to use low sodium soy sauce or the sauce will be too salty.
- Brown Sugar
- Vegetable Oil
- Garlic
- Ginger
- Rice Wine Vinegar
- Red Pepper Flakes
How to make PF Chang’s Mongolian Beef
- Place your beef in the freezer for 15 minutes before slicing. It will firm it up and make it easy to get thin slices.
- Pour cornstarch into a large ziploc bag and add your beef slices. Shake to coat them evenly then pour them into a colander and shake off any excess cornstarch.
- Use a hot pan. You want the beef to cook quickly and get nice and crispy on the outside. To test if your oil is hot enough, add a small drop of water to your skillet or wok. It should sizzle up immediately. Be careful: The water will splatter a bit.
- Don’t overcrowd the pan. If the beef is crowded in the skillet, it will steam rather than become crispy. Work in batches as needed.
How to make ahead & store
Leftovers will keep in an airtight container in the fridge for up to three days. Reheat in the microwave or in a skillet on the stove over medium heat.
What to serve with Mongolian Beef
- Rice
- Din Tai Fung Green Beans
- Din Tai Fung Cucumber Salad
- Cauliflower Fried Rice
- Bacon Fried Rice with Shallots
- Instant Pot Fried Rice
- Asian Cucumber Salad with Toasted Rice Powder
- Ginger Veggie Stir Fry
- Thai Cucumber Salad
Wine pairings
- A nice, fruity red wine such as a Zinfandel or Grenache will pair nicely with the flavors in this beef dish.
- If you’re looking for a white option, Riesling is always a great match for bold, somewhat spicy dishes.
Recipe FAQs
Mongolian Beef is made with thin sliced steak that’s been coated in cornstarch (to make it crispy). Then it’s tossed with a sauce made from soy sauce, brown sugar, garlic, ginger, rice wine vinegar, and red pepper flakes.
Mongolian Beef does not have any vegetables added to it. However, you could definitely add some steamed or sauteed broccoli to this recipe.
Using a good cut of meat, like a NY strip steak, thin-slicing it, and cooking it quickly is what makes Mongolian Beef so tender and delicious.
More take-out recipes
- Pad Kee Mao (Drunken Noodles)
- Kung Pao Noodles
- Slow Cooker Kung Pao Chicken
- Vietnamese Lemongrass Chicken
- Thai Beef Salad
- Larb Gai
- Thai Chicken Salad
- Mongolian Chicken
More easy dinner recipes
- Easy Roasted Chicken
- Easy White Chicken Chili
- 30 Minute Easy Pork Piccata
- Easy Lemon Pasta
- Easy Tuna Casserole
More copycat recipes
- PF Chang’s Lettuce Wraps Recipe
- Orange Julius Copycat Recipe
- Din Tai Fung Green Beans
- Starbucks Bistro Box Copycat
- Cranberry Bliss Bars (Starbucks Copycat)
- Boston Market Meatloaf Copycat Recipe
- Din Tai Fung Cucumber Salad
- Instant Pot Egg Bites (Starbucks Copycat)
- Instant Pot Zuppa Toscana (Olive Garden Copycat)
Did you try this easy Mongolian beef recipe?
If you loved this mongolian beef stir fry I would appreciate it so much if you would give this recipe a star review! Also, be sure to snap a picture of your finished dish and share it with me on Instagram using the hashtag #platingsandpairings and tagging me @platingsandpairings.
For more great Platings and Pairings recipes, be sure to follow me on Instagram, TikTok, Pinterest and Facebook.
PF Chang’s Mongolian Beef (Copycat)
Ingredients
Beef
- 2 pounds NY strip steak (ribeye steak or flank steak)
- ½ cup cornstarch
- ½ cup vegetable oil
Sauce
- 2 Tablespoons vegetable oil
- 1 cup low-sodium soy sauce
- 1 cup brown sugar
- 4 cloves garlic (minced)
- 2 Tablespoons ginger (minced)
- 1 cup water
- 1 Tablespoons rice wine vinegar
- 1/2 teaspoon red pepper flakes
- 3 green onions (thinly sliced )
Instructions
- Place the beef in the freezer 15 minutes before ready to begin. This will help firm it up for slicing.
- Slice the beef against the grain in thin, bite-sized strips, about 1/4 inch thick.
- Add the cornstarch to a Ziploc bag. Place the meat in the bag and shake, until well coated. Pour out into a strainer or colander and shake off the excess cornstarch.
- In a small sauce pan add the 2 TBSP oil, soy sauce, brown sugar, garlic, ginger, water, rice wine vinegar and red pepper flakes. Stir and cook over medium-high heat until sauce thickens (15-20 minutes). Set aside.
- Meanwhile, in a large skillet heat the 1/2 cup oil over medium-high heat. When the oil is hot, add some of the beef in a single layer and cook until browned. You will need to do this in batches. Set aside the browned beef on a plate lined with a paper towel and tented with foil.
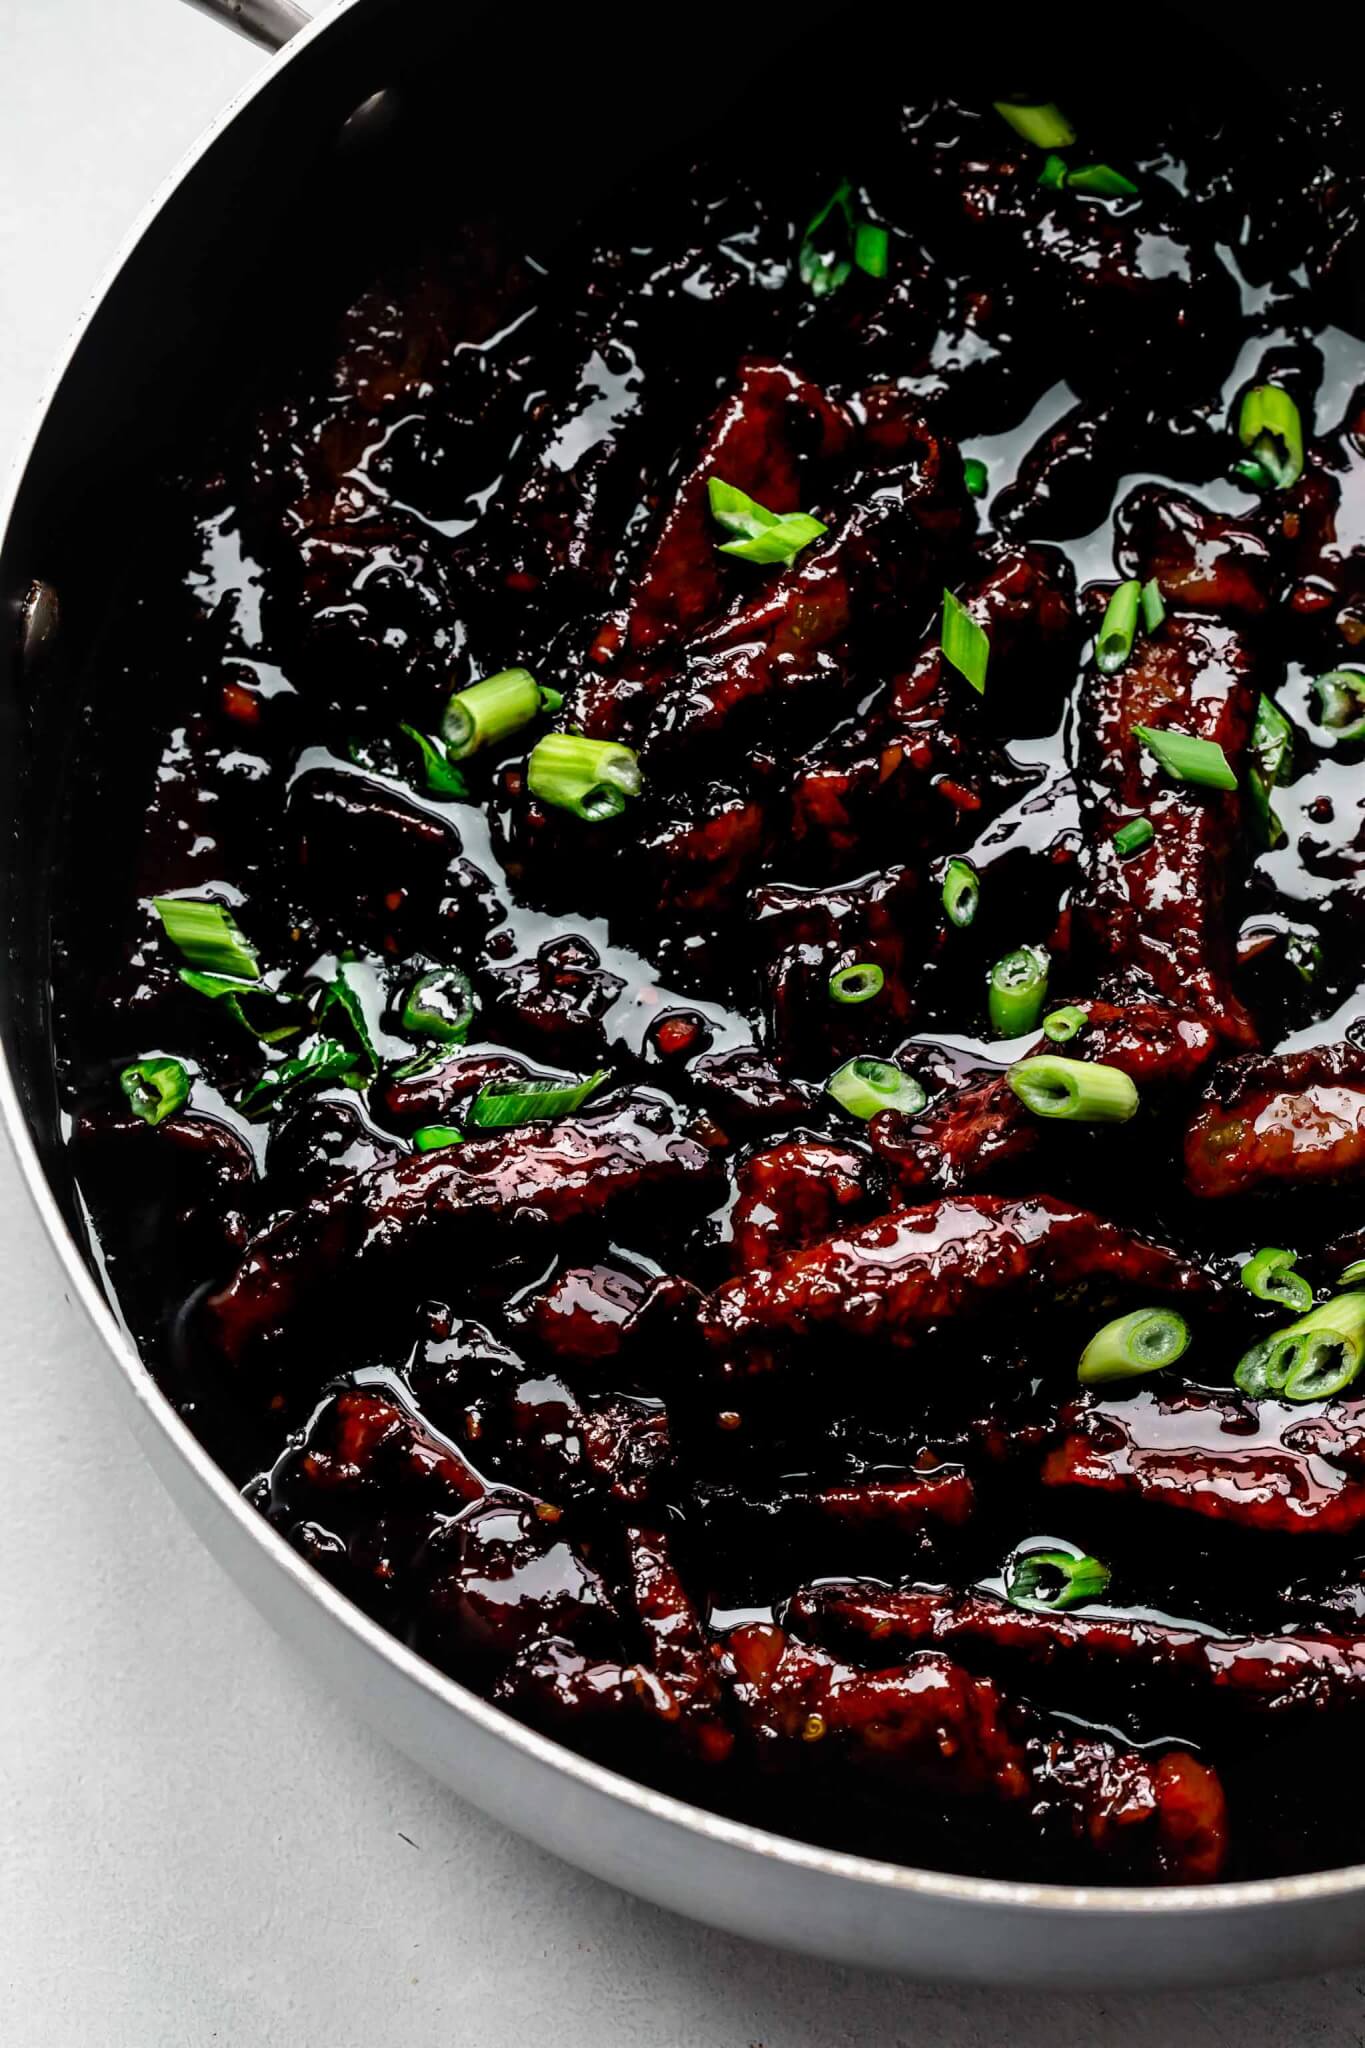
- Return all beef to skillet and pour sauce over the beef. Stir until coated and cook for a couple more minutes.
- Serve over rice and garnish with green onions.
Equipment
Nutrition
This recipe was originally published in 2015. It was updated in 2020 to add new photographs, and again in 2023 to add new content. The PF Chang’s Mongolian Beef recipe remains unchanged. Enjoy!


OMG!!!! Look at that good looking Mongolian beef you have here; if you must know, it makes me want to lick my screen 🙂 Thank you so much also for all the tips. It looks so so so yummy, Erin 🙂
Such an easy dish and so flavorful. I made over sushi rice and it was great— making it for the second time during Covid-19 quarantine. Highly recommend!
I’m so happy you enjoyed it!
Can I make this simply because it would be the prettiest dinner EVER?
Well of course you can Dorothy! I think you’ll love the flavors too though!
A gorgeous main dish! Forget take-out, I’ll take your version any day!
Thank you Melanie – Enjoy!
This looks like something my family would love (and I would too). Pinning and adding it to the menu plan!
Michelle – This is definitely a family friendly dish. I hope you LOVE it!
In your instructions, step 4, it says add garlic “water”. The ingredients list says minced garlic. So I am confused. I am one of those people that can’t cook unless I follow the recipe to the letter! Can you explain what you mean by garlic water?
Oops – Thanks for catching this typo Hollee. The instructions have been revised above. It should have read “add garlic, ginger, water…” Hope this helps! I’d love to hear how it turns out! Cheers!
This looks soooo good! Mongolian beef is one of my favorite takeout dishes and making it at home sounds so appealing because I know I won’t feel blah after dinner from MSG.
I agree Rachel – I always enjoy making “take out” at home. That way I can control the ingredients!
I’ve made this a couple of times and the flavor was great, but both times i overcooked my meat too much. I have very little experience with frying- my question is, is this the type of frying where the meat is placed on an oiled skillet, or is it submerged in oil? I placed it on the skillet and either that was wrong, or I left it for too long (although I didn’t think I was!). I’m trying this again tonight and will work in smaller batches to get it off the heat quicker- hopefully it will be more tender. Any tips?
Hi Allison. Because the beef strips are so thinly sliced, they cook very quickly, and it definitely can be easy to overcook them. With 1/2 cup of oil used, your skillet should be well coated with the oil. It’s a shallow frying technique, so they should be just about covered by the oil. Definitely cook in small batches, and be sure that the pieces are in a single layer in the pan. I hope this helps!!! Good luck Allison. I’d love to hear back on whether things turned out better this time!
Erin…this looks sweet and sticky and fabulous. I’ve been on the hunt for an easy, delicious mongolian beef recipe that is easy and I think this is the one. Yum!
I love this type of fried beef. I know it’s not the healthiest option, but for a treat, it’s so incredibly tasty. The tips about freezing the beef first and coating it in cornstarch are excellent.
I think this is what’s for dinner tonight. It looks delicious and my kids will love it!
Thanks Stephanie! Kids will definitely love this dish!
I loved this recipe and it was very easy to make – however it was very very salty even though I used reduced salt soy sauce.
I’ve made this over and over and even my picky eaters LOVE it! Thank you. On busy days I put the roast in a crock pot and pour the sauce over it. 6-8 hours later it’s so tender and flavorful! One of my favorite recipes.
I’m so glad to hear that your family loves this Mongolian Beef Jenny! Cheers!
I made this and it tasted weird to me. Really salty and a weird after taste. I think the problem was the amount of soy sauce. I’ll have to try again with less soy sauce.
Hands down a great recipe we all loved it
I made this for dinner last night and received rave reviews. My sauce didn’t thicken up as much as I thought it should but it still worked out great!
So happy to hear that you liked it Janine!
Overall this was pretty tasty. I would absolutely recommend low sodium soy sauce though. I didn’t (bc I didn’t have it) and the dish is almost too salty to eat.
Made this tonight for dinner. Was sooo yummy! I couldn’t find flank steak so used flat iron steak and it worked great. I used low sodium soy sauce but I think the regular would work fine too as I was wanting a tad more salt. Also added more red chili flakes to increase the heat. I had to use about 1/8 – 1/4 cup more cornstarch to coat all my meat, and I ended up having to add some oil to the pan by my 3rd batch so there was enough to fry the meat. Then I poured out the excess oil, and used the sauce to deglaze the stuck bits from the pan before I added the meat back. This one’s a keeper!
I’m so happy to hear that you liked it Jill!
I made this tonight with NY Strip. I’d make a few minor adjustments but the sauce was excellent. Next time I won’t put the sauce on it because it got soggy.
I’m so happy you liked it Brittany! Thanks for stopping by!
Your picture shows two ribeye steaks….. not ny strips
You’re right. I was unable to find strip steak or flank steak in the store that day. I updated the recipe to state that ribeye works too!
Great! I had 1 filet in the freezer so I used that and it was awesome. Definitely want to try it with a strip. Will definitely go into our dinner rotation. Thanks, Erin! Stay healthy, stay positive.
You too Jil! I’ll bet it was extra delish with the filet!
Hi! I’m super excited to try this recipe. Kinda a cooking newbie so it was my first time searching for rice wine vinegar, in my sore I could only find rice vinegar. Is it the same thing or close enough to use instead? Thank you!!
No worries Rebecca – They are the same thing! I hope you love it!
how do you get the same to thicken – the sauce never really reduced down to a thickness – I used the exact amount in the recipe – med-high heat etc.
Hmmm – I’m not sure Lucy… My sauce gets super thick! Maybe it needed to cook on a bit higher heat for a bit longer?
My sauce reduced, but didn’t thicken on its own in the saucepan. However, once the sauce was poured over the beef in the hot skillet, the cornstarch from the beef thickened the sauce. My guess is that is why the recipe tells us to cook the beef in the sauce a little bit before serving. It would be helpful to have that detail added to the instructions though because water and soy mixed with sugar and seasonings does not thicken on its own.
Very yummy and super easy. My sauce did not get thick so I used a cornstarch slurry you thicken just a tad. A keeper recipe!!! Thank you
I’m making this tonight but with venison (blackstrap) instead of beef. Fingers crossed that it works.
Let us know!!!
I made this the other day and it was delicious!
This recipe turned out so good. I didn’t have all fresh ingredients but used pre-minced garlic and ginger. Even my husband was raving about it!
I’m so happy it was a hit LC!
I will reduce the oil and spy sauce next time. Very salty and I had to scrape the oil off the top of the sauce. Other than that there was great flavor.
I’ve made this recipe numerous times and it always tastes great, easy to cook and gets rave reviews! Thank you.
Thank you so much!
You don’t state how much oil to use for sauce and how much oil for pan for beef. Just says half cup oil.
Really tasty. I also had trouble getting the sauce to thicken and had to add some cornstarch to get it to thicken somewhat. By the time I cleaned up and put leftovers away, the sauce was super sticky and thick. So I think I need to let it sit a bit.
Overall, pretty good. The frying was a bit messy (to be expected) and it was VERY VERY SALTY (as others have observed) even using low sodium soy sauce. Ideas on how to reduce the amount of soy sauce and still get the volume of sauce needed for the recipe?