

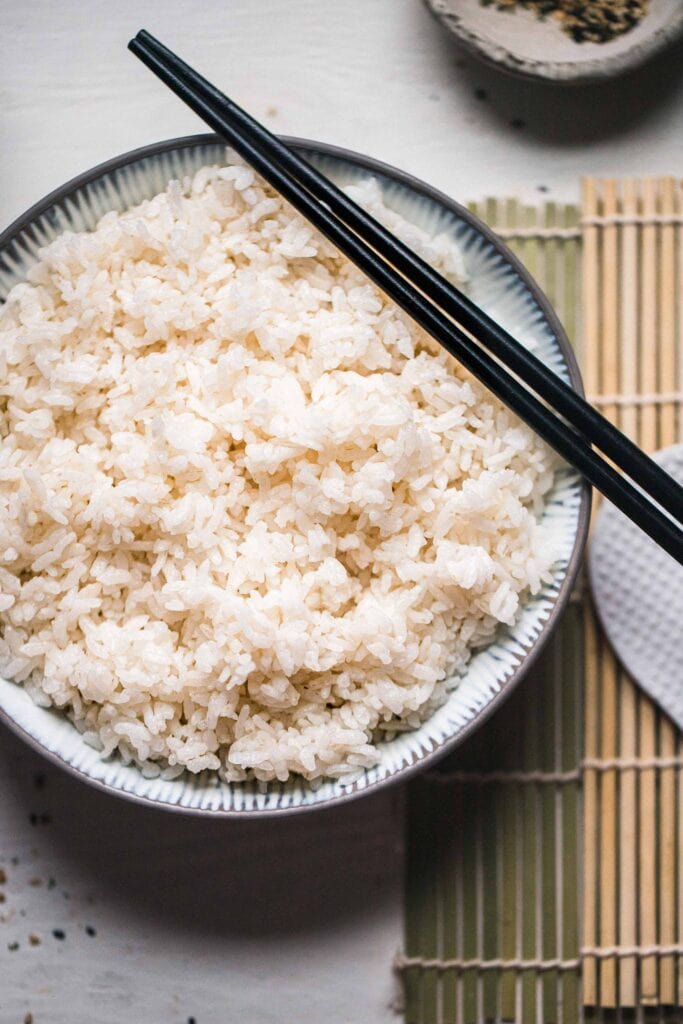
Learn how to make perfect sushi rice with just the push of a button! All you need is a rice cooker and this Rice Cooker Sushi Rice guide. Perfect for homemade sushi rolls, bowls, nigiri, and more.
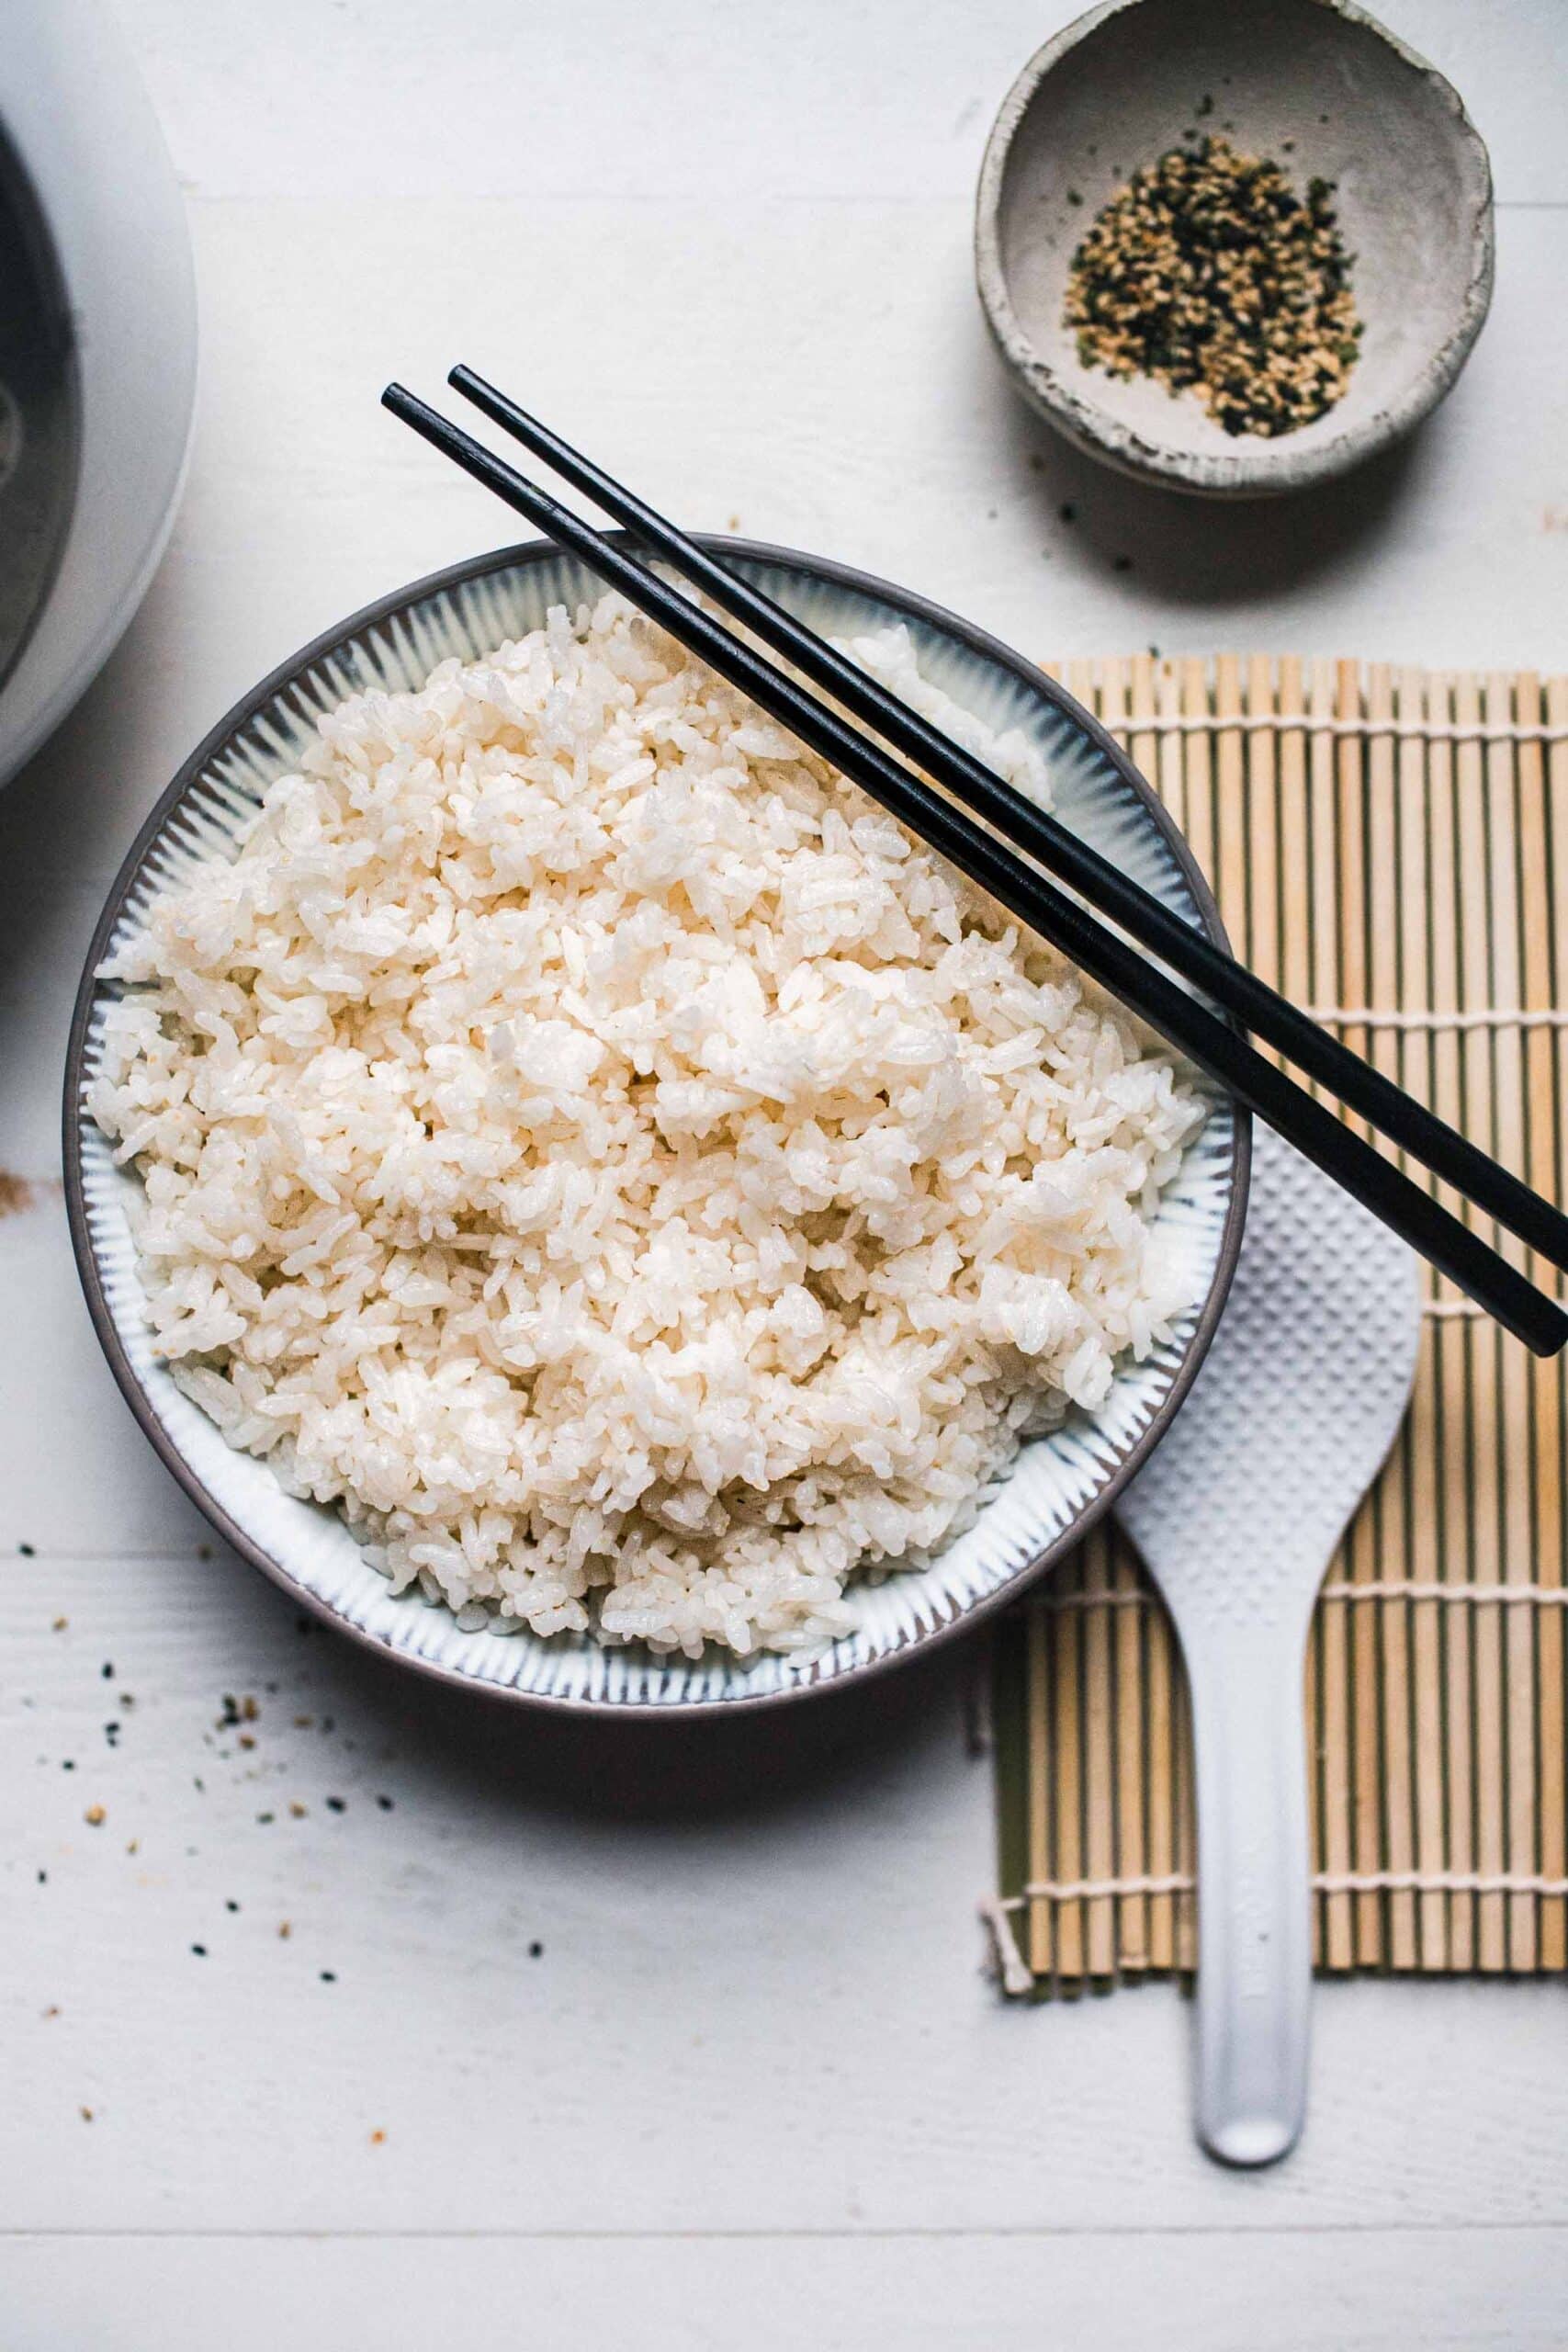
Calling all sushi lovers! You can learn how to make sushi rice at home using this Rice Cooker Sushi Rice guide.
A rice cooker is the best tool to make fluffy, sticky rice for your homemade maki, uramaki, temaki, and vegetarian rolls. This guide will teach you what makes sushi rice so special and, most importantly, how to cook sushi rice in a rice cooker. It’s a hands-off method and eliminates the risk of over or undercooking rice. Win-win!
No rice cooker at home? No problem. While it is the best tool here, you can also head to the FAQs section to learn how to make sushi rice on the stovetop and in the Instant Pot.
Table of Contents
Sushi rice vs. regular rice
Traditional sushi rice (AKA “uruchimai”) is made with Japonica, a short-grain rice characterized by round, plump kernels and a stickiness that helps the rice stick to the nori sheets. As for flavor, sushi rice is seasoned with seasoned rice vinegar for a subtle tang and sweetness.
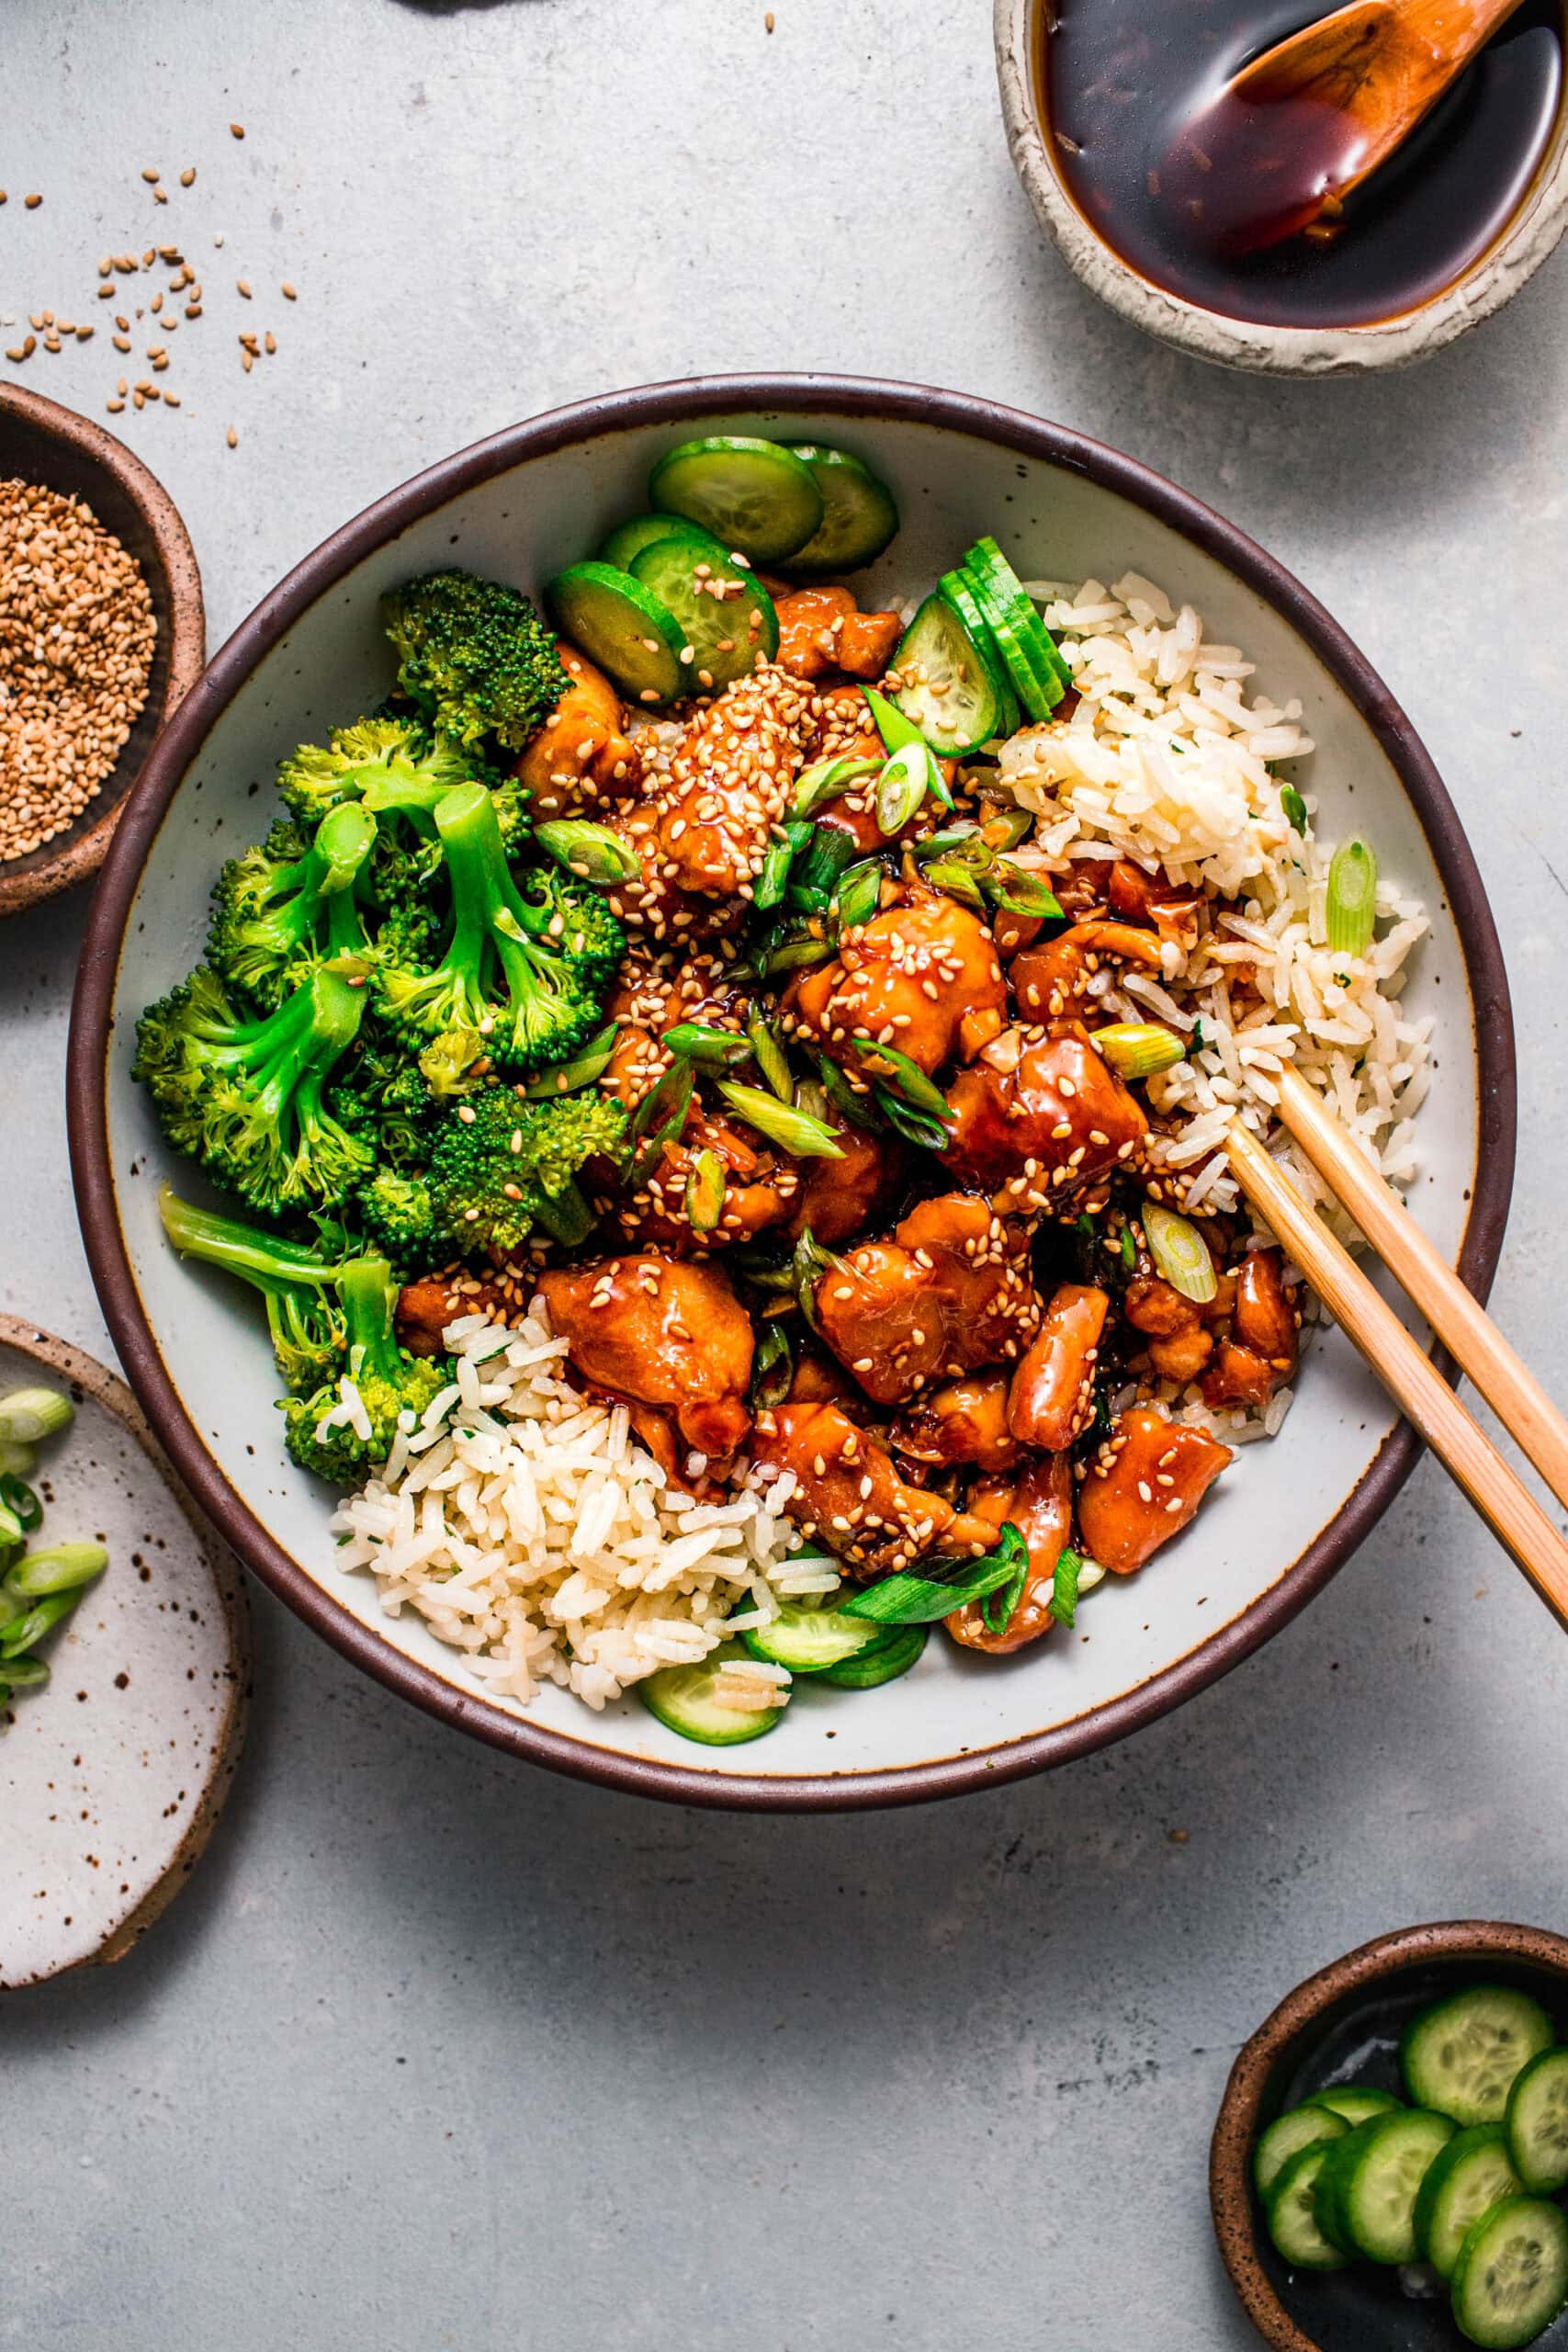
Regular long-grain rice is too oblong, thin, and lacks the extra starch to make it sticky enough for sushi. If all you have is long-grain rice (like basmati or jasmine), follow the cook times in my Rice Cooker Rice guide and use it in bowls like a Shrimp Sushi Bowl or Ahi Tuna Bowl instead of attempting to roll it into sushi.
What is sushi rice made of?
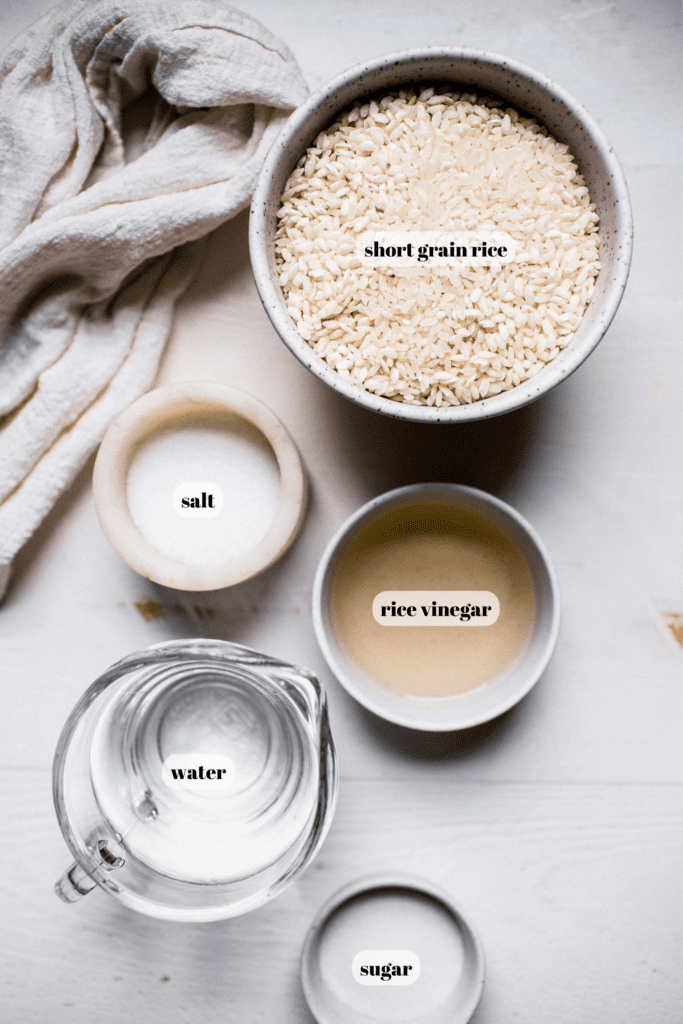
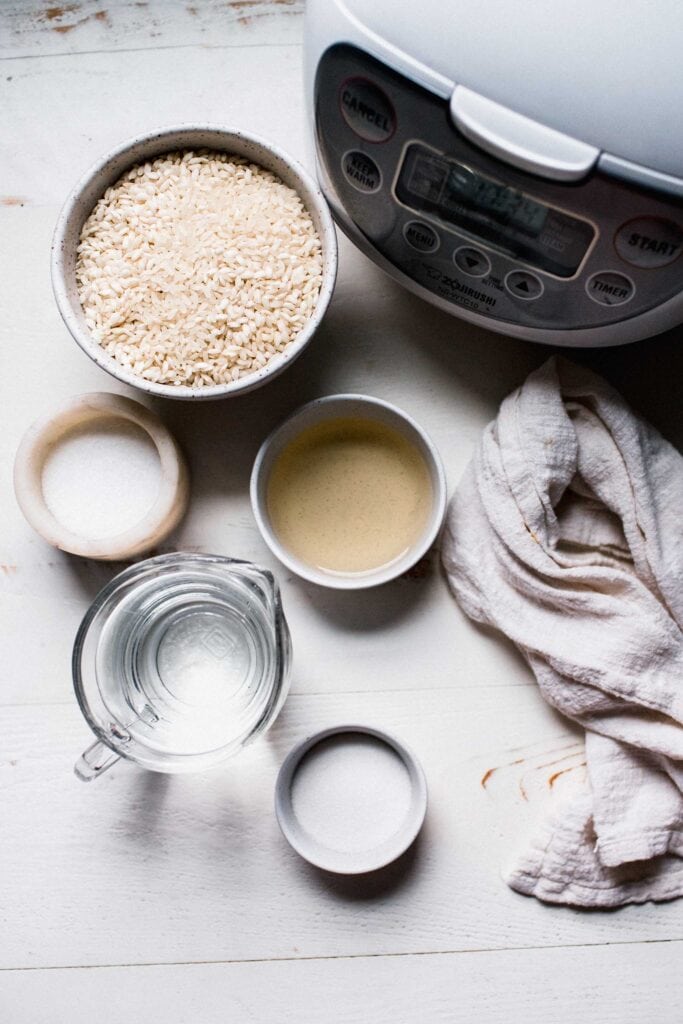
- Short-grain rice – Use short-grain Japanese rice (sometimes labeled as “sushi rice). It has more starch than long-grain varieties, resulting in the plump and tacky texture that’s necessary for sushi.
- Water – To cook short-grain rice, you’ll use a 1:1 water-to-rice ratio. If you can, use distilled or filtered water, as it eliminates the lingering aftertaste and impurities tap water tends to have.
- Rice seasoning – Once cooked, the rice is seasoned with an umami-enhancing mix of rice vinegar, sugar, and salt.
Sushi rice water ratio in rice cooker
To cook sushi rice, you’ll want a 1:1 water-to-rice ratio. This results in the perfect sticky, roll-able rice. And, if available, use distilled or filtered water, as it eliminates any aftertaste that non-filtered water may have.
How to cook sushi rice in a rice cooker
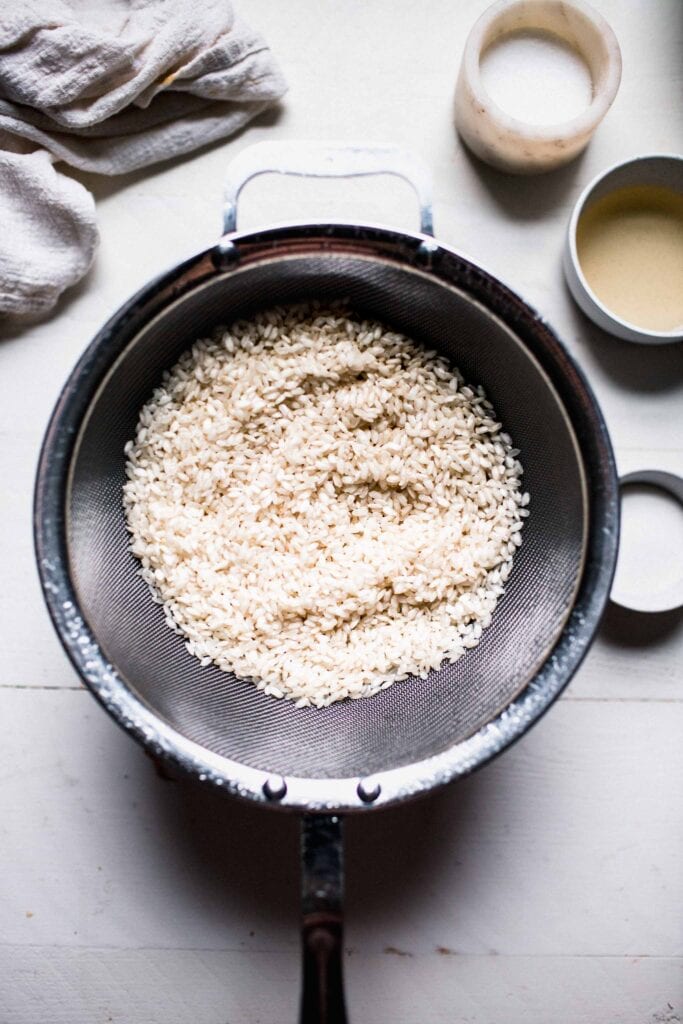
Start by rinsing the grains of rice in a mesh sieve under cool running water. You’ll know all of the excess starch has been washed away when the water runs clear.
Afterward, add the rinsed rice and water to the rice cooker.
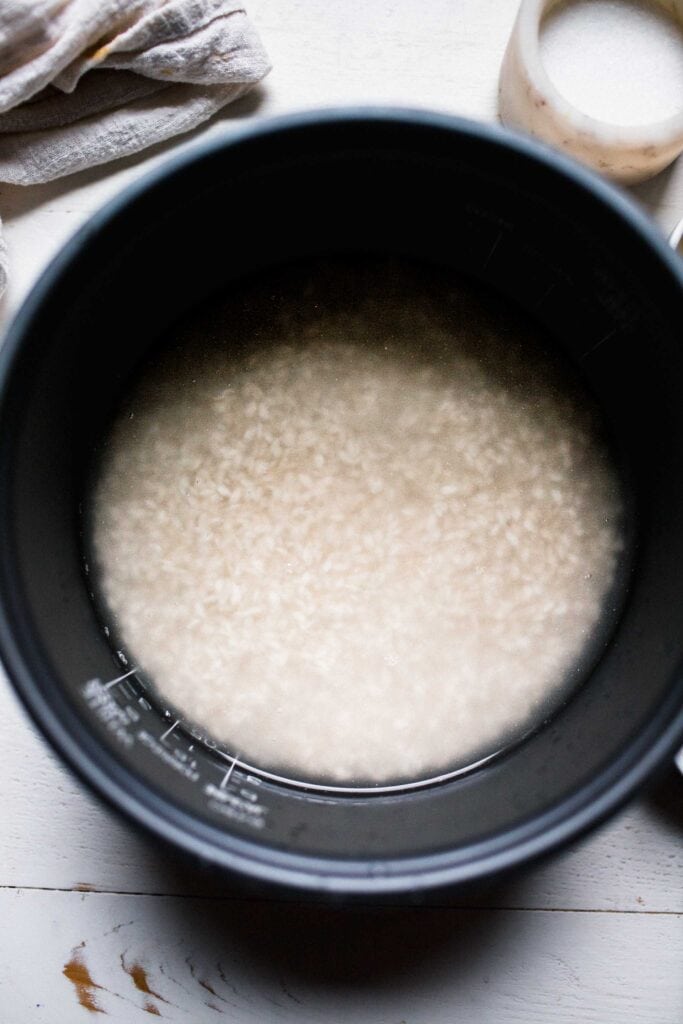
Program the rice cooker to cook white rice or sushi rice. Refer to the manual for instructions specific to your rice cooker if you need to.
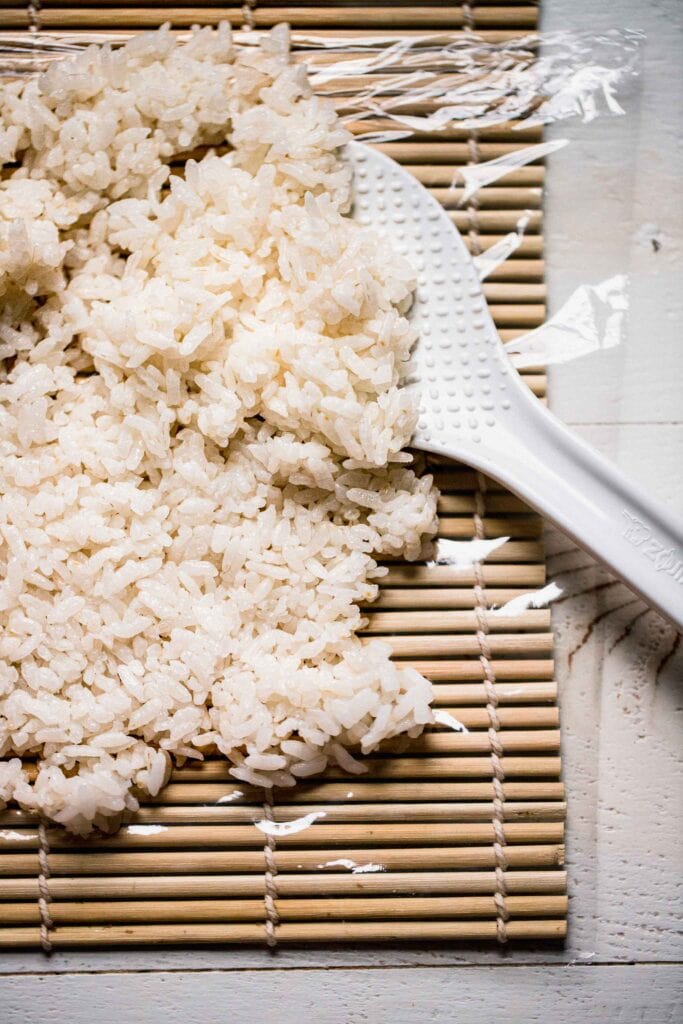
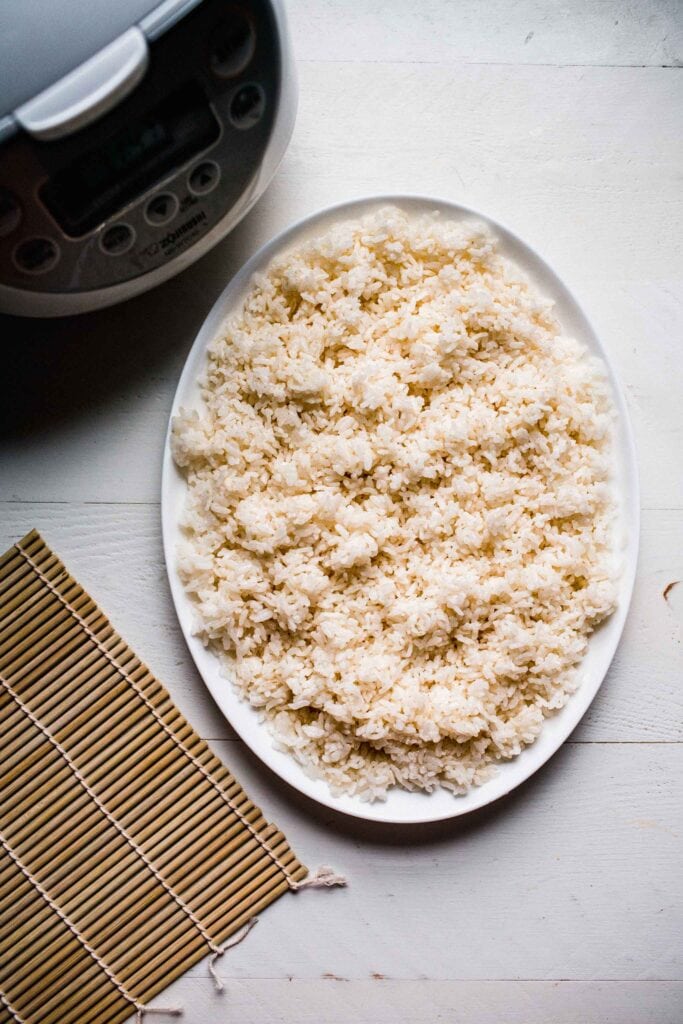
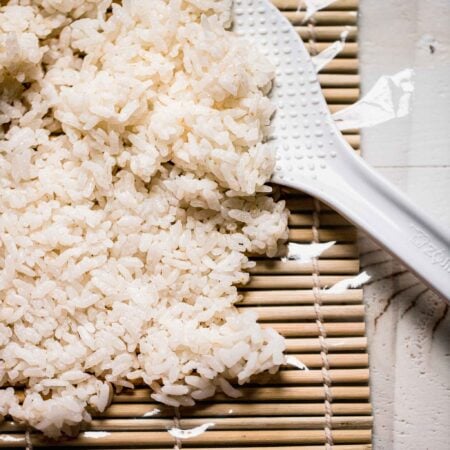
When it’s done, use a rice paddle to transfer the cooked rice from the cooker to a rimmed plate, non-stick baking sheet, cutting board, or wooden bowl to cool.
Make the sushi vinegar while you wait. Stir the rice vinegar, sugar, and kosher salt in a small bowl, then zap it in the microwave until the sugar has dissolved.
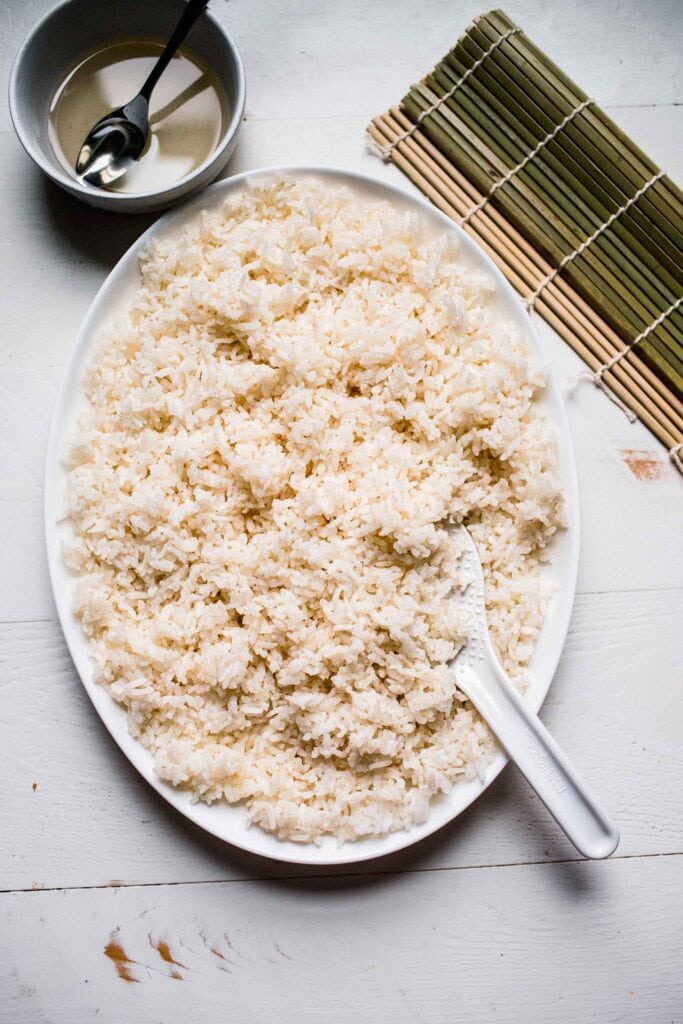
Drizzle the seasoning over the rice. Gently toss with the rice paddle until the flavors have incorporated together.
Once the rice has cooled to room temperature, use it immediately or store it in an airtight container in the fridge.
Tips and tricks
- Some guides will tell you not to rinse the rice, but I disagree. Short-grain rice must be rinsed because the grains are coated in a surface starch that causes a thick, gummy consistency. Yes, sushi rice should be sticky but all of that excess starch will make it TOO sticky.
- Have your rice cooker manual handy. The specific functionalities differ from one rice cooker model to the next.
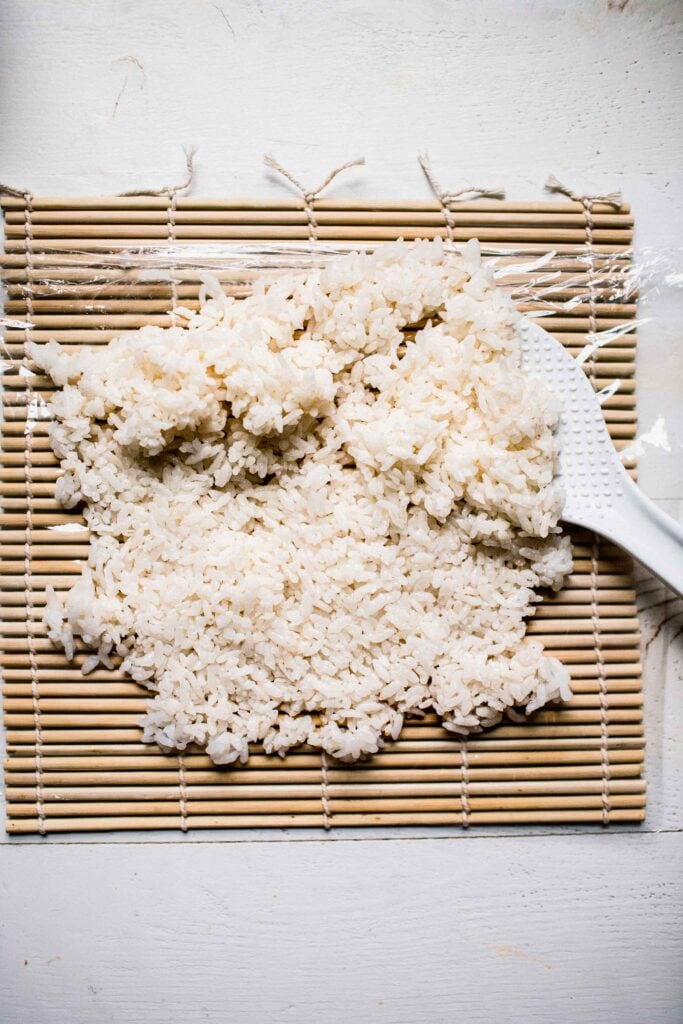
- Don’t over-stir the cooked rice. Instead, use a rice paddle or wooden spoon to very gently fluff and fold the sushi vinegar into the rice without mashing the grains in the process.
FAQs
If your rice still turned out mushy in the rice cooker, this may mean that (1) the rice absorbed too much moisture during the rinsing process, (2) the 1:1 rice-to-water ratio was off, or (3) the rice didn’t cool properly.
When you try again, remember to quickly but efficiently rinse the rice under running water (do not soak), measure the ingredients precisely, and immediately spread the cooked rice into an almost flat layer on a long, flat surface until it cools.
Yes! To make it on the stove, add the rice and water to a medium saucepan. Bring it up to a boil, cover with a lid, and reduce the heat to a simmer. Let the rice cook until all of the water is absorbed.
To make sushi rice in an Instant Pot, cook the rice and water on HIGH for 4 minutes, then naturally release the pressure for 10 minutes. Use my Instant Pot Rice guide for detailed instructions.
Ways to use sushi rice
Once the rice is seasoned and cooled, it’s perfect for:
- Homemade maki rolls: Seaweed (nori) on the outside and rice on the inside. Add your favorite toppings in the center of the rice, like cucumber, avocado, crab, asparagus, salmon, and more! Or, make these veggie sushi rolls.
- Uramaki rolls: Seaweed on the inside and rice on the outside.
- Temaki: A cone-shaped hand-roll that stuffs sushi rice and fillings in a nori sheet.
- Nigiri: Thinly sliced raw fish, like hamachi, on the top and rice on the bottom.
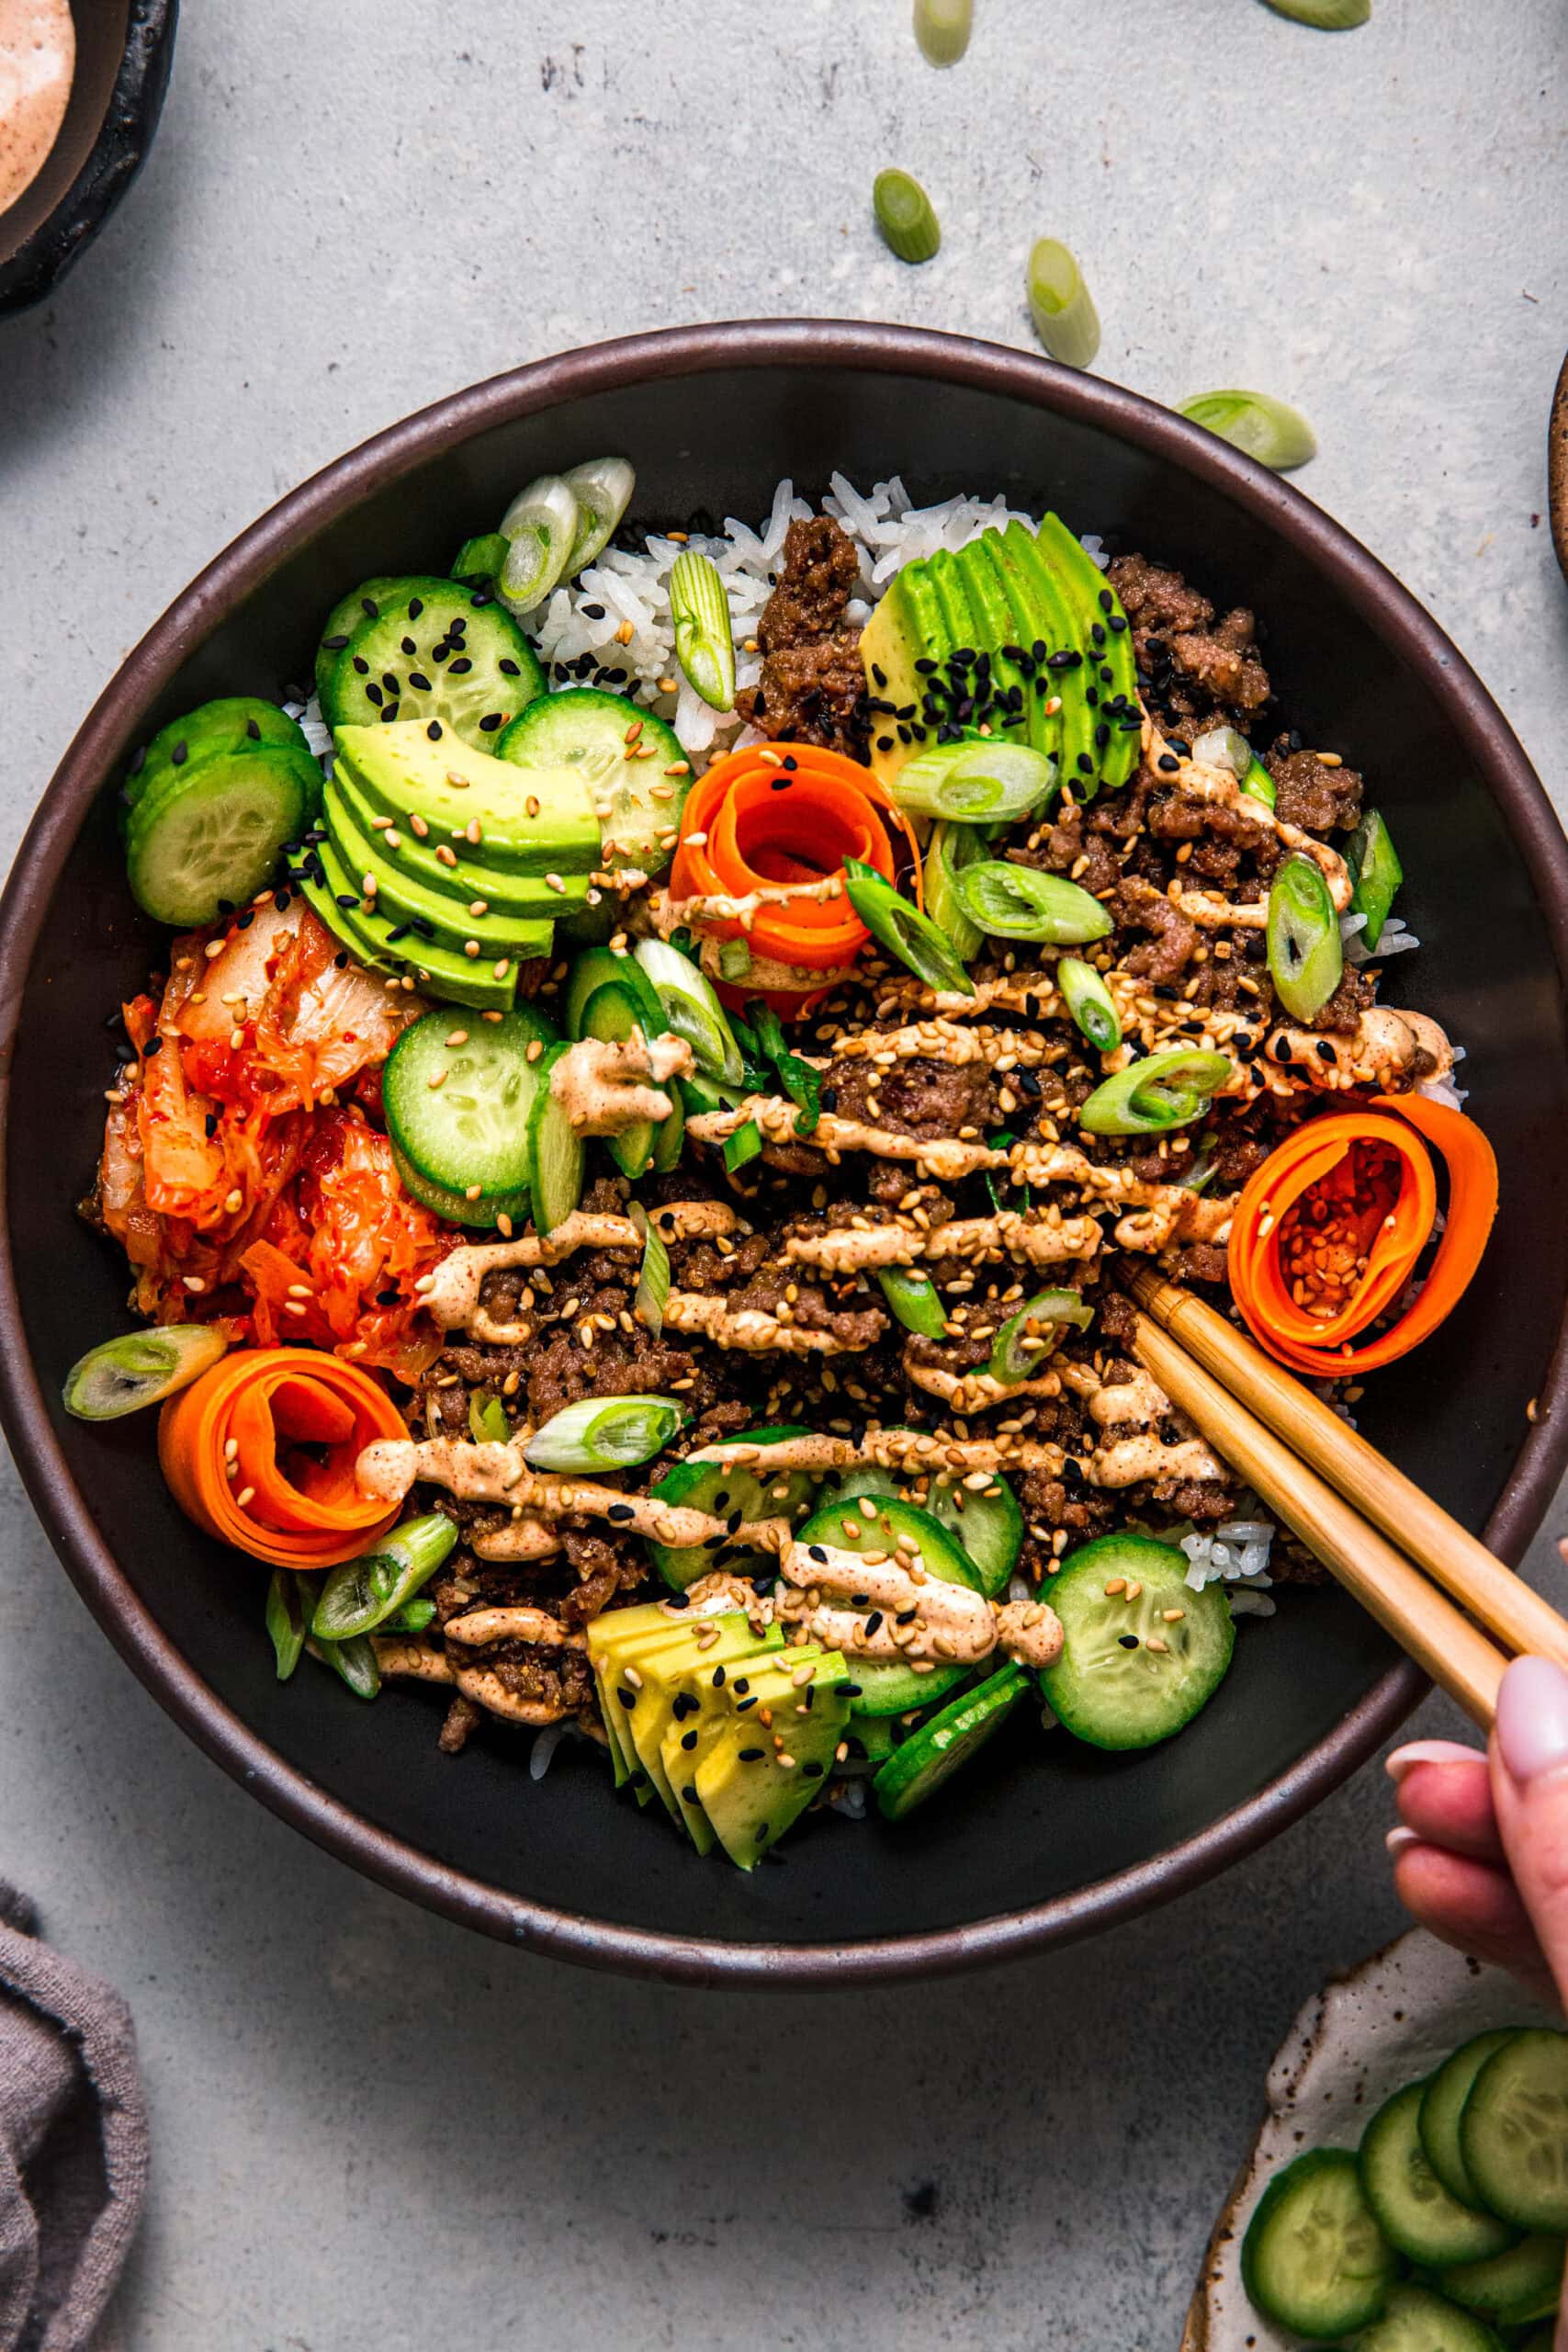
- Sushi Stacks: This seasoned rice is perfect for my Spicy Tuna Sushi Stacks.
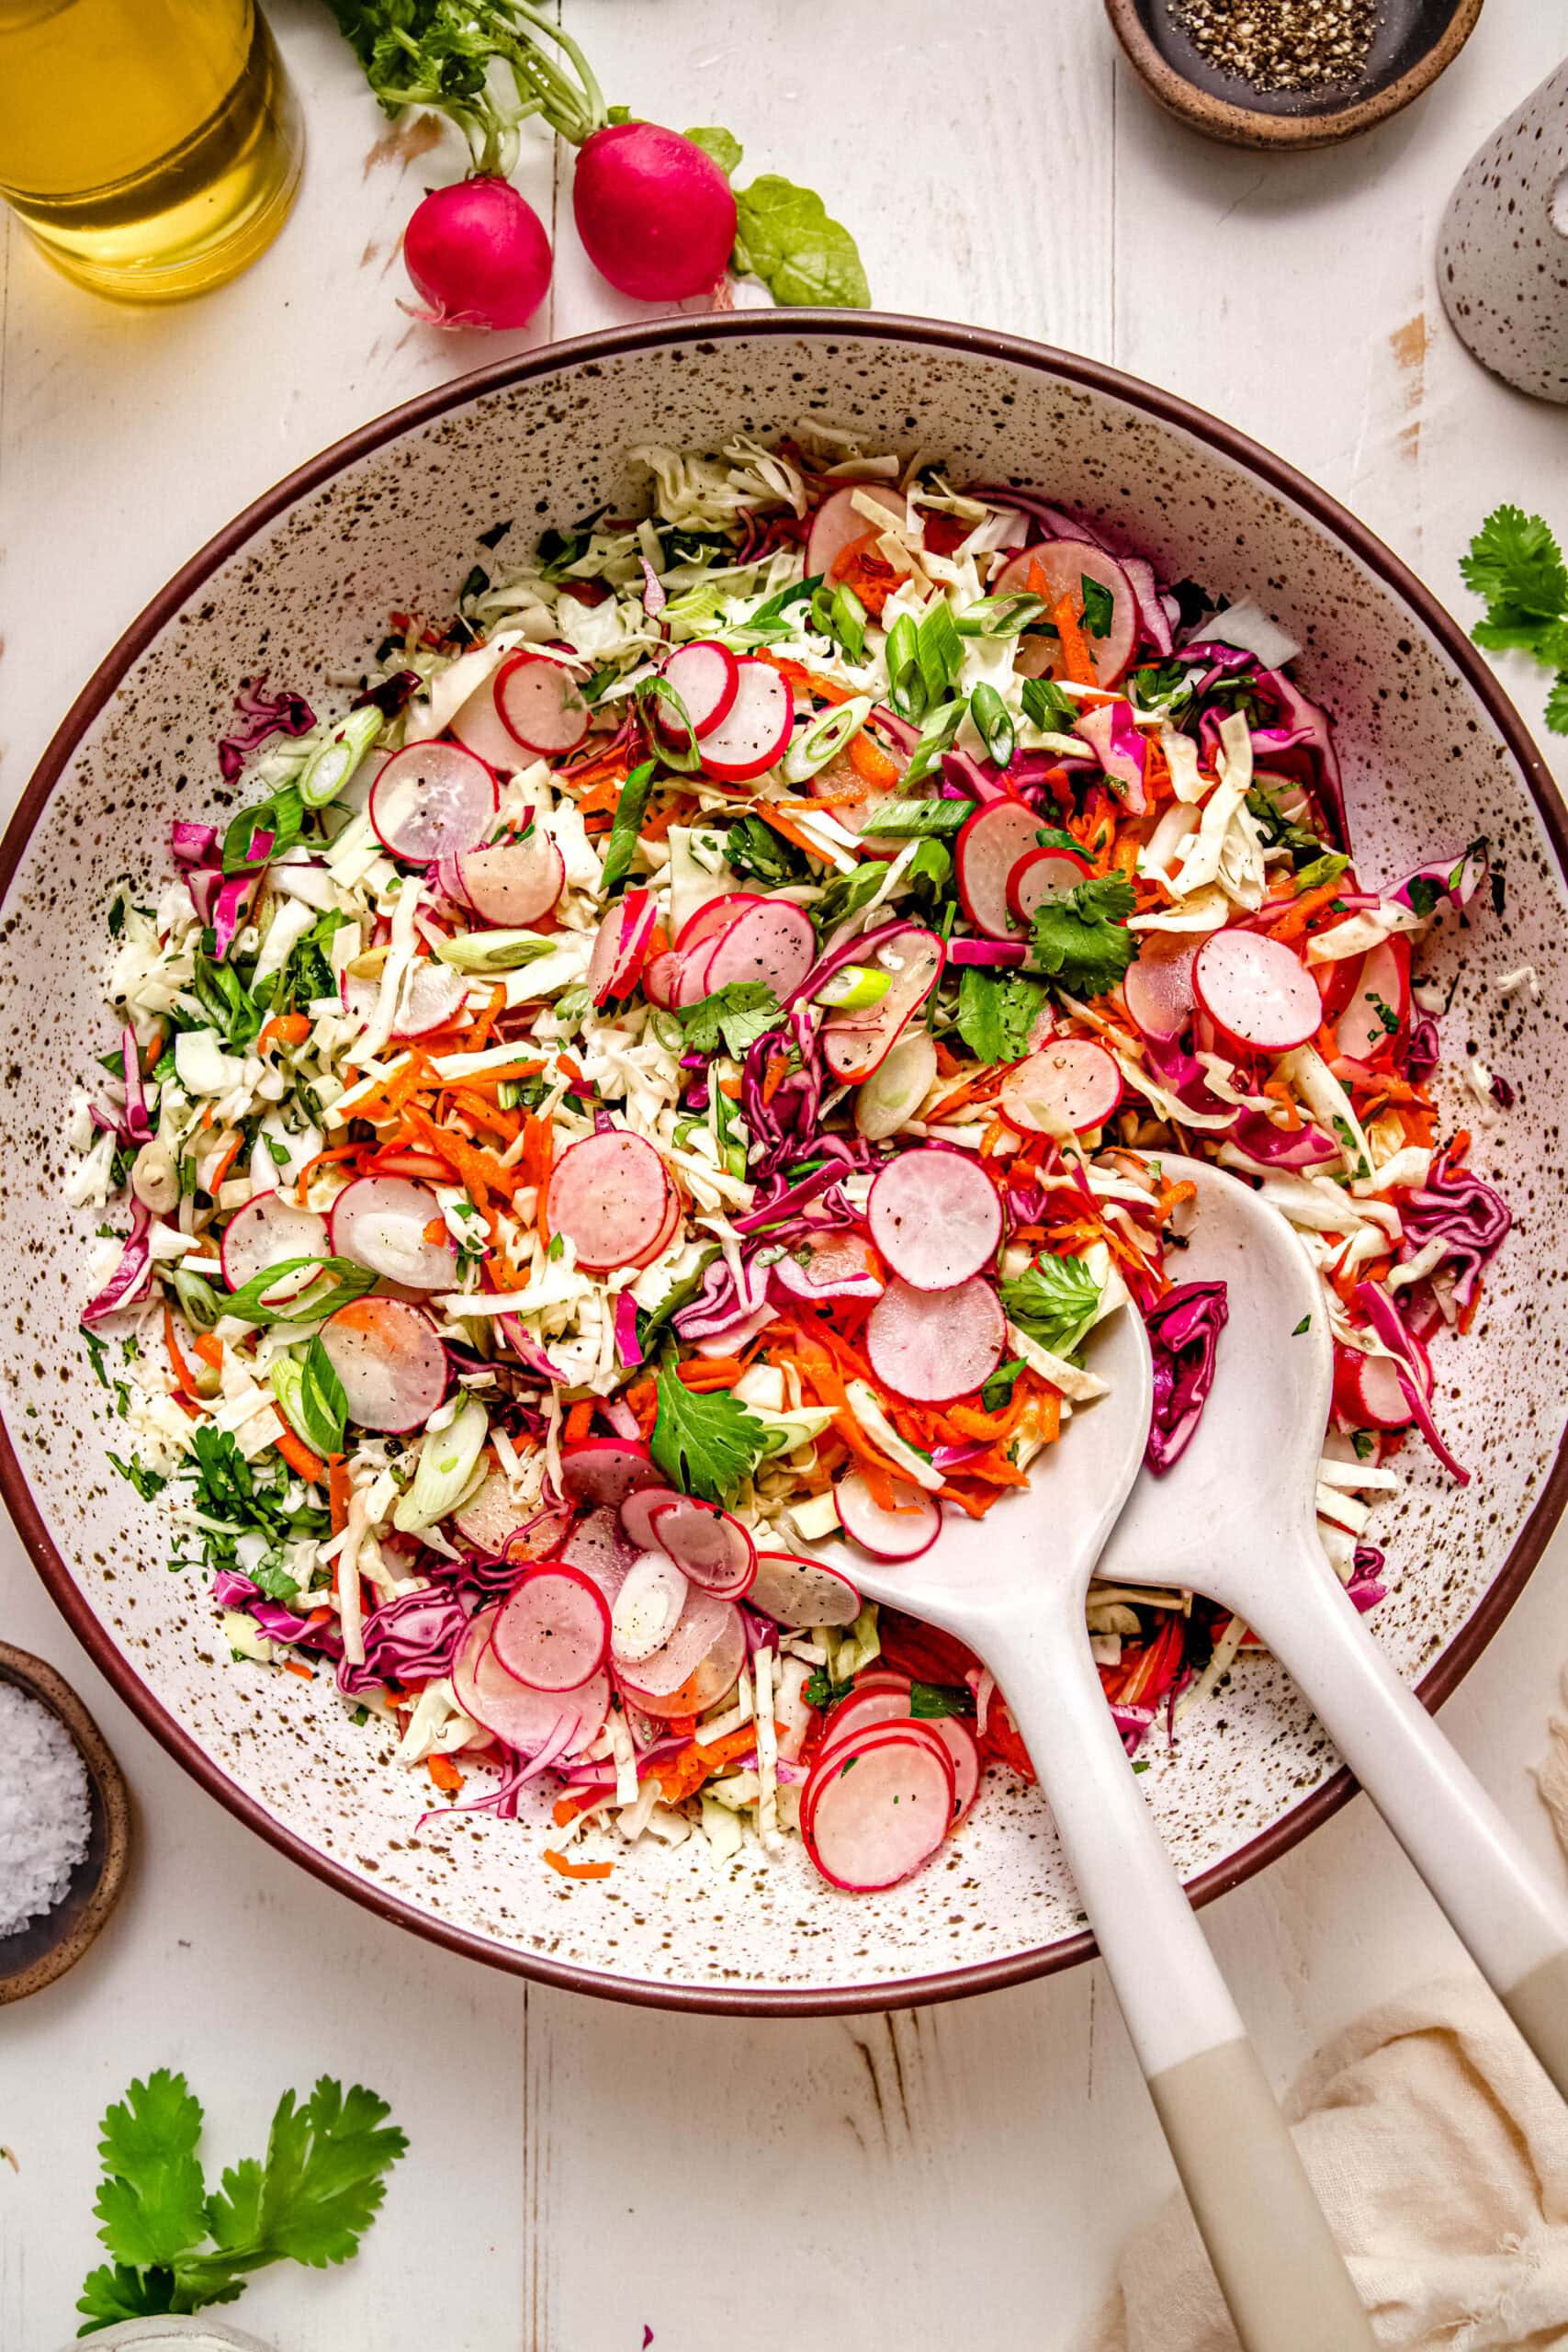
- Salads: This rice is a delicious addition to my Crispy Rice Salad!
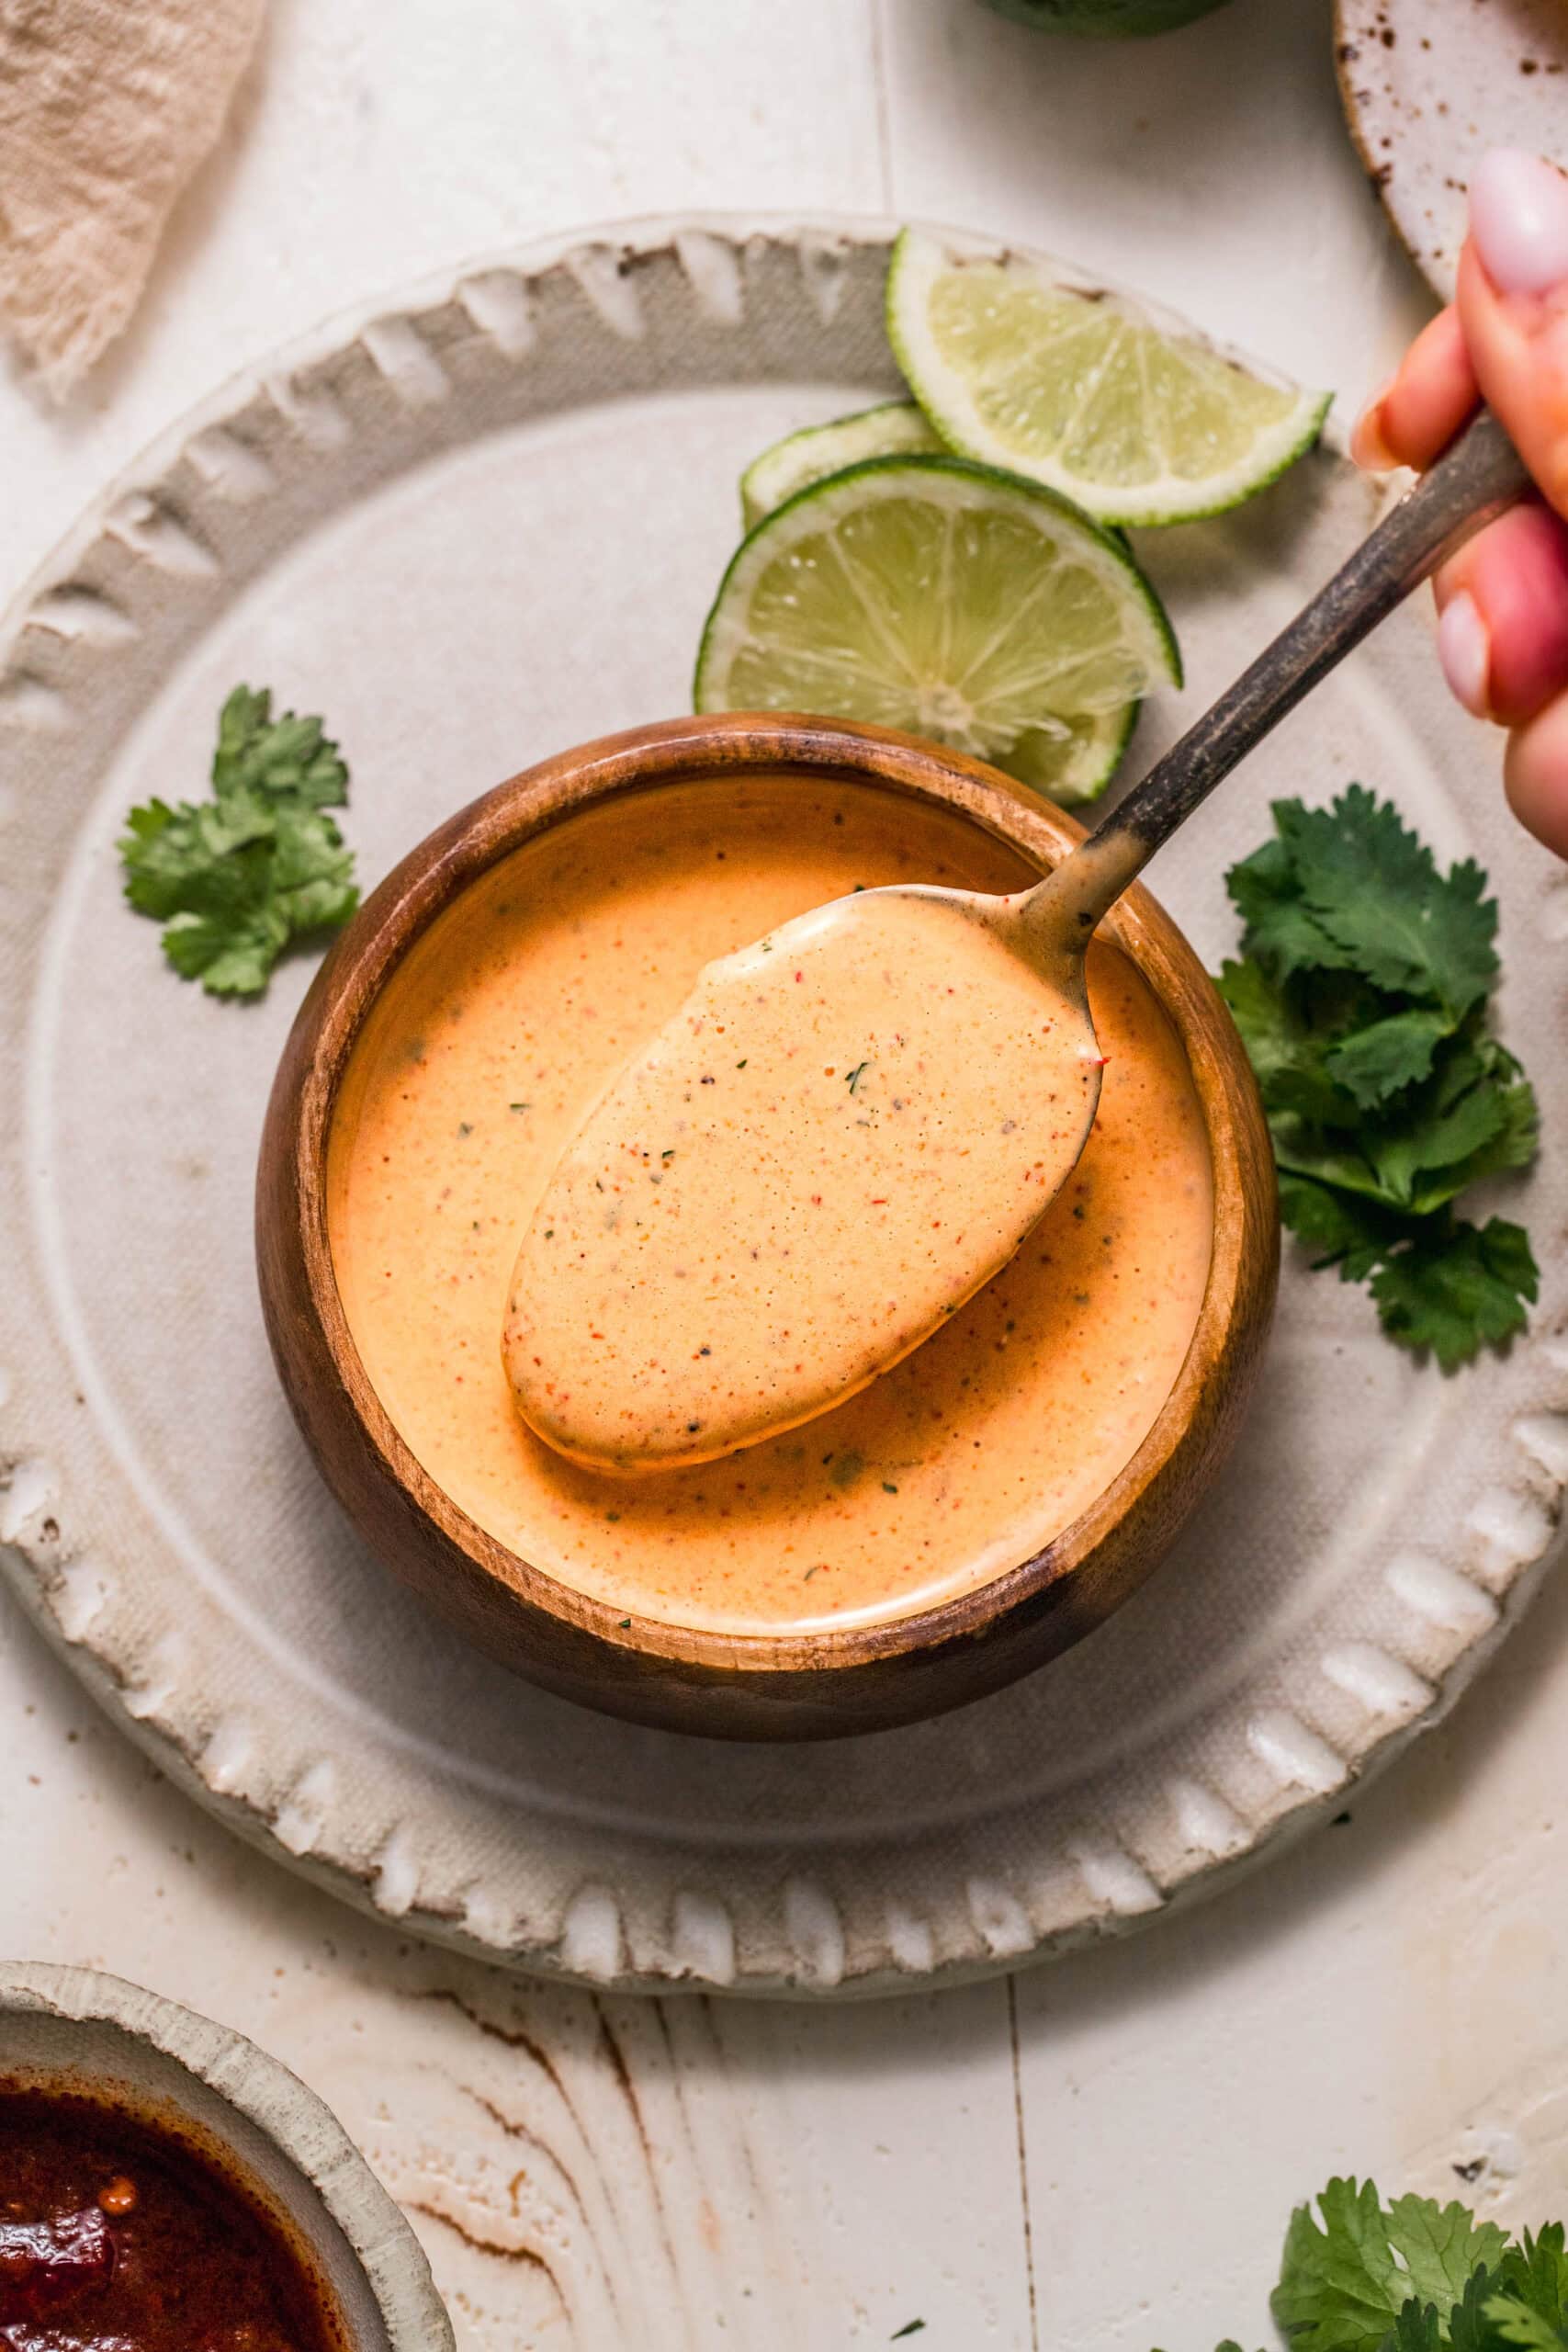
Serve these entrees with these 15 Best Sauces for Sushi and a perfectly paired glass of wine, then enjoy!
Are you new to making sushi at home? This video, How To Make Sushi with Iron Chef Morimoto, has plenty of tips to help you get rolling. Plus, here’s 7+ Common Types of Sushi to try out!
Storing
Let the cooked sushi rice cool to room temperature, then refrigerate it in an airtight container for 4 to 5 days. It can also be frozen for 4 to 5 months.
When it’s time to reheat, thaw the frozen rice, then heat it in the microwave in 30-second intervals. If it seems dry, add 1 to 2 tablespoons of water.
More how-to rice guides and recipes
Did you make sushi rice in your rice cooker?
If you loved this easy sushi rice recipe, I would appreciate it if you gave it a starred review! Also, be sure to snap a picture of your finished dish and share it with me on Instagram using the hashtag #platingsandpairings and tagging me @platingsandpairings.
For more great Platings and Pairings recipes, be sure to follow me on Instagram, TikTok, Pinterest and Facebook.
Full Recipe
Sushi Rice in Rice Cooker
Equipment
Ingredients
- 2 cups sushi rice
- 2 cups water
Rice Seasoning:
- 3 Tablespoons rice vinegar
- 2 Tablespoons sugar
- 1 teaspoon kosher salt
Instructions
- Rinse the rice in water until the water runs clear.
- Add the rinsed rice to the rice cooker along with the water.
- Program your cooker for white rice (or sushi rice, if available).
- Once the rice is cooked, use the rice paddle to transfer it to a rimmed plate, non-stick baking sheet, chopping board, or wooden bowl to cool.
- Meanwhile, add the rice seasoning ingredients to a small bowl and heat in the microwave for 30 seconds. Stir to combine, and to dissolve the sugar and salt. If needed, continue cooking in 15 seconds increments until everything dissolves.
- Sprinkle the rice seasoning over the rice and gently toss with the rice paddle.
- Allow to cool to room temperature before using to make sushi or sashimi.
Notes
- Let the cooked sushi rice cool to room temperature, then refrigerate it in an airtight container for 4 to 5 days. It can also be frozen for 4 to 5 months.
- When it’s time to reheat, thaw the frozen rice, then heat it in the microwave in 30-second intervals. If it seems dry, add 1 to 2 tablespoons of water.


Leave a Reply