

This Sous Vide Tri Tip is the ultimate hands-off method to achieve a perfectly cooked, tender roast every single time. Using the precision of a sous vide water bath, this cut of beef comes out consistently tender with a gorgeous, flavorful crust from a quick sear in a hot cast iron skillet. Coated in a simple, savory dry rub, it’s a versatile main dish that’s impressive enough for a special dinner yet easy enough for a weeknight family meal.
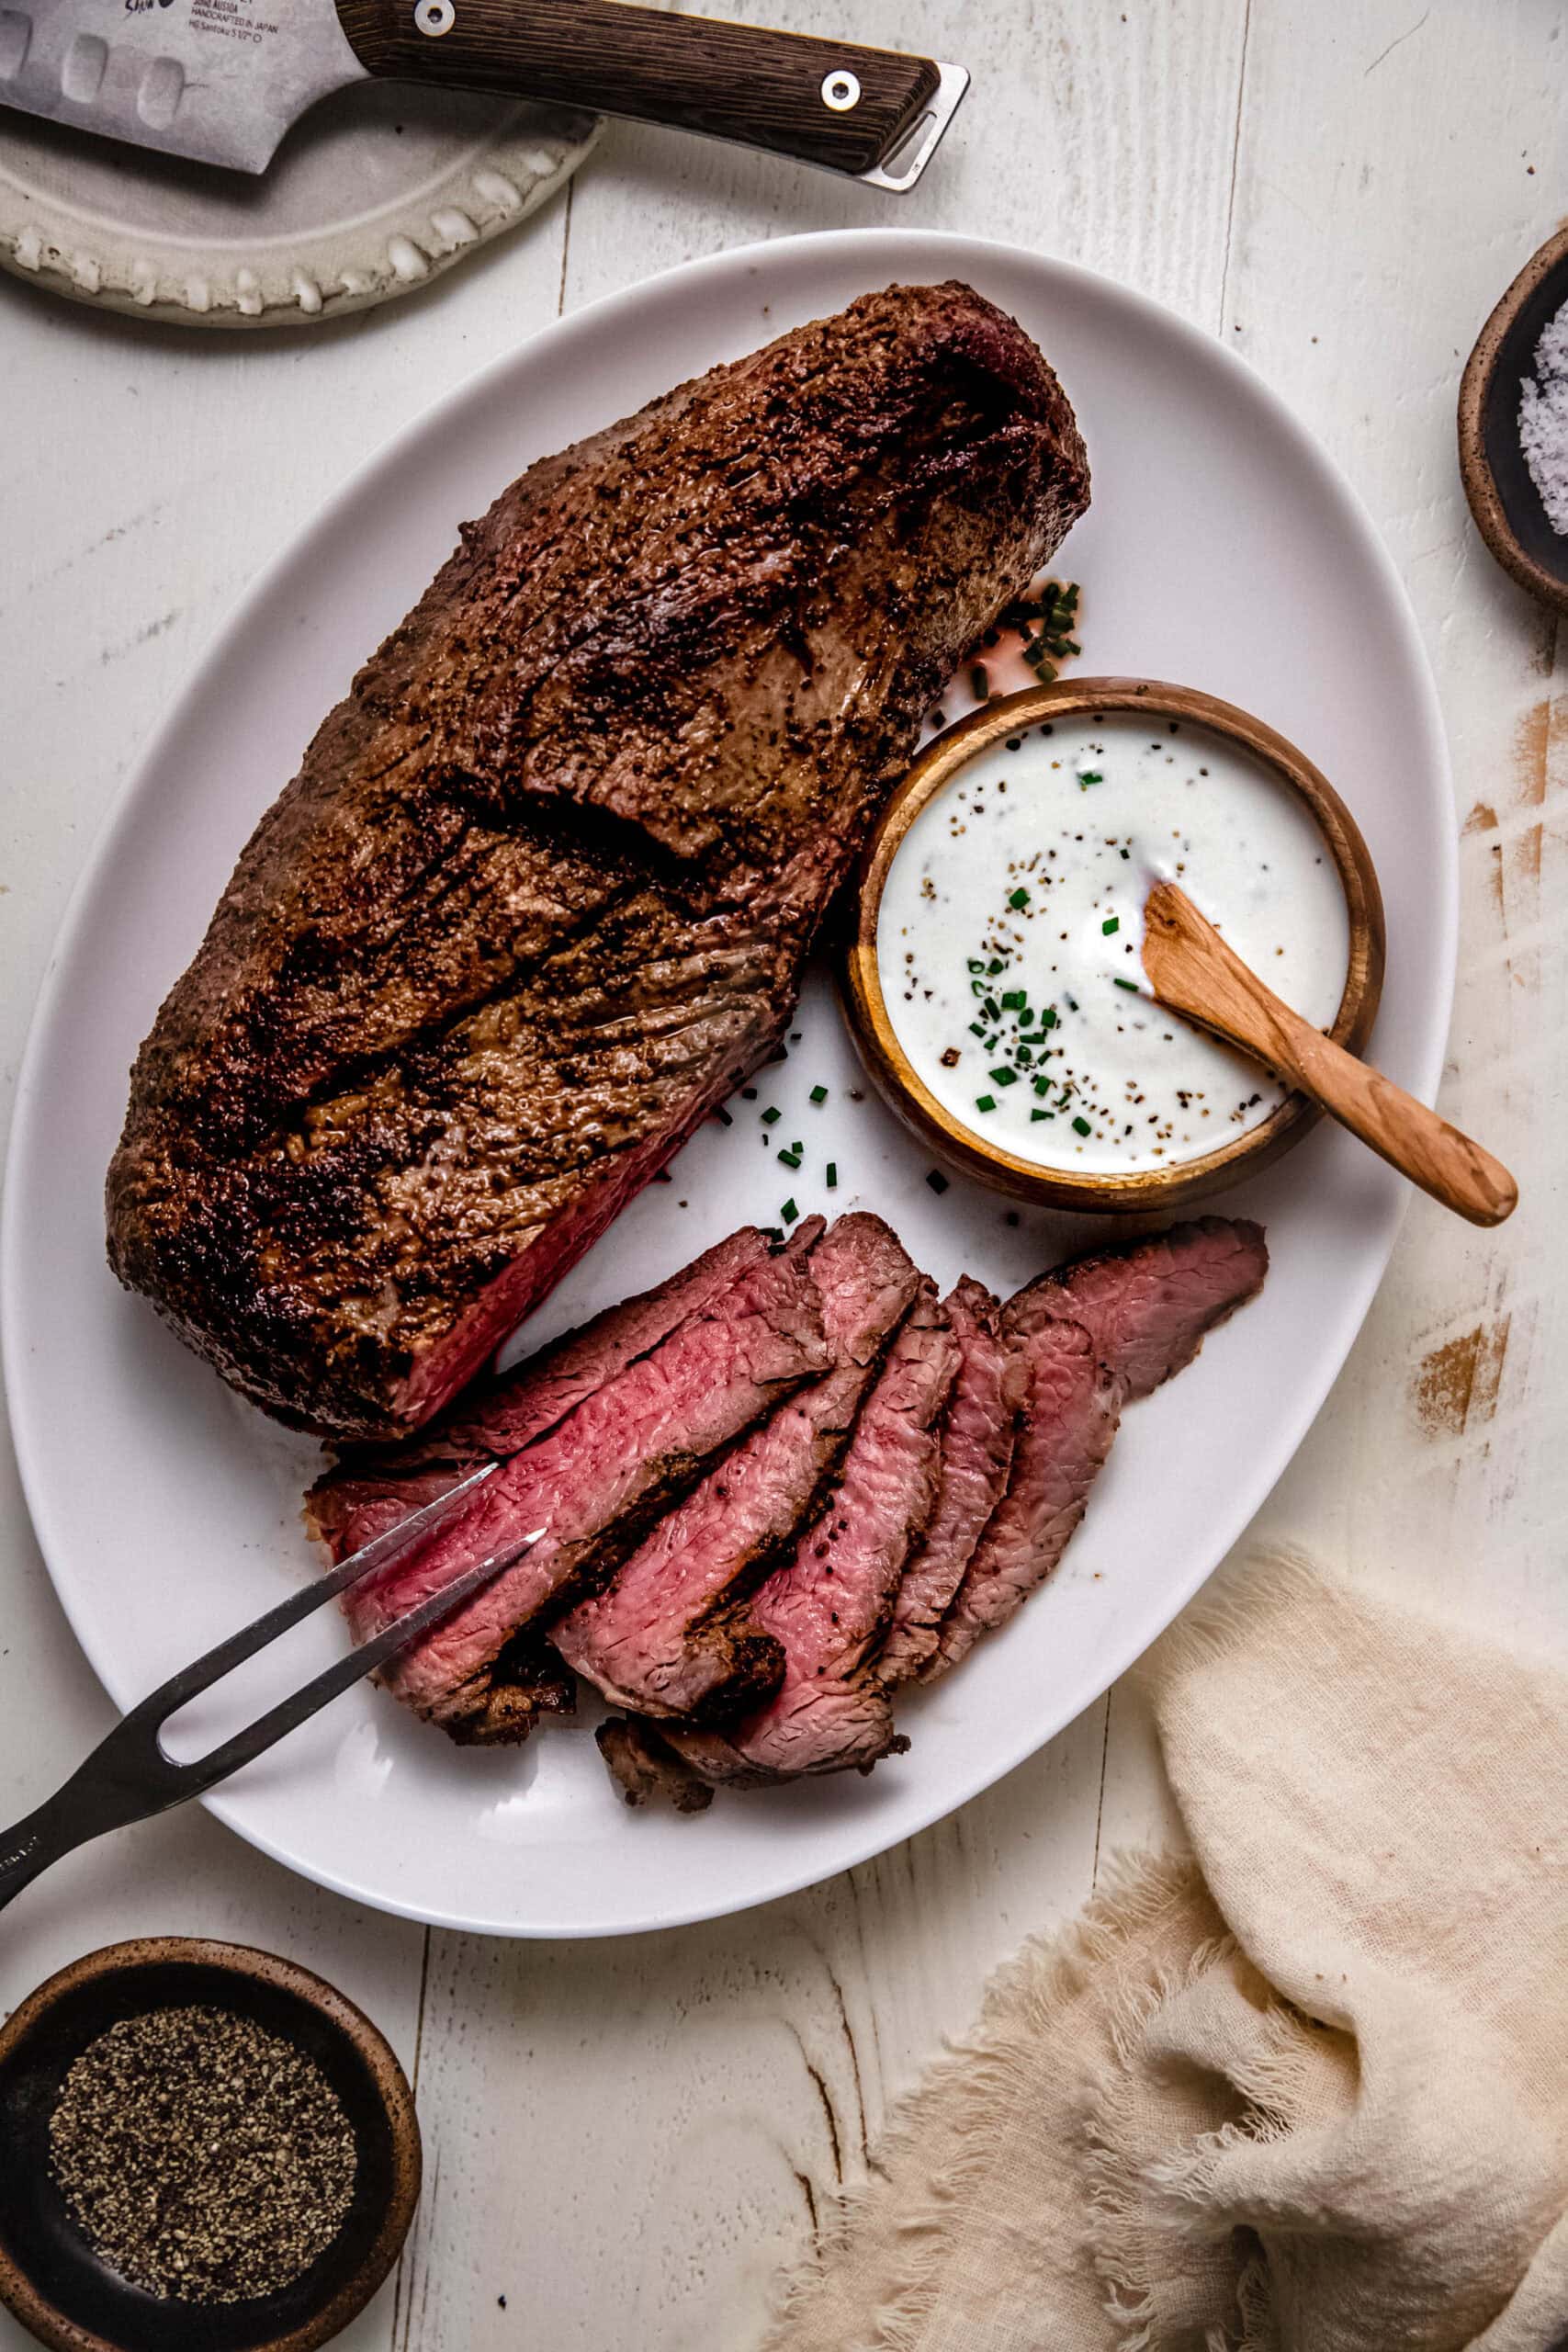
Table of Contents
I love sous vide cooking! It takes the guesswork out of achieving the perfect doneness, unlike traditional roasting where the exterior can easily overcook before the center is done. A final sear in butter and olive oil creates that irresistible browned crust we all crave. Serve it sliced against the grain alongside your favorite sides, and get ready for rave reviews!

Ingredient notes
- Tri tip roast – Look for a 2-3 pound tri tip roast with the fat cap and silverskin removed. Tri tip is a flavorful, relatively lean cut from the bottom sirloin that benefits greatly from sous vide cooking. If you can’t find tri tip, you could substitute with sirloin or flank steak, though cooking times may vary slightly.
- Kosher salt – This is my preferred salt for seasoning meat because it dissolves evenly and adheres well to the surface. You can substitute sea salt if that’s what you have on hand.
- Black pepper – Freshly ground black pepper provides the best flavor. It adds a warm, slightly spicy kick that complements the beef beautifully.
- Garlic powder and onion powder – These dried spices add savory depth to the dry rub without burning during the sear, unlike fresh garlic and onion. They melt into the meat during the sous vide cooking process.
- Butter and olive oil – The combination of butter and olive oil is perfect for searing. The olive oil has a higher smoke point, while the butter adds incredible flavor and helps create a rich, golden crust.
How to make it
Step 1
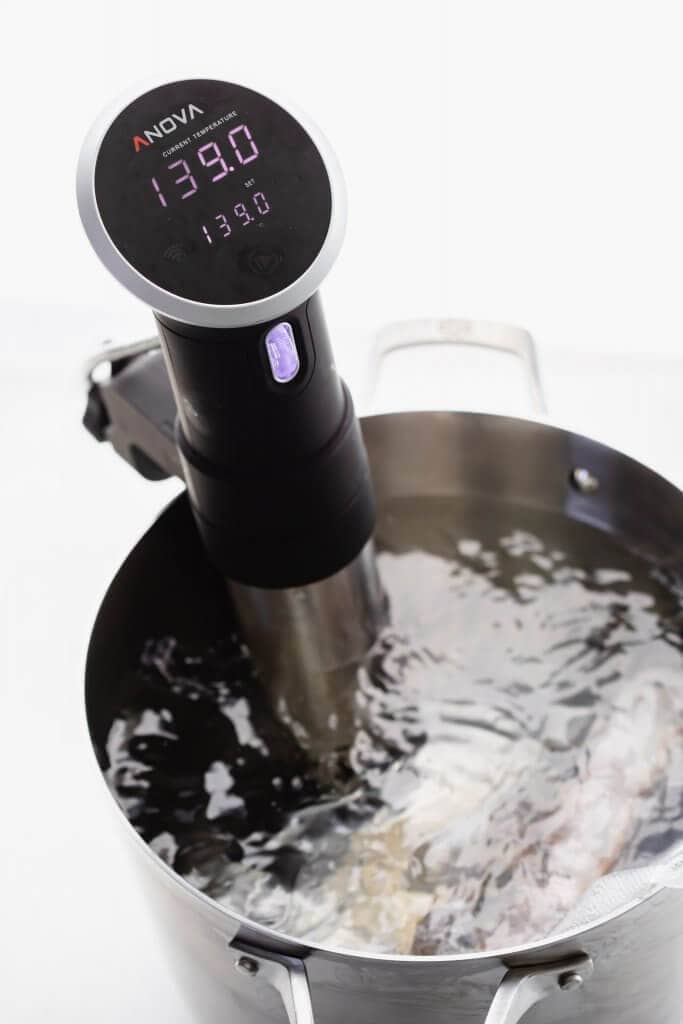
Prepare the sous vide
- Fill a large container or pot with water and attach your sous vide precision cooker.
- Set the temperature to 132°F for a perfect medium-rare, or adjust to your preferred doneness (see the temperature guide below).
- Allow the water to come up to temperature while you prepare the meat.

Step 2
Season the tri tip
- In a small bowl, whisk together the kosher salt, black pepper, garlic powder, and onion powder until well combined.
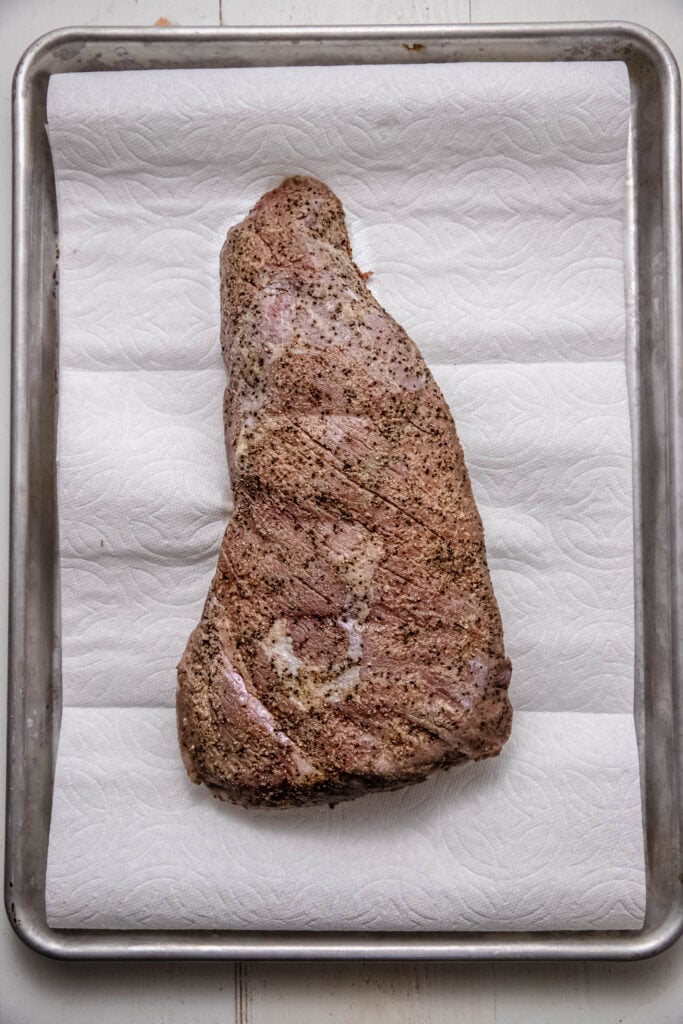
- Pat the tri tip dry with paper towels, then sprinkle the dry rub mixture evenly over all sides of the roast, rubbing it in gently with your hands to ensure it adheres.
Step 3
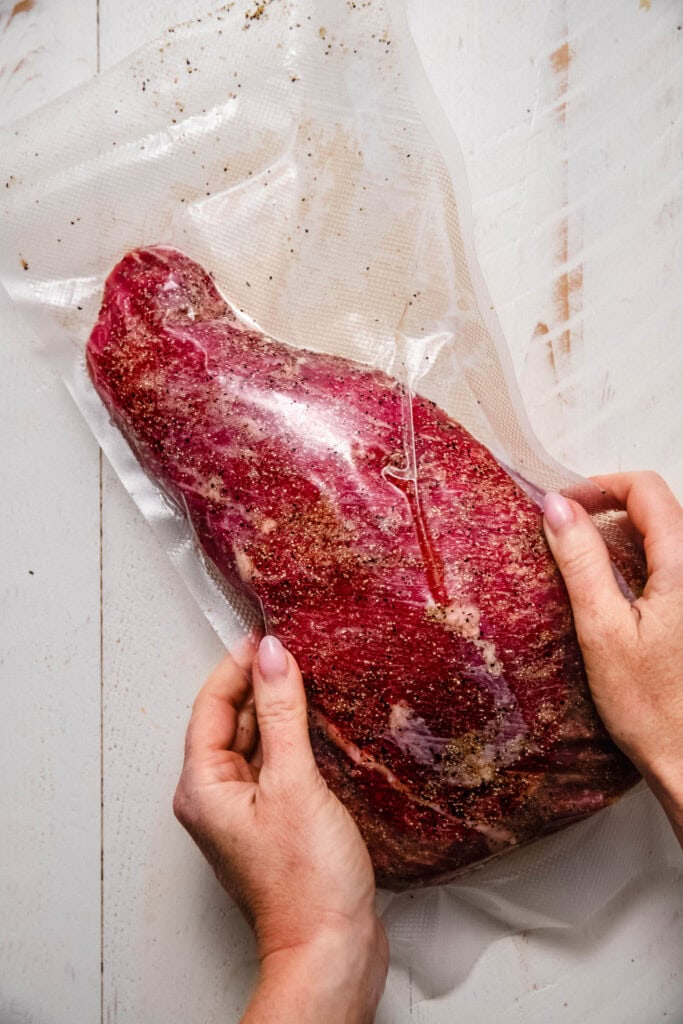
Seal and cook
- Place the seasoned tri tip into a vacuum seal bag or a resealable freezer bag. If using a resealable bag, use the water displacement method to remove as much air as possible.
- Submerge the sealed bag in the preheated water bath and cook for 1 to 4 hours. The longer cooking time will yield a more tender result, but even an hour will produce deliciously tender meat.
Step 4
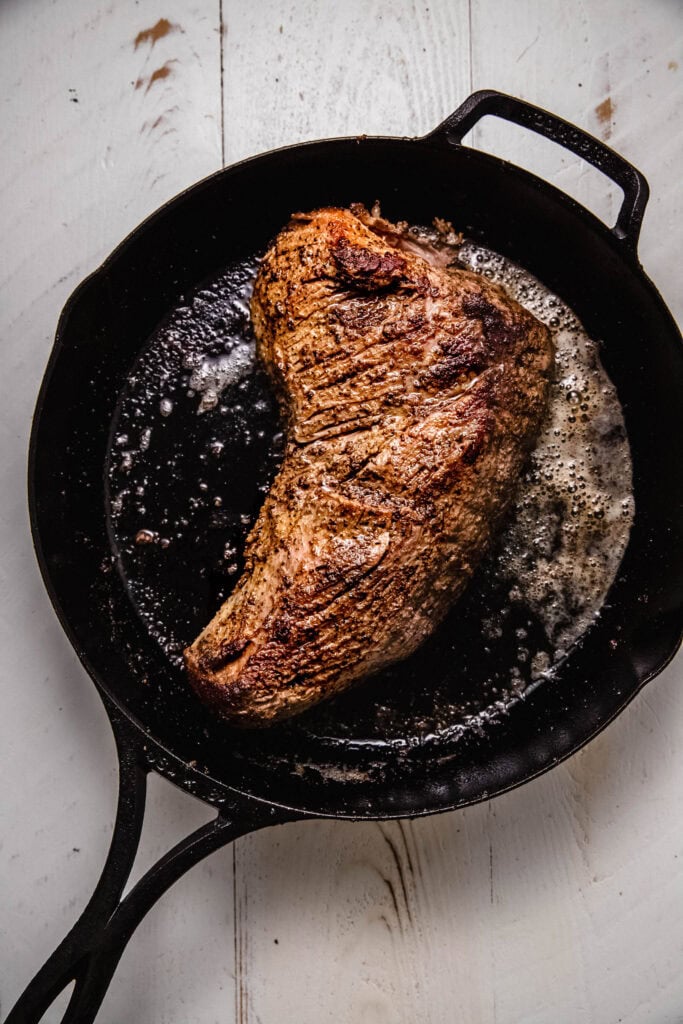
Sear the tri tip
- Pat the roast thoroughly dry with paper towels. This step is crucial for achieving a great sear.
- Heat a cast iron skillet over high heat until it’s smoking hot. Add the olive oil and butter, swirling to combine. Carefully place the tri tip in the skillet and sear for 2-3 minutes per side, tilting the pan occasionally and spooning the hot butter over the top of the roast as it cooks. This basting step adds extra flavor and helps develop a beautiful crust.
Step 5
Slice and serve
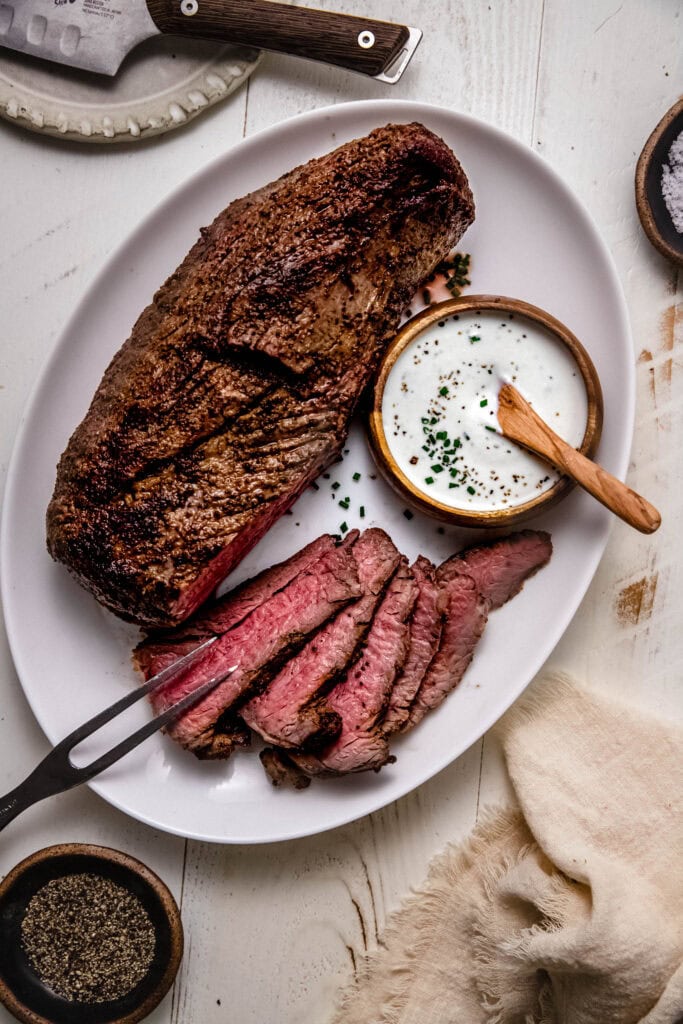
- Transfer the seared tri tip to a cutting board and let it rest for about 5 minutes. This brief resting period allows the juices to redistribute throughout the meat.
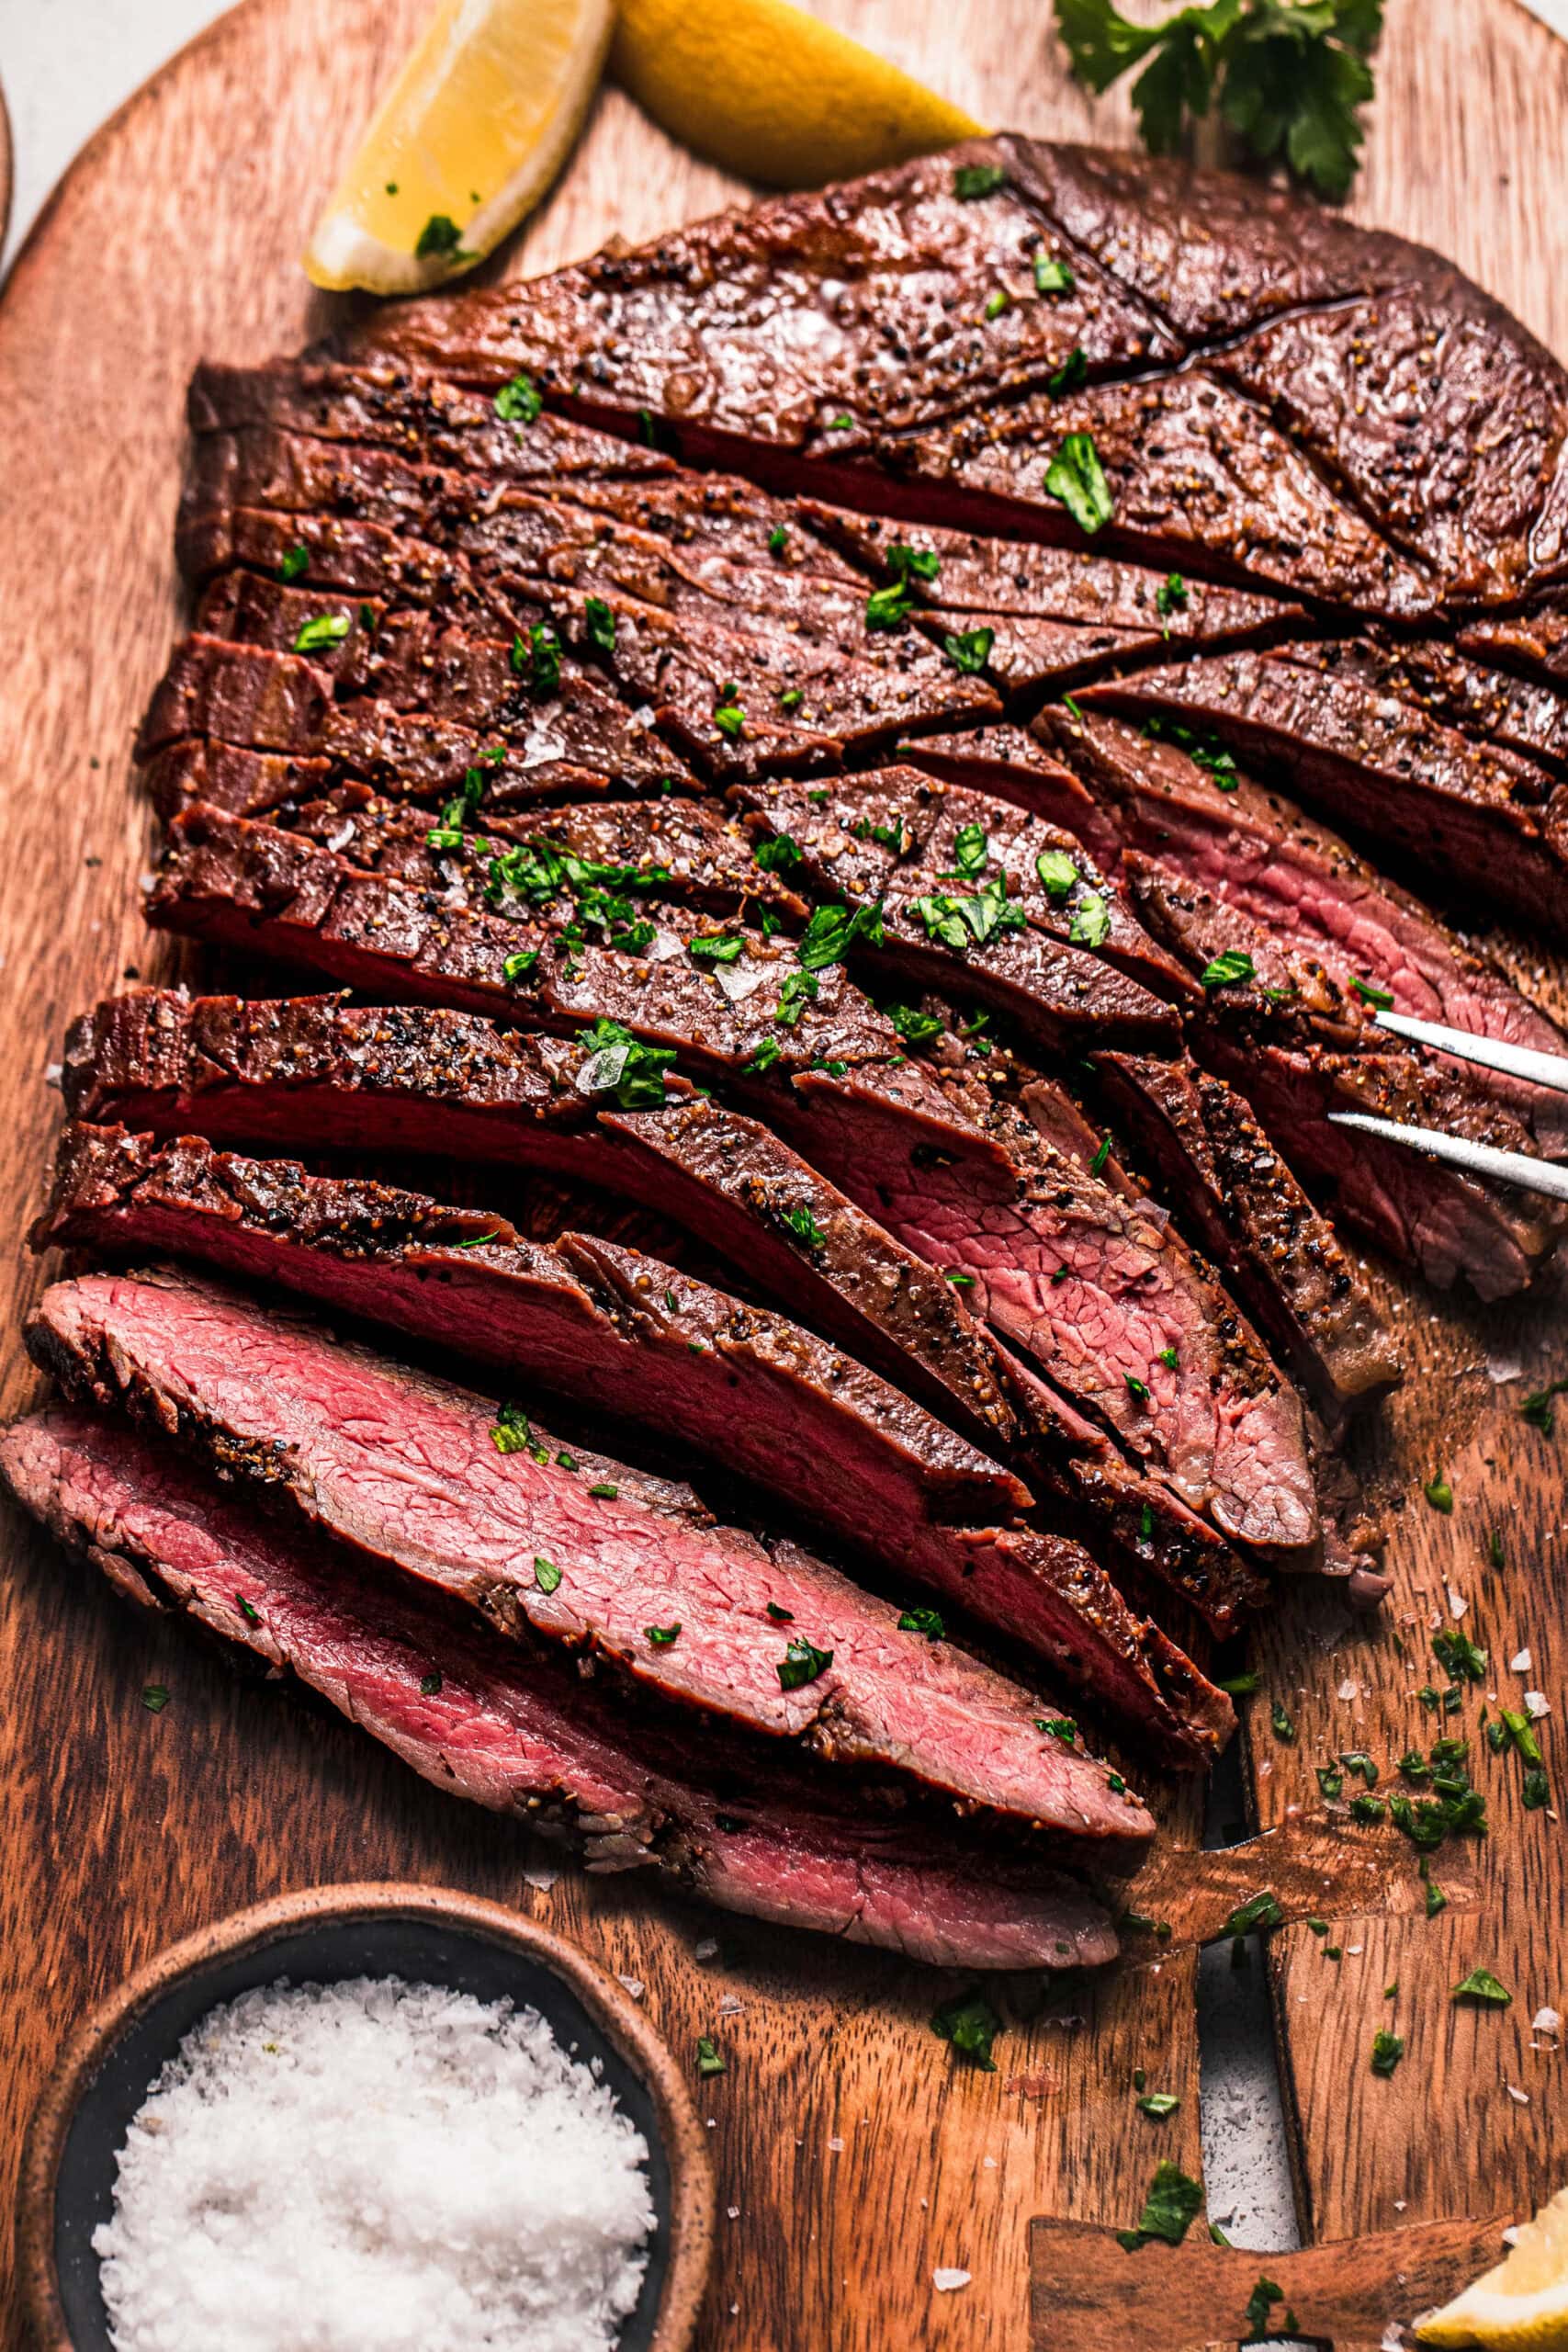
- Slice the roast against the grain into ½-inch thick slices. Sprinkle with additional salt and serve immediately with your favorite sides.
Temperature Guide for Sous Vide Tri Tip
One of the greatest advantages of sous vide cooking is the ability to achieve your exact preferred doneness with complete confidence. Unlike traditional cooking methods where the internal temperature continues to rise after removing the meat from heat, sous vide holds the meat at a precise temperature throughout the cooking process, ensuring consistent results every time.
Use the guide below to select the perfect temperature for your tri tip, then cook for 1 to 4 hours depending on how tender you’d like the final roast to be. Remember that the final sear will add a beautiful crust but won’t significantly raise the internal temperature of the meat.
- Rare: Set your sous vide to 125°F (52°C) for a cool, deep red center that’s incredibly tender and juicy.
- Medium-Rare: Set your sous vide to 132°F (56°C) for a warm red center with excellent flavor and tenderness. This is my go-to for tri tip.
- Medium: Set your sous vide to 140°F (60°C) for a light pink center that’s still juicy but slightly firmer in texture.
- Medium-Well: Set your sous vide to 150°F (66°C) for just a hint of pink in the center, with a more pronounced beefy flavor and firmer bite.
Tips and tricks
- Pat the meat dry before searing. This is the most important step for achieving a great crust. Any excess moisture on the surface will create steam instead of a beautiful sear.
- Don’t skip the resting time! Though sous vide meat requires less resting than traditionally cooked meat, a 5-minute rest ensures the juices stay in the meat when you slice it.
- Season generously. The dry rub recipe is designed for a 2-3 pound roast. Feel free to adjust the amounts to your taste, but don’t be shy with the seasoning.
- Use a good quality cast iron skillet as they hold heat beautifully and provide an even, consistent sear. If you don’t have cast iron, a heavy-bottomed stainless steel pan will work as well.
- Don’t throw away those flavorful juices left in the sous vide bag! They can be used to make a delicious pan sauce or added to your favorite gravy recipe.
- Sear in batches if needed. If your tri tip is particularly large, you may want to sear it in two batches to avoid overcrowding the pan and steaming the meat.
Variations
This sous vide tri tip recipe is wonderfully adaptable, so feel free to experiment with these simple swaps and additions to make it your own.
- Swap the spice blend: Try a Mexican-inspired rub with cumin, chili powder, and oregano, or go Mediterranean with rosemary, thyme, and lemon zest.
- Marinate before cooking: Add a marinade to the bag with the tri tip before sealing. A red wine and herb marinade or a balsamic garlic marinade would be fantastic.
- Add aromatics to the bag: Tuck a few sprigs of fresh rosemary, thyme, or smashed garlic cloves into the bag with the meat for extra flavor.
- Finish with a compound butter: Top the sliced tri tip with a pat of herb butter just before serving.
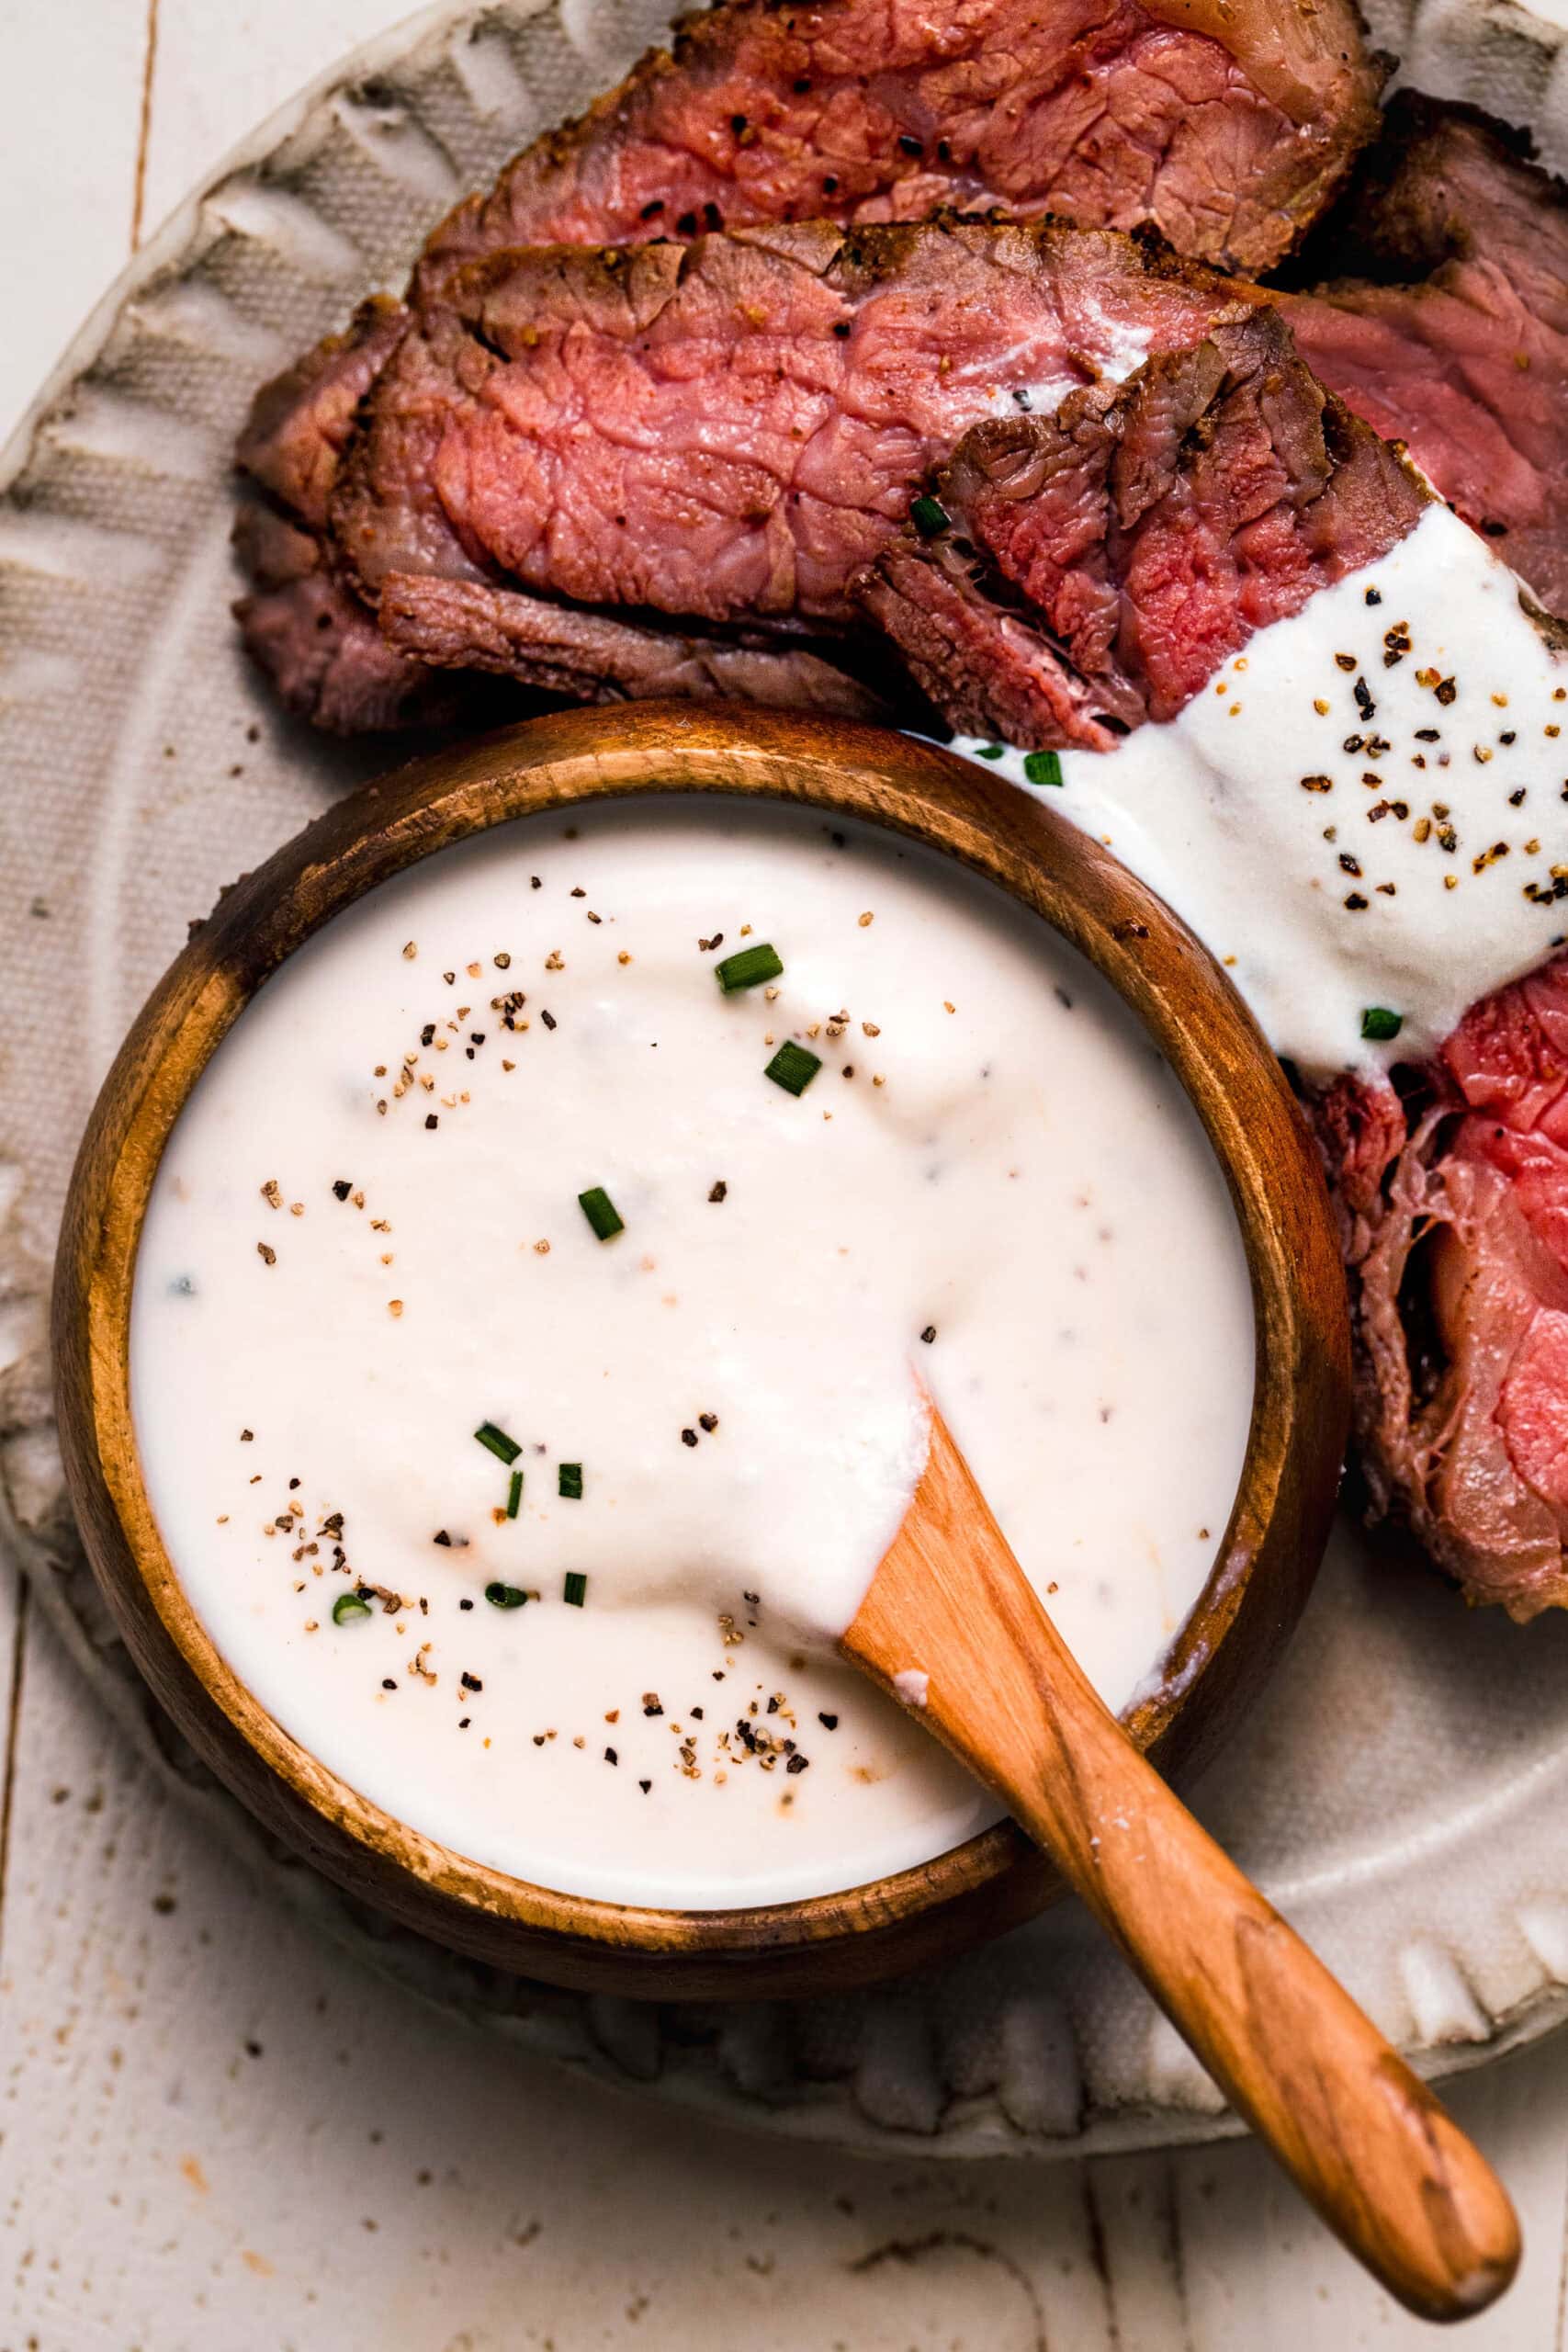
- Add a sauce: Serve with a horseradish cream sauce, chimichurri, or a red wine reduction for added flavor.

Serving suggestions
Sous vide tri tip is incredibly versatile and pairs well with a wide variety of sides. Here are some of my favorite ways to serve it:
Storing
Store any leftover sous vide tri tip in an airtight container in the refrigerator for up to 3 days. To reheat, gently warm the slices in a skillet over medium-low heat with a little butter or beef broth to prevent drying out. You can also enjoy it cold, sliced thin, on top of a salad or in a sandwich.
To freeze, wrap the cooled, sliced beef tightly in plastic wrap and place in a freezer-safe bag. It will keep for up to 3 months. Thaw overnight in the refrigerator before reheating.

Erin’s wine pairings for sous vide tri tip
This beautifully cooked tri tip deserves a wine that can stand up to its rich, savory flavor. Here are some of my top picks:
- A bold Cabernet Sauvignon with its dark fruit flavors and firm tannins is a classic pairing that never disappoints.
- A Malbec with its velvety texture and notes of plum and blackberry is a great choice.
- If you’re serving this with a horseradish or peppercorn steak sauce, try a Syrah for its peppery, smoky notes that complement the beef beautifully.
- Prefer red blends? A bold Red Blend can be a great match for the rich flavors of the meat.

More sous vide recipes
-
new!
Sous Vide Roast Beef
-
new!
Sous Vide Brisket
-
new!
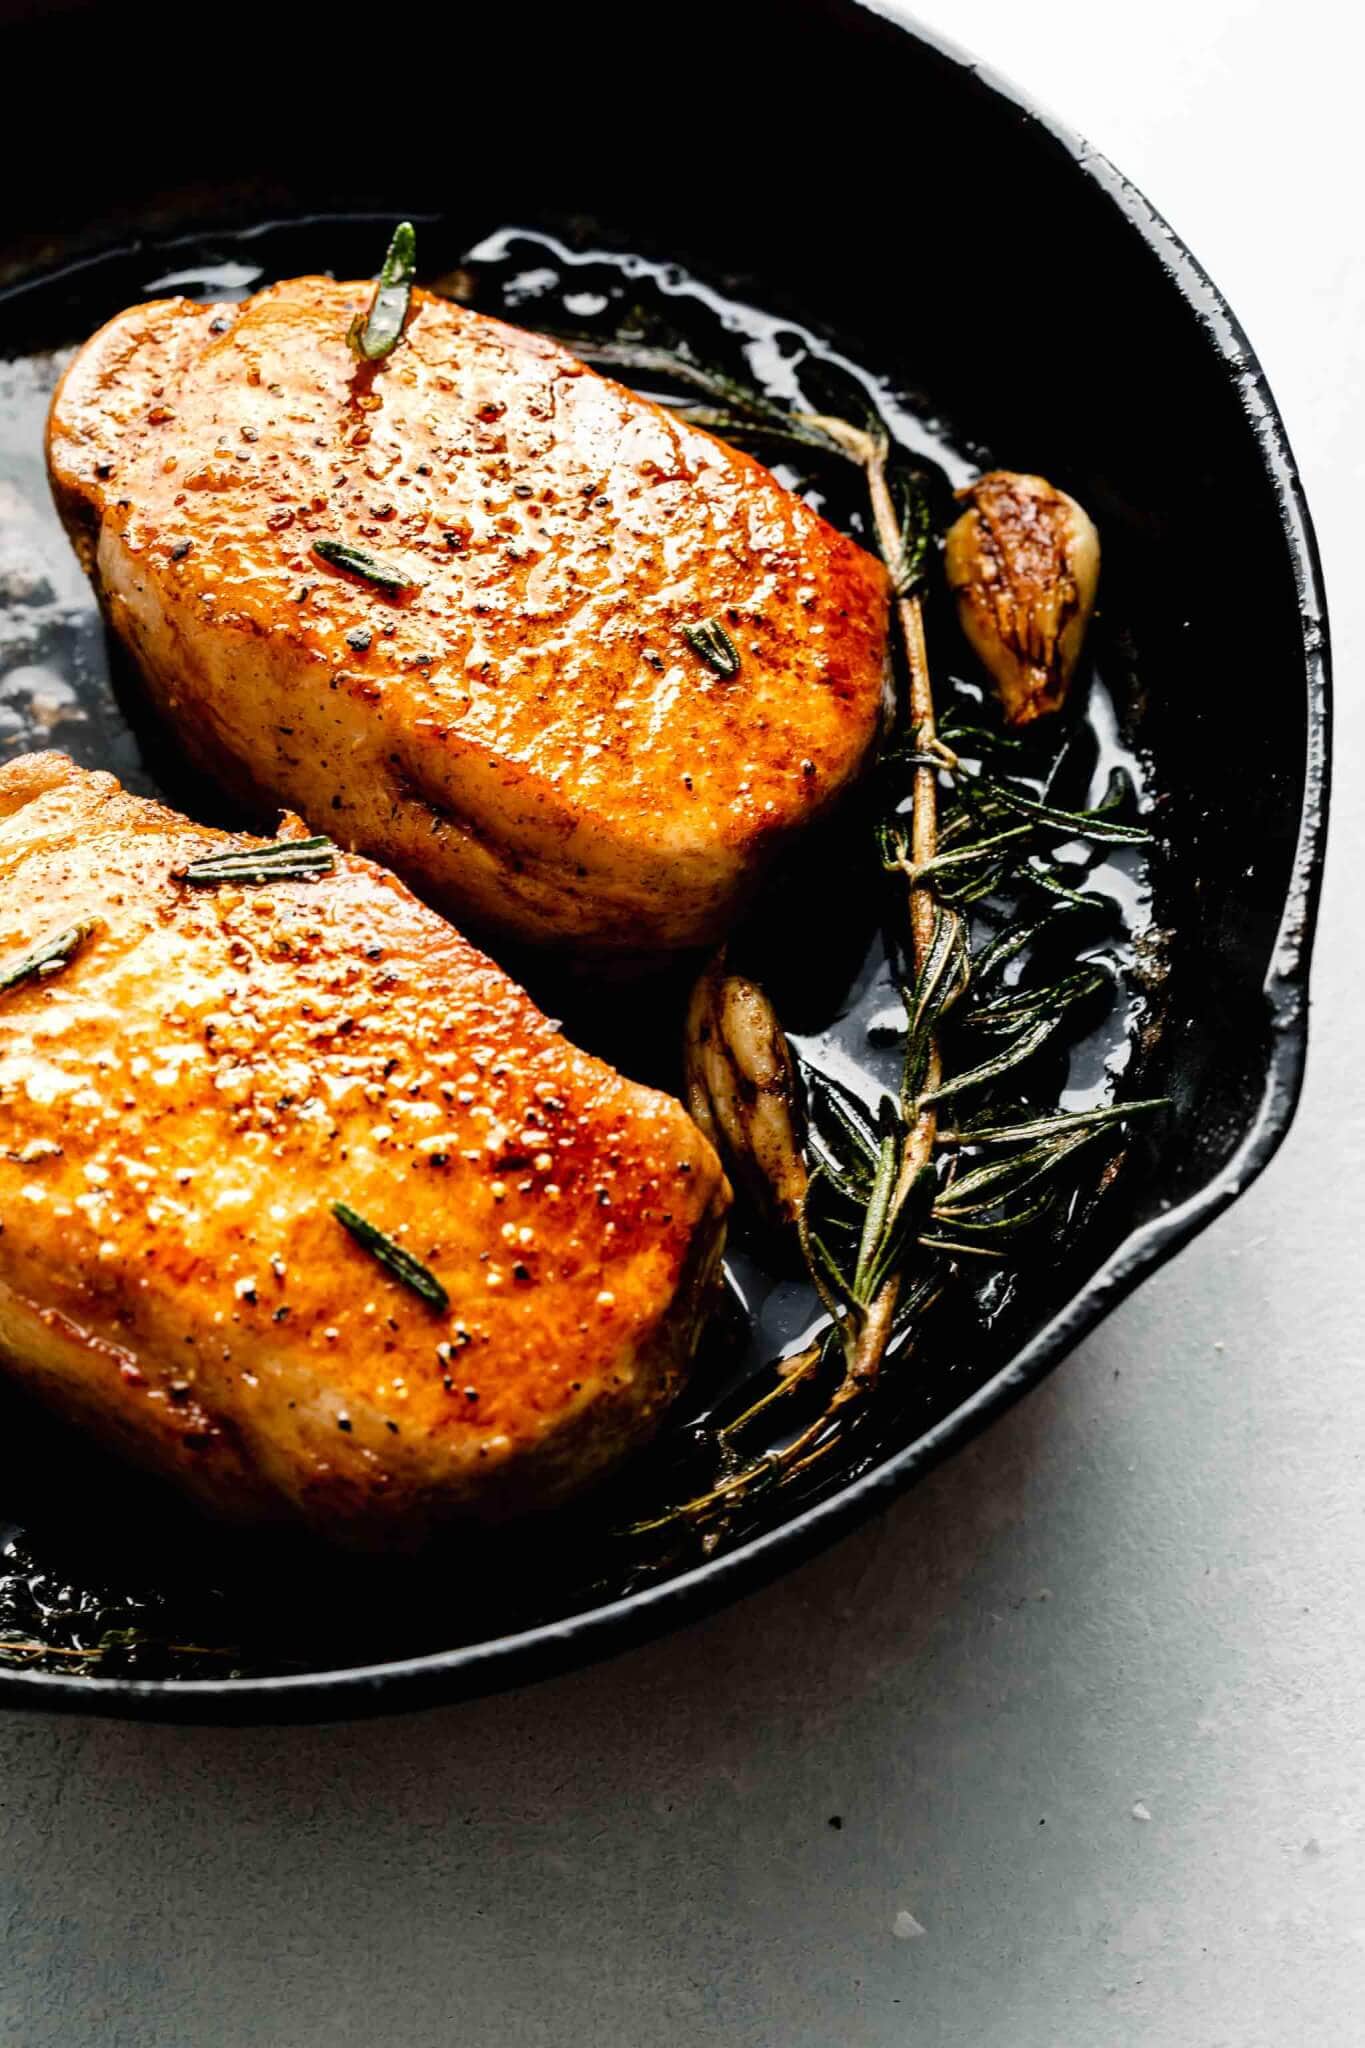
Sous Vide Pork Chops

Did you make this sous vide tri tip?
If you loved this sous vide tri tip, I would appreciate it so much if you would leave a ⭐️star review⭐️! Also, be sure to snap a picture of your finished dish and share it with me on Instagram using the hashtag #platingsandpairings and tagging me @platingsandpairings.
For more great Platings & Pairings recipes, be sure to follow me on Pinterest, Facebook, YouTube, Twitter, and TikTok.

Full Recipe
Sous Vide Tri Tip
Equipment
Ingredients
- 2-3 pound tri tip roast (fat cap and silverskin removed)
Dry Rub
- 1 Tablespoon kosher salt
- 2 teaspoons black pepper
- 1 teaspoon garlic powder
- 1 teaspoon onion powder
Instructions
- Set the sous vide to your desired temperature (132-degrees for medium-rare, or see below***).
- In a small bowl, combine 1 Tablespoon kosher salt, 2 teaspoons black pepper, 1 teaspoon garlic powder, and 1 teaspoon onion powder. Then, sprinkle this mixture over your tri tip and rub to season.
- Vacuum seal the 2-3 pound tri tip roast using your preferred method.
- Cook for 1 hour, up to four hours.
- Remove steak and pat dry with paper towels.
- Preheat a cast iron skillet over high heat. Add 2 Tablespoons butter and 1 Tablespoon olive oil. Sear the tri tip for 2-3 minutes per side, tilting skillet and spooning butter over it as it cooks.
- Slice the steak into 1/2 inch slices against the grain. Sprinkle with additional salt and serve immediately.
Notes
- Store any leftover sous vide tri tip in an airtight container in the refrigerator for up to 3 days. To reheat, gently warm the slices in a skillet over medium-low heat with a little butter or beef broth to prevent drying out. You can also enjoy it cold, sliced thin, on top of a salad or in a sandwich.
- To freeze, wrap the cooled, sliced beef tightly in plastic wrap and place in a freezer-safe bag. It will keep for up to 3 months. Thaw overnight in the refrigerator before reheating.
- Pat the meat dry before searing. This is the most important step for achieving a great crust. Any excess moisture on the surface will create steam instead of a beautiful sear.
- Don’t skip the resting time! Though sous vide meat requires less resting than traditionally cooked meat, a 5-minute rest ensures the juices stay in the meat when you slice it.
- Season generously. The dry rub recipe is designed for a 2-3 pound roast. Feel free to adjust the amounts to your taste, but don’t be shy with the seasoning.
- Use a good quality cast iron skillet as they hold heat beautifully and provide an even, consistent sear. If you don’t have cast iron, a heavy-bottomed stainless steel pan will work as well.
- Don’t throw away those flavorful juices left in the sous vide bag! They can be used to make a delicious pan sauce or added to your favorite gravy recipe.
- Sear in batches if needed. If your tri tip is particularly large, you may want to sear it in two batches to avoid overcrowding the pan and steaming the meat.
- Swap the spice blend: Try a Mexican-inspired rub with cumin, chili powder, and oregano, or go Mediterranean with rosemary, thyme, and lemon zest.
- Marinate before cooking: Add a marinade to the bag with the tri tip before sealing. A red wine and herb marinade or a balsamic garlic marinade would be fantastic.
- Add aromatics to the bag: Tuck a few sprigs of fresh rosemary, thyme, or smashed garlic cloves into the bag with the meat for extra flavor.
- Finish with a compound butter: Top the sliced tri tip with a pat of herb butter just before serving.
- Add a sauce: Serve with a horseradish cream sauce, chimichurri, or a red wine reduction for added flavor.



Leave a Reply