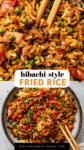
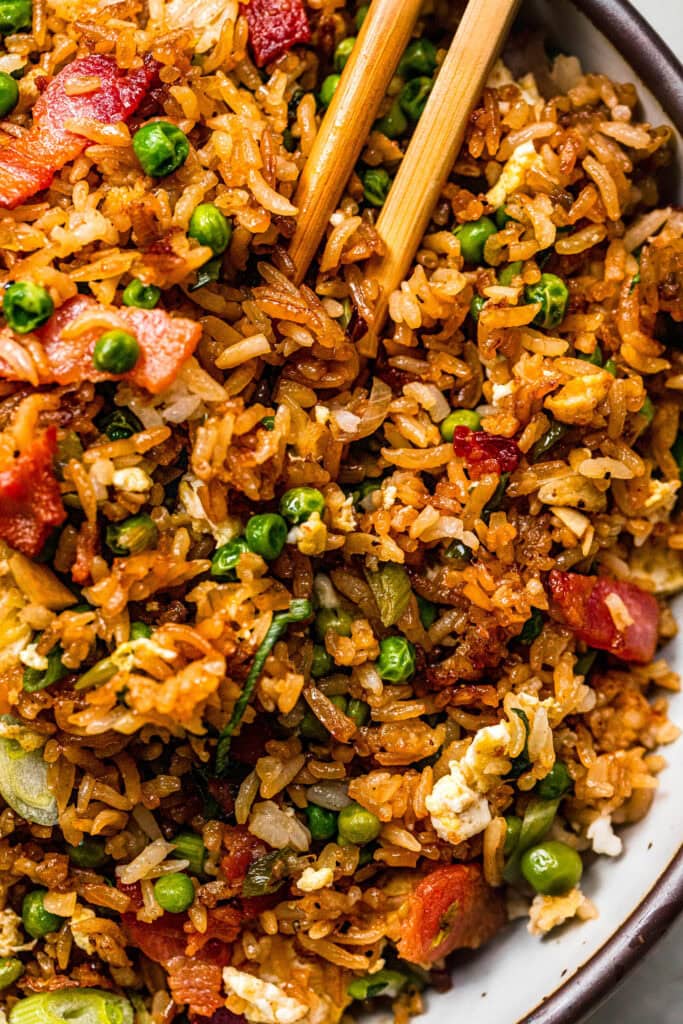
Skip the takeout tonight. This 15-minute hibachi fried rice delivers the perfect smoky, savory, and crisp texture of your favorite restaurant dish, made entirely in one pan. It’s deeply flavorful, endlessly adaptable, and so simple you’ll want to make it on repeat.
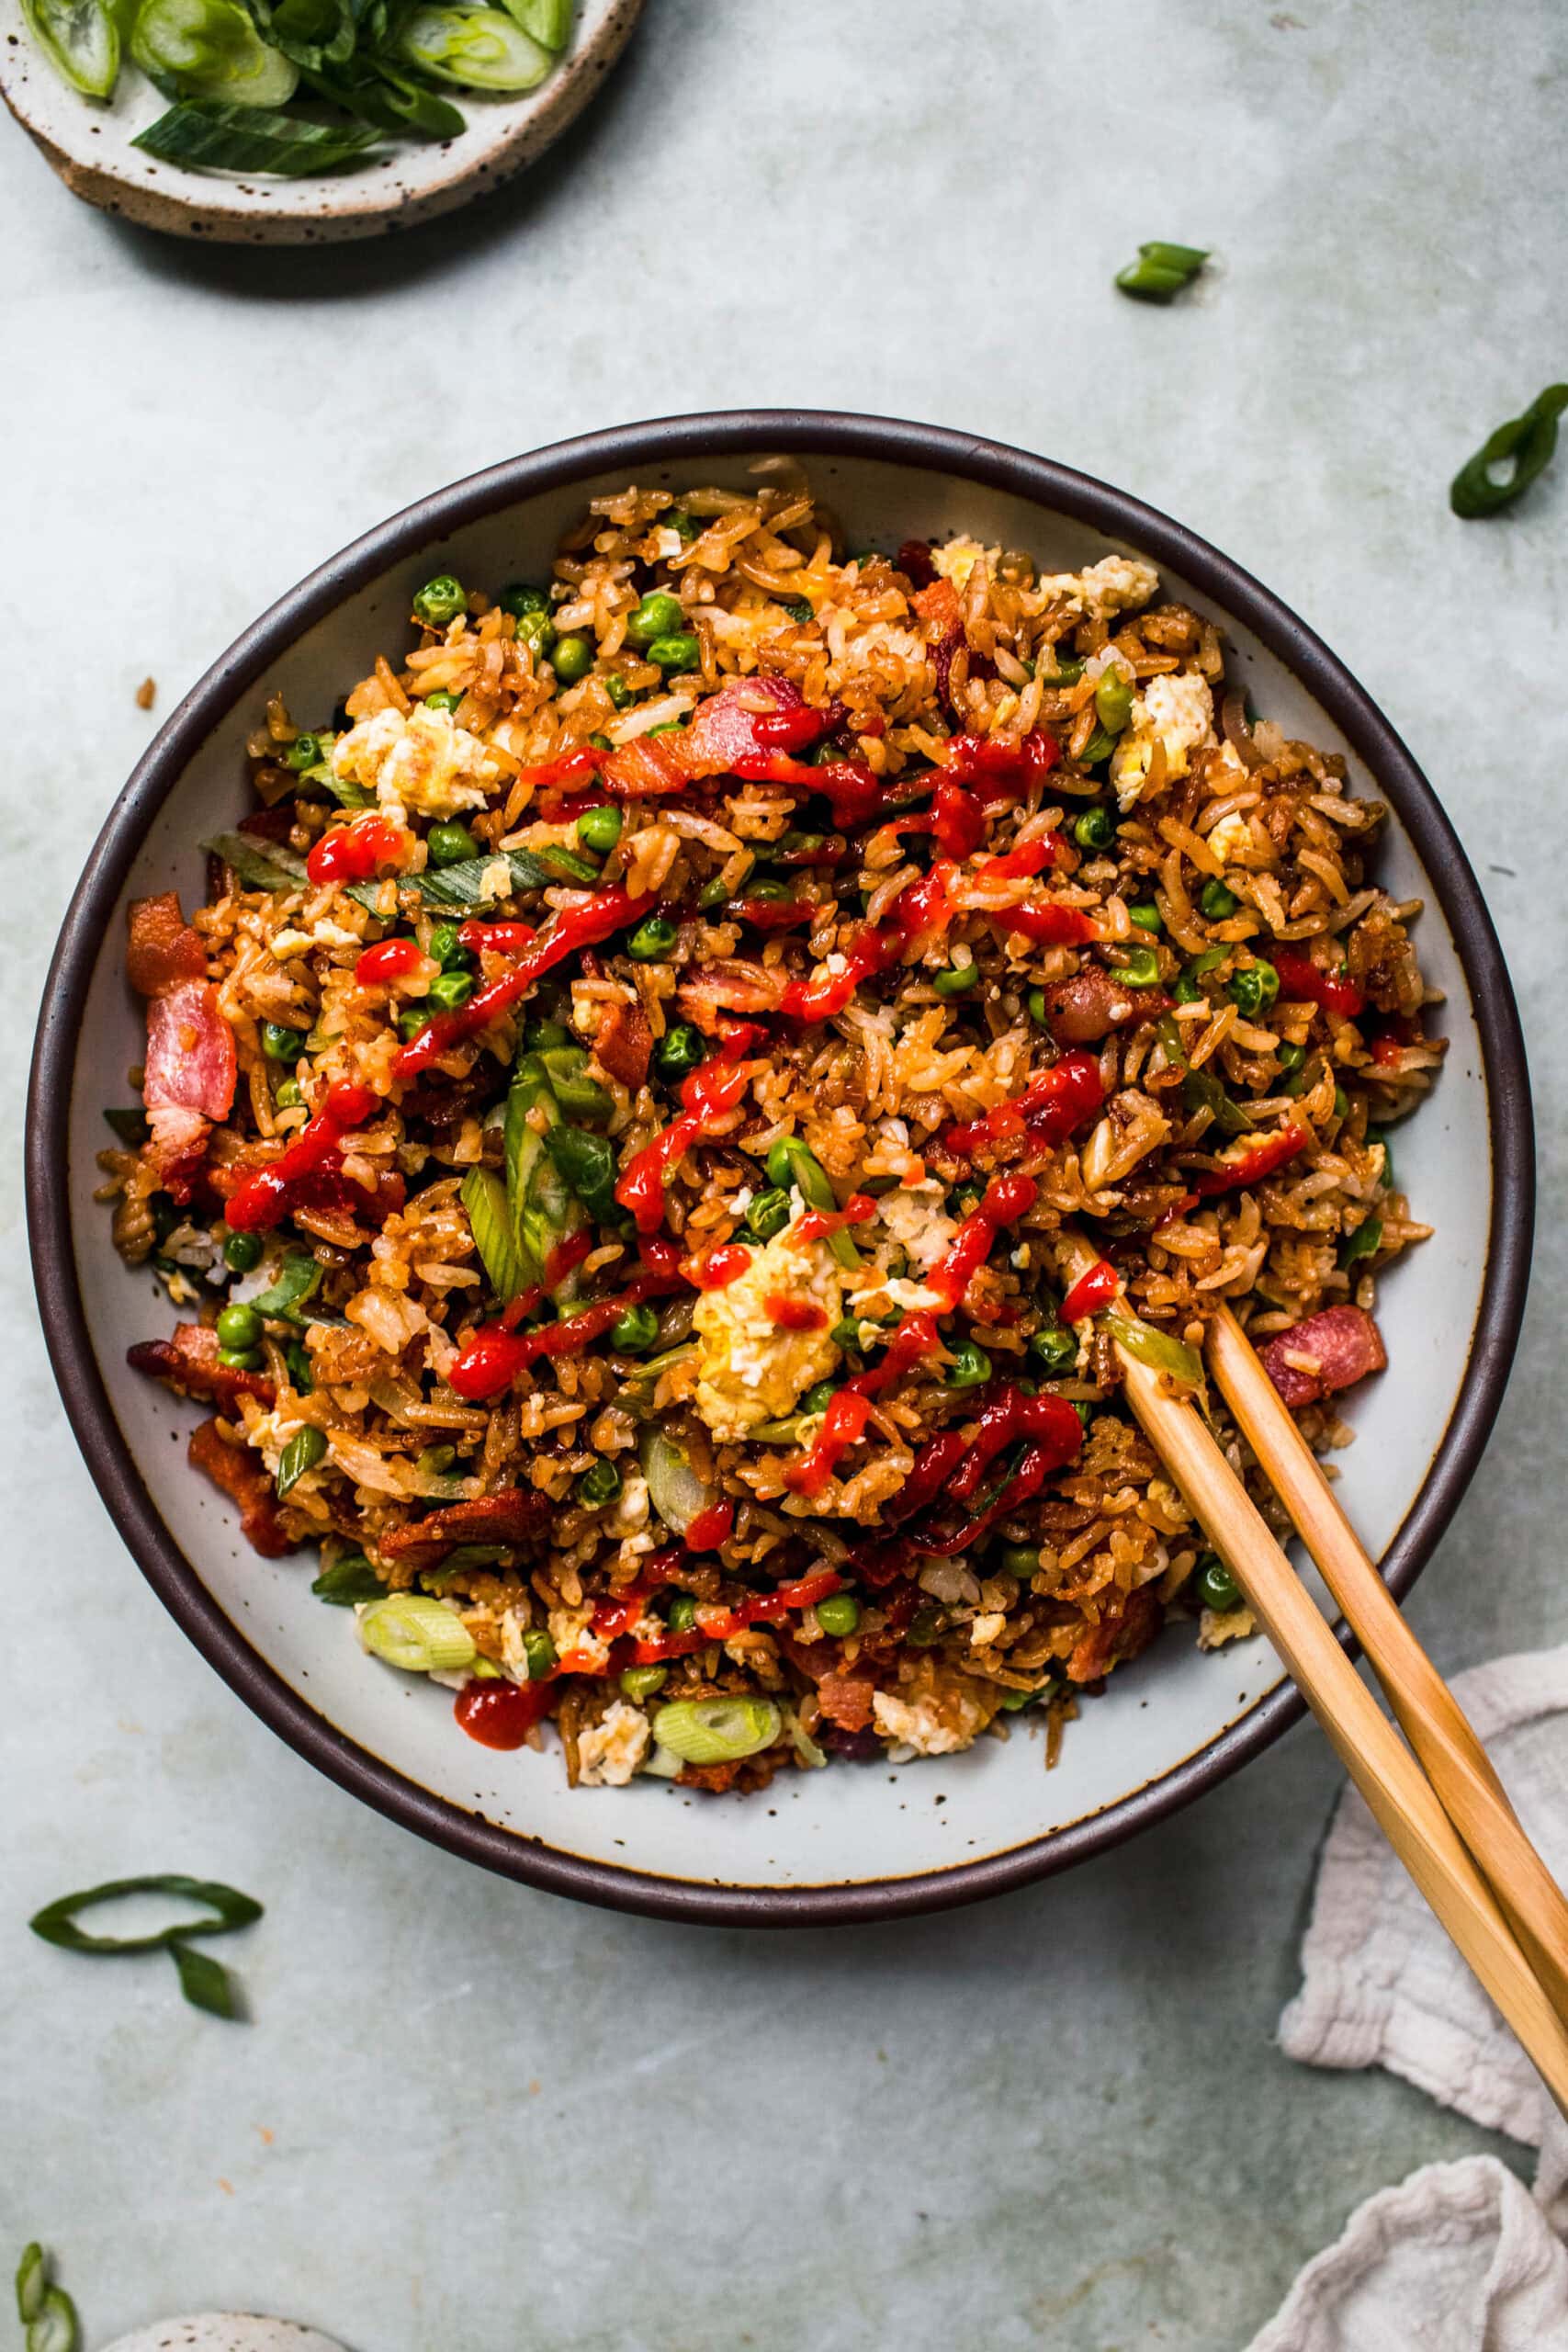
This recipe proves that the best-tasting fried rice doesn’t require any fancy equipment or special skills. All you need is a large skillet, griddle, flat top grill, or wok! This high-heat, fast-cooking technique creates that signature restaurant “hibachi” character right on your stovetop in a matter of minutes.
“Hibachi” refers to the lively, theatrical style of Japanese steakhouse cooking, where chefs expertly sear ingredients on a large, hot flat-top grill. It’s what inspired me to leave the Instant Pot Fried Rice for another day and show you this fool-proof stovetop method for a quick, smoky sear that gives the rice its irresistible crispy bits and that distinct, savory depth of flavor.
Even better, you can whip up this irresistible hibachi fried rice with ingredients you likely already have in your kitchen to enjoy as is or alongside some of my top sides for fried rice!
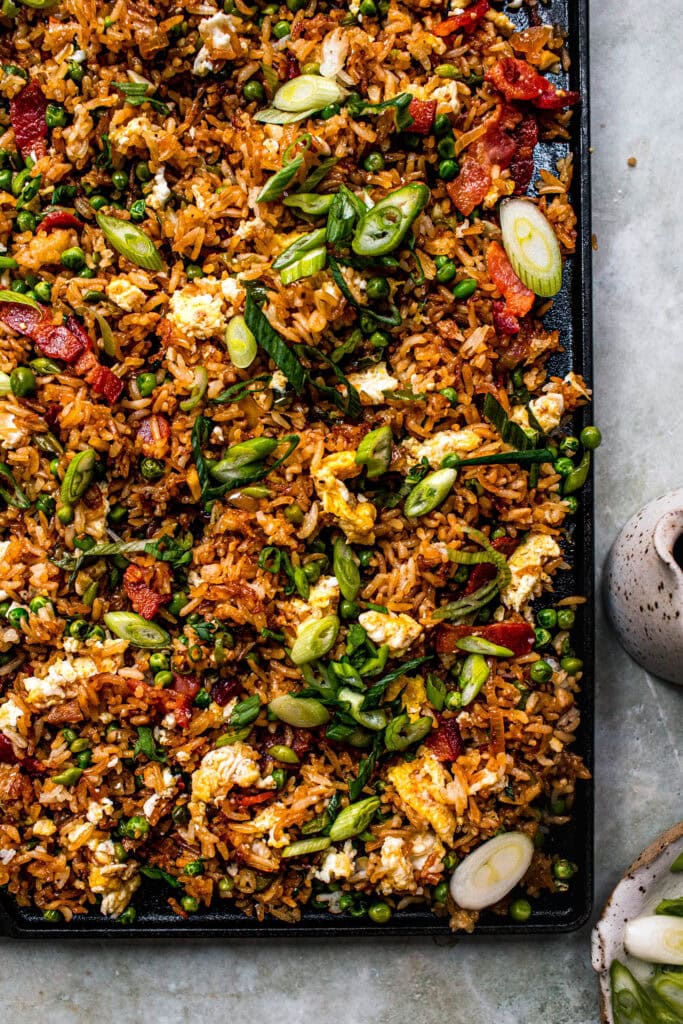
Table of Contents

Ingredient notes
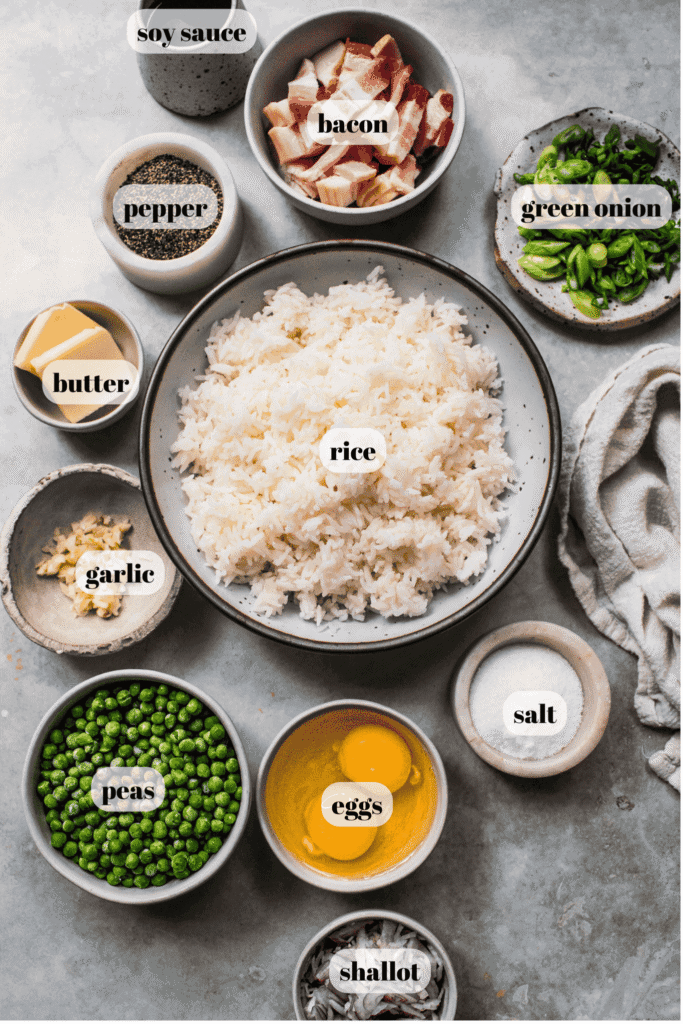
- Butter – Use unsalted butter for better control of the salt content in this dish, otherwise salted butter is fine too.
- Bacon – Cut the strips of bacon into ½-inch pieces to ensure even cooking and distribution throughout the fried rice mixture. Leave the bacon out if you want a vegetarian version and add in more butter (or add oil) for scrambling the eggs.
- Eggs – Scrambled in the rendered bacon fat for incredible flavor.
- Shallot -A classic aromatic, combined with the minced garlic to form the foundational flavor of this fried rice recipe.
- Garlic – Freshly minced garlic cloves will always provide the best depth of aromatic flavor.
- Salt and pepper -To taste.
- Rice – You’ll need cooked and cooled rice. I like to use long grain white rice when making fried rice, but you can also use jasmine rice or short grain white rice. Leftover rice from other meals is a great option! Brown rice can even be used, if you prefer.
- Frozen peas – Typically always in my freezer as a makeshift ice pack! Jokes aside, make sure you use frozen peas since freshly cooked peas will turn mushy from the high heat.
- Green onions -Finely sliced and combined with the rest of the ingredients during the last few minutes of cooking.
- Soy sauce -You’ll want to use low-sodium soy sauce to ensure that your fried rice isn’t overly salty. Feel free to use tamari or coconut aminos instead.
How to make it
Step 1
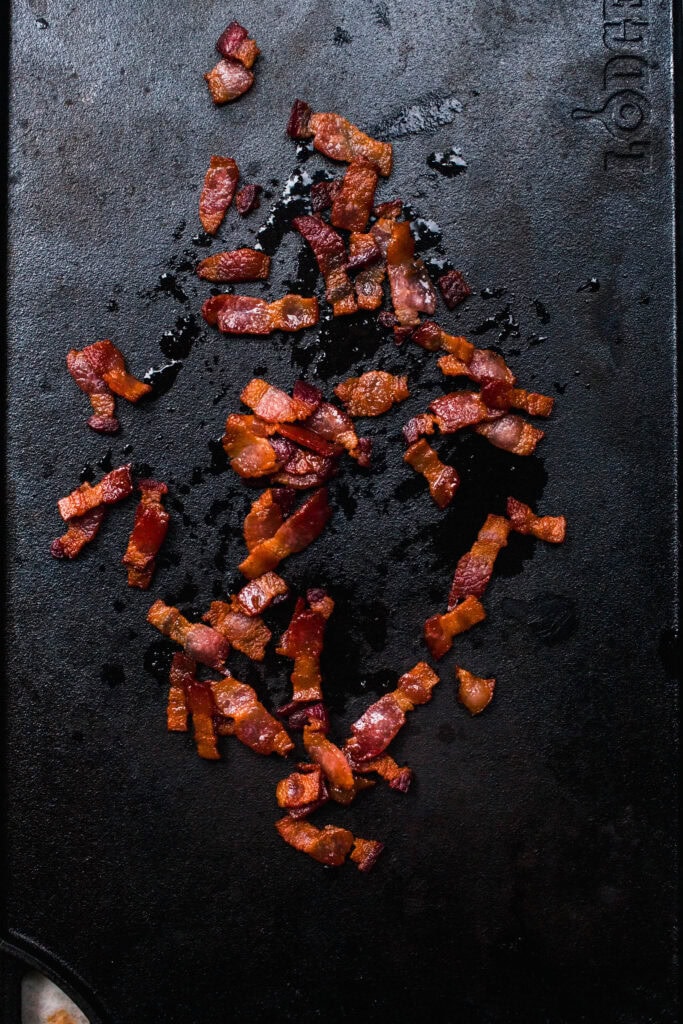
Cook the bacon
- Heat a large griddle or wok over medium heat.
- Cook the bacon, until crisp.
- Remove with a slotted spoon and let the bacon pieces drain on paper towels.
Step 2
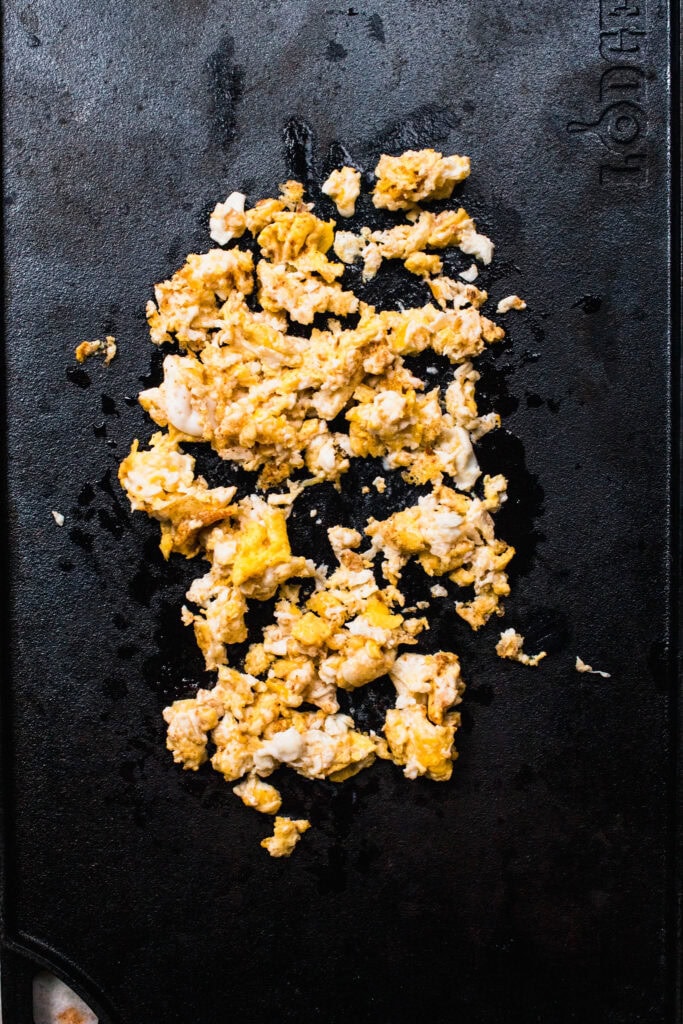
Scramble the eggs
- Remove all but 1 tablespoon of the bacon fat from the griddle or wok and increase the heat to medium-high.
- Add eggs and scramble.
- Once fully cooked, remove the scrambled eggs from the heat and set aside.
Step 3
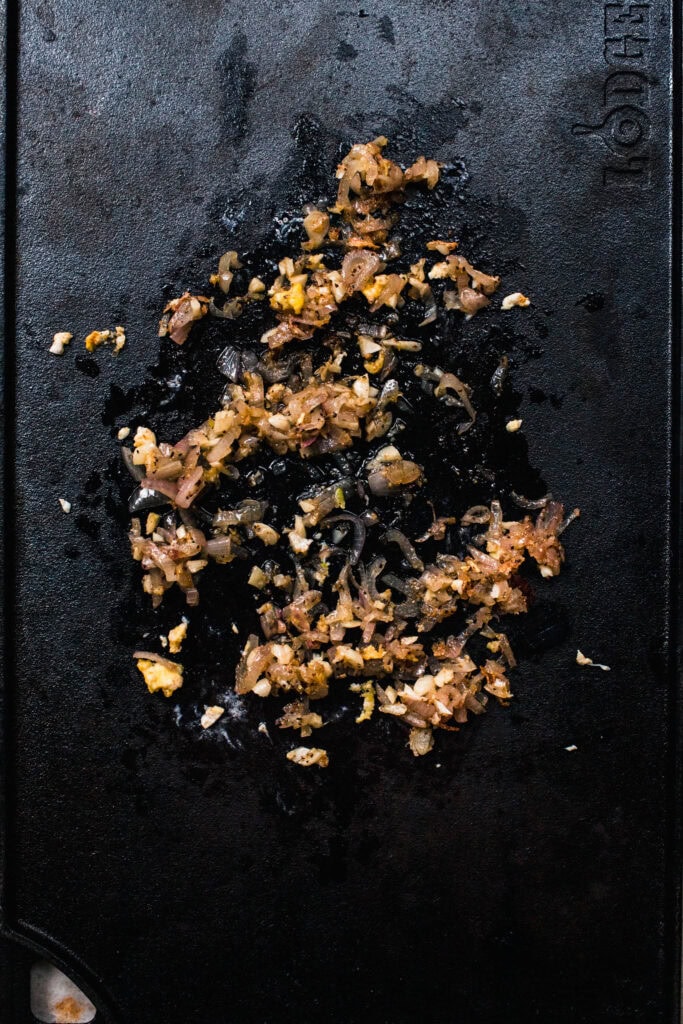
Saute the aromatics
- Add 1 Tablespoon of butter to the now-empty griddle or wok and heat until melted.
- Add the minced shallot and season with salt and pepper. Saute for 2-3 minutes, until the shallot has softened.
- Add the garlic and cook for 30 seconds longer, until fragrant.
Step 4
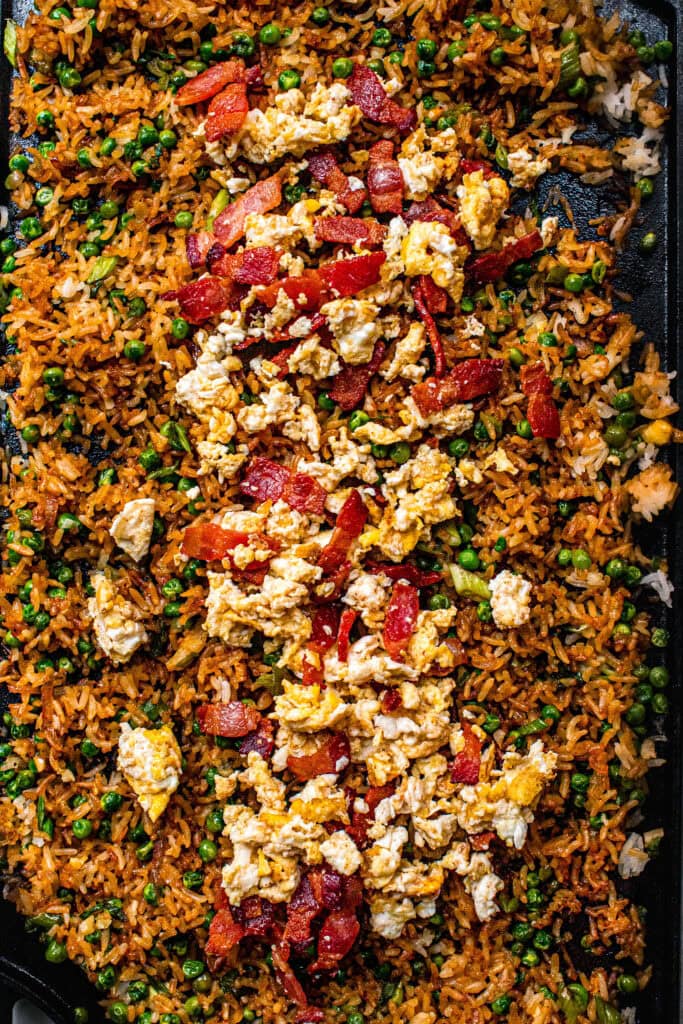
Add the remaining ingredients and serve
- Increase the heat to high and add in the remaining tablespoon of butter.
- Once melted, add the rice, peas, green onions, and soy sauce. Stir to combine.
- Fry over high heat for approximately 3 minutes, until it’s getting nice and brown, and crispy.
- Add the bacon and eggs and stir to combine.
- Serve immediately and enjoy!
Other ways to cook rice
While leftover or store-bought pre-cooked rice offers the ultimate convenience for making fried rice, you can also prepare the perfect batch of rice from scratch with minimal effort. Here are two hands-off methods I prefer to the traditional stovetop approach.
- Instant Pot Rice: Make perfect, fluffy rice in your Instant Pot every time with this simple, no-fuss recipe. Learn how to cook white, basmati, jasmine, and brown rice, plus how to use the Instant Pot rice button effectively.
- Rice Cooker Rice: Make perfectly tender and fluffy rice every time with your electric rice cooker and this simple guide. Just measure your rice and water, push the button, and come back to perfect results. It’s even more straightforward than a pressure cooker!
Tips and tricks
- Use cold, day-old rice straight from the refrigerator. The dried-out grains separate easily and fry without becoming mushy. If using fresh rice, spread it on a baking sheet and chill for 1-2 hours to remove moisture.
- The signature “hibachi” flavor and texture comes from quick frying over very high heat. Ensure your pan or griddle is hot before adding the rice to ensure crispy bits.
- Have all ingredients ready (cut, sliced, measured, and within arm’s reach) before you start cooking. This recipe moves very fast once the heat is on, and there’s no time to stop and prep.
- Feel free to adapt this recipe with what you have. Swap shallots for a mix of onion and garlic. Skip the bacon and use extra butter for sautéing. Got carrots or other veggies? Toss them in, too!
- Use a large griddle or wok. A generous surface area is essential as it prevents overflow and allows the rice to spread out in a thin layer. This ensures maximum contact with the hot pan, which is key for evaporating excess moisture and achieving the proper fried rice texture.

Variations
Ready to make this recipe your own? Here are a few delicious ways to customize your hibachi fried rice.
- Extra protein – Mix in sautéed chicken, shrimp, or pork. Edamame or cubed tofu are great non-meat protein options!
- Vegetarian hibachi fried rice – Ditch the bacon and add in more butter or oil for scrambling the eggs. You can also mix in other veggies and legumes, depending on your preference. Broccoli florets, red bell pepper, jalapenos, or mushrooms are all delicious options.
- Flavor boosts and alternatives – Mix in a bit of sesame oil, ginger, chili oil or sriracha for an easy and effective boost of flavor. Always taste to test before adding more. For a flavor alternative, try swapping out the regular soy sauce for some kecap manis (sweet soy sauce). Or, try adding in some kimchi.
- Low-carb hibachi fried rice – Swap the rice for cauliflower rice like I’ve used in this Bacon Cauliflower Fried Rice recipe (AKA Keto Fried Rice).
Serving suggestions
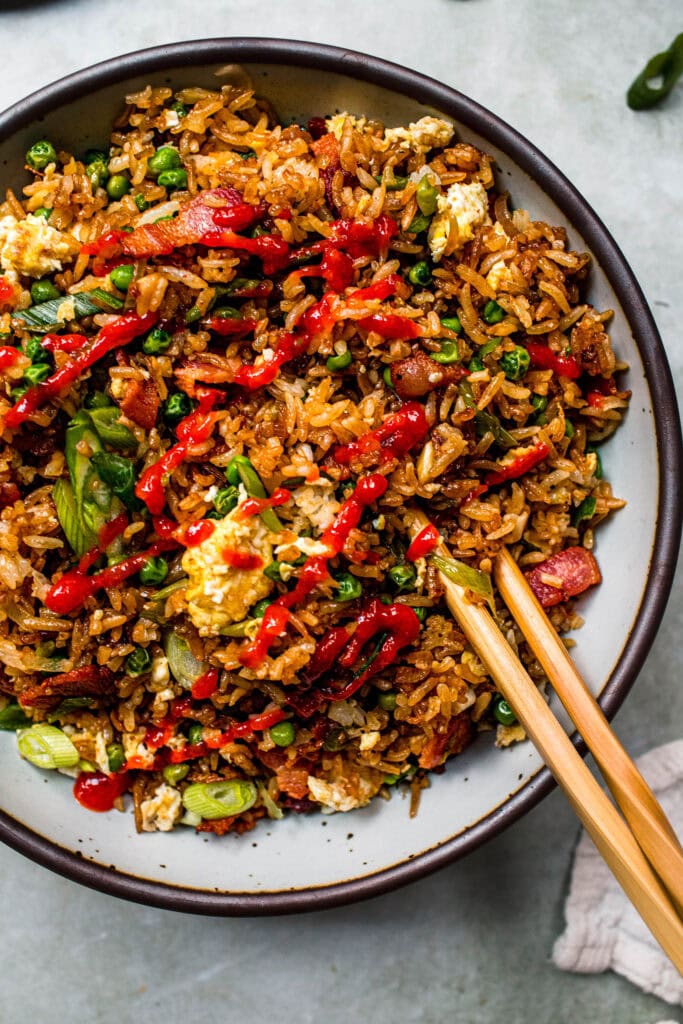
Serve this flavorful, crispy hibachi fried rice with a drizzle of sriracha sauce and your favorite Asian-inspired dishes for a complete meal that rivals takeout on any day!
- More → 35+ Sides for Fried Rice
Storing
- Store any leftovers in an airtight container in the fridge for 3-5 days or in the freezer for up to 3 months. I like to package it into individual Ziploc sandwich bags and freeze it laying flat.
- To reheat leftover chilled or thawed frozen fried rice, heat 1 Tablespoon of butter or oil in a medium skillet or in your Instant Pot using the “saute” setting. Add fried rice and cook until warmed through, about 5-7 minutes.

Erin’s wine pairings
- Try a Prosecco or Gewurztraminer with this hibachi fried rice. Eggs can often be tricky to pair with wine, but these light, fruity varieties actually help to bring out all the salty, smoky flavors in this dish.
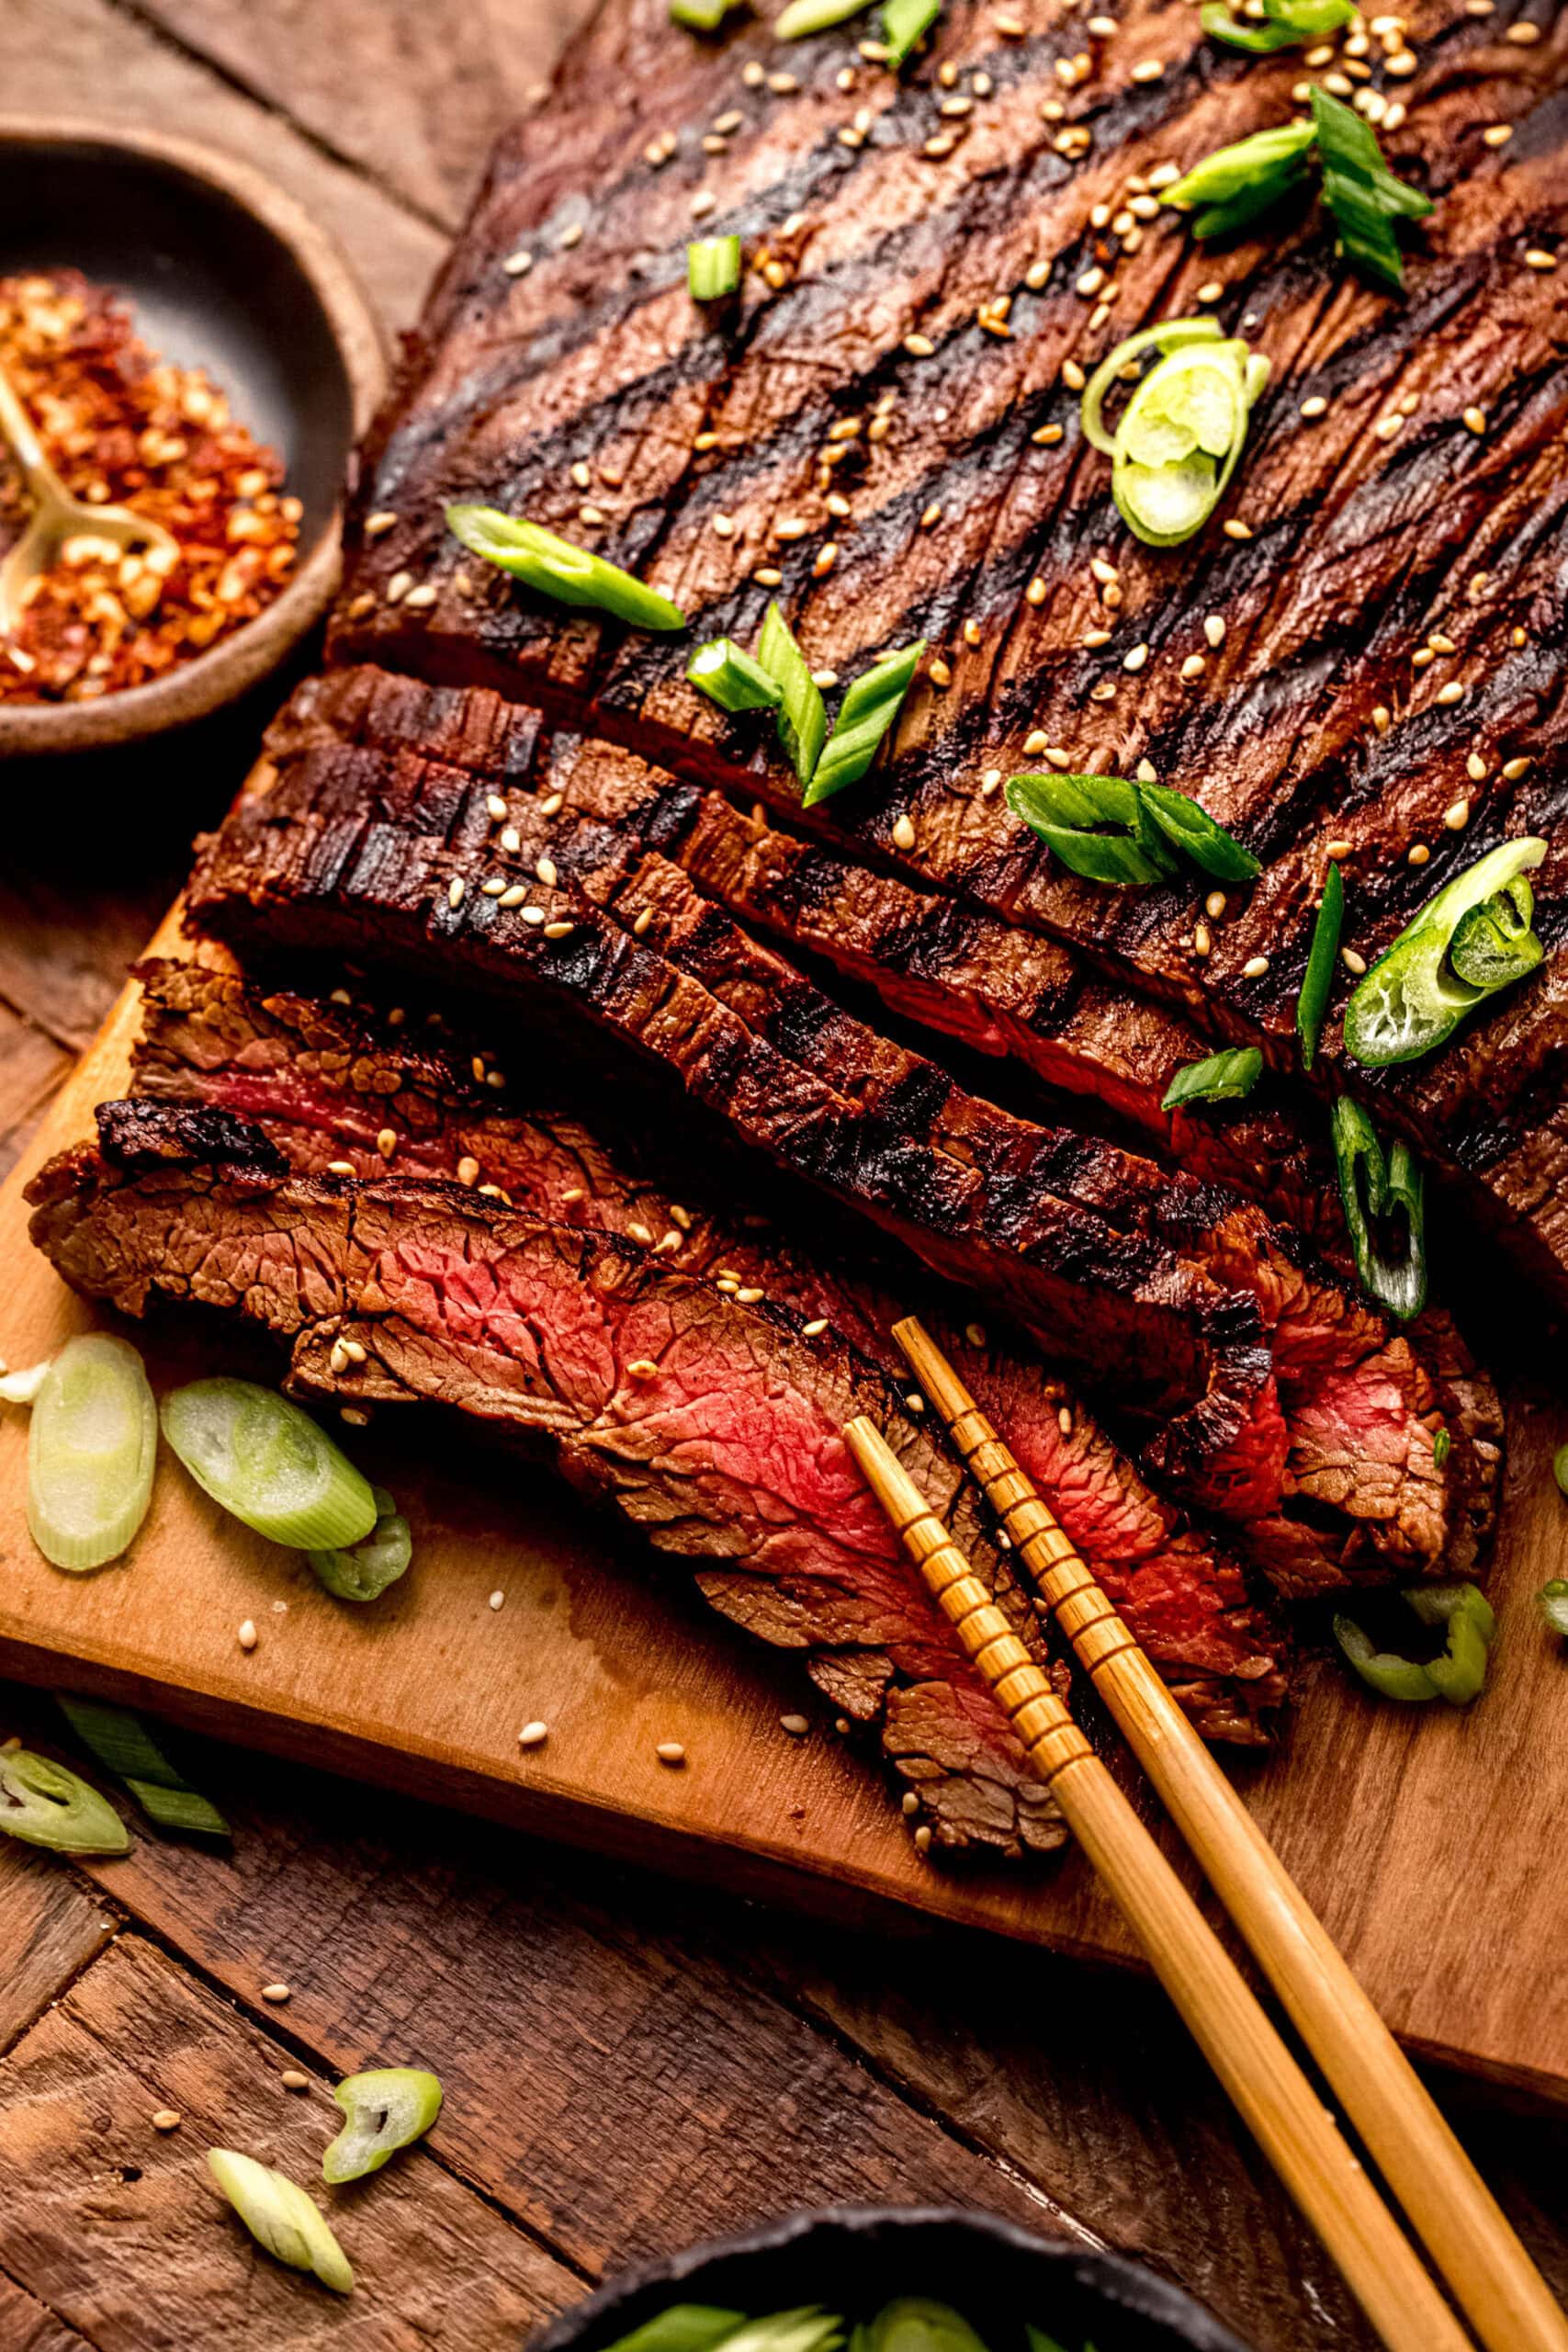
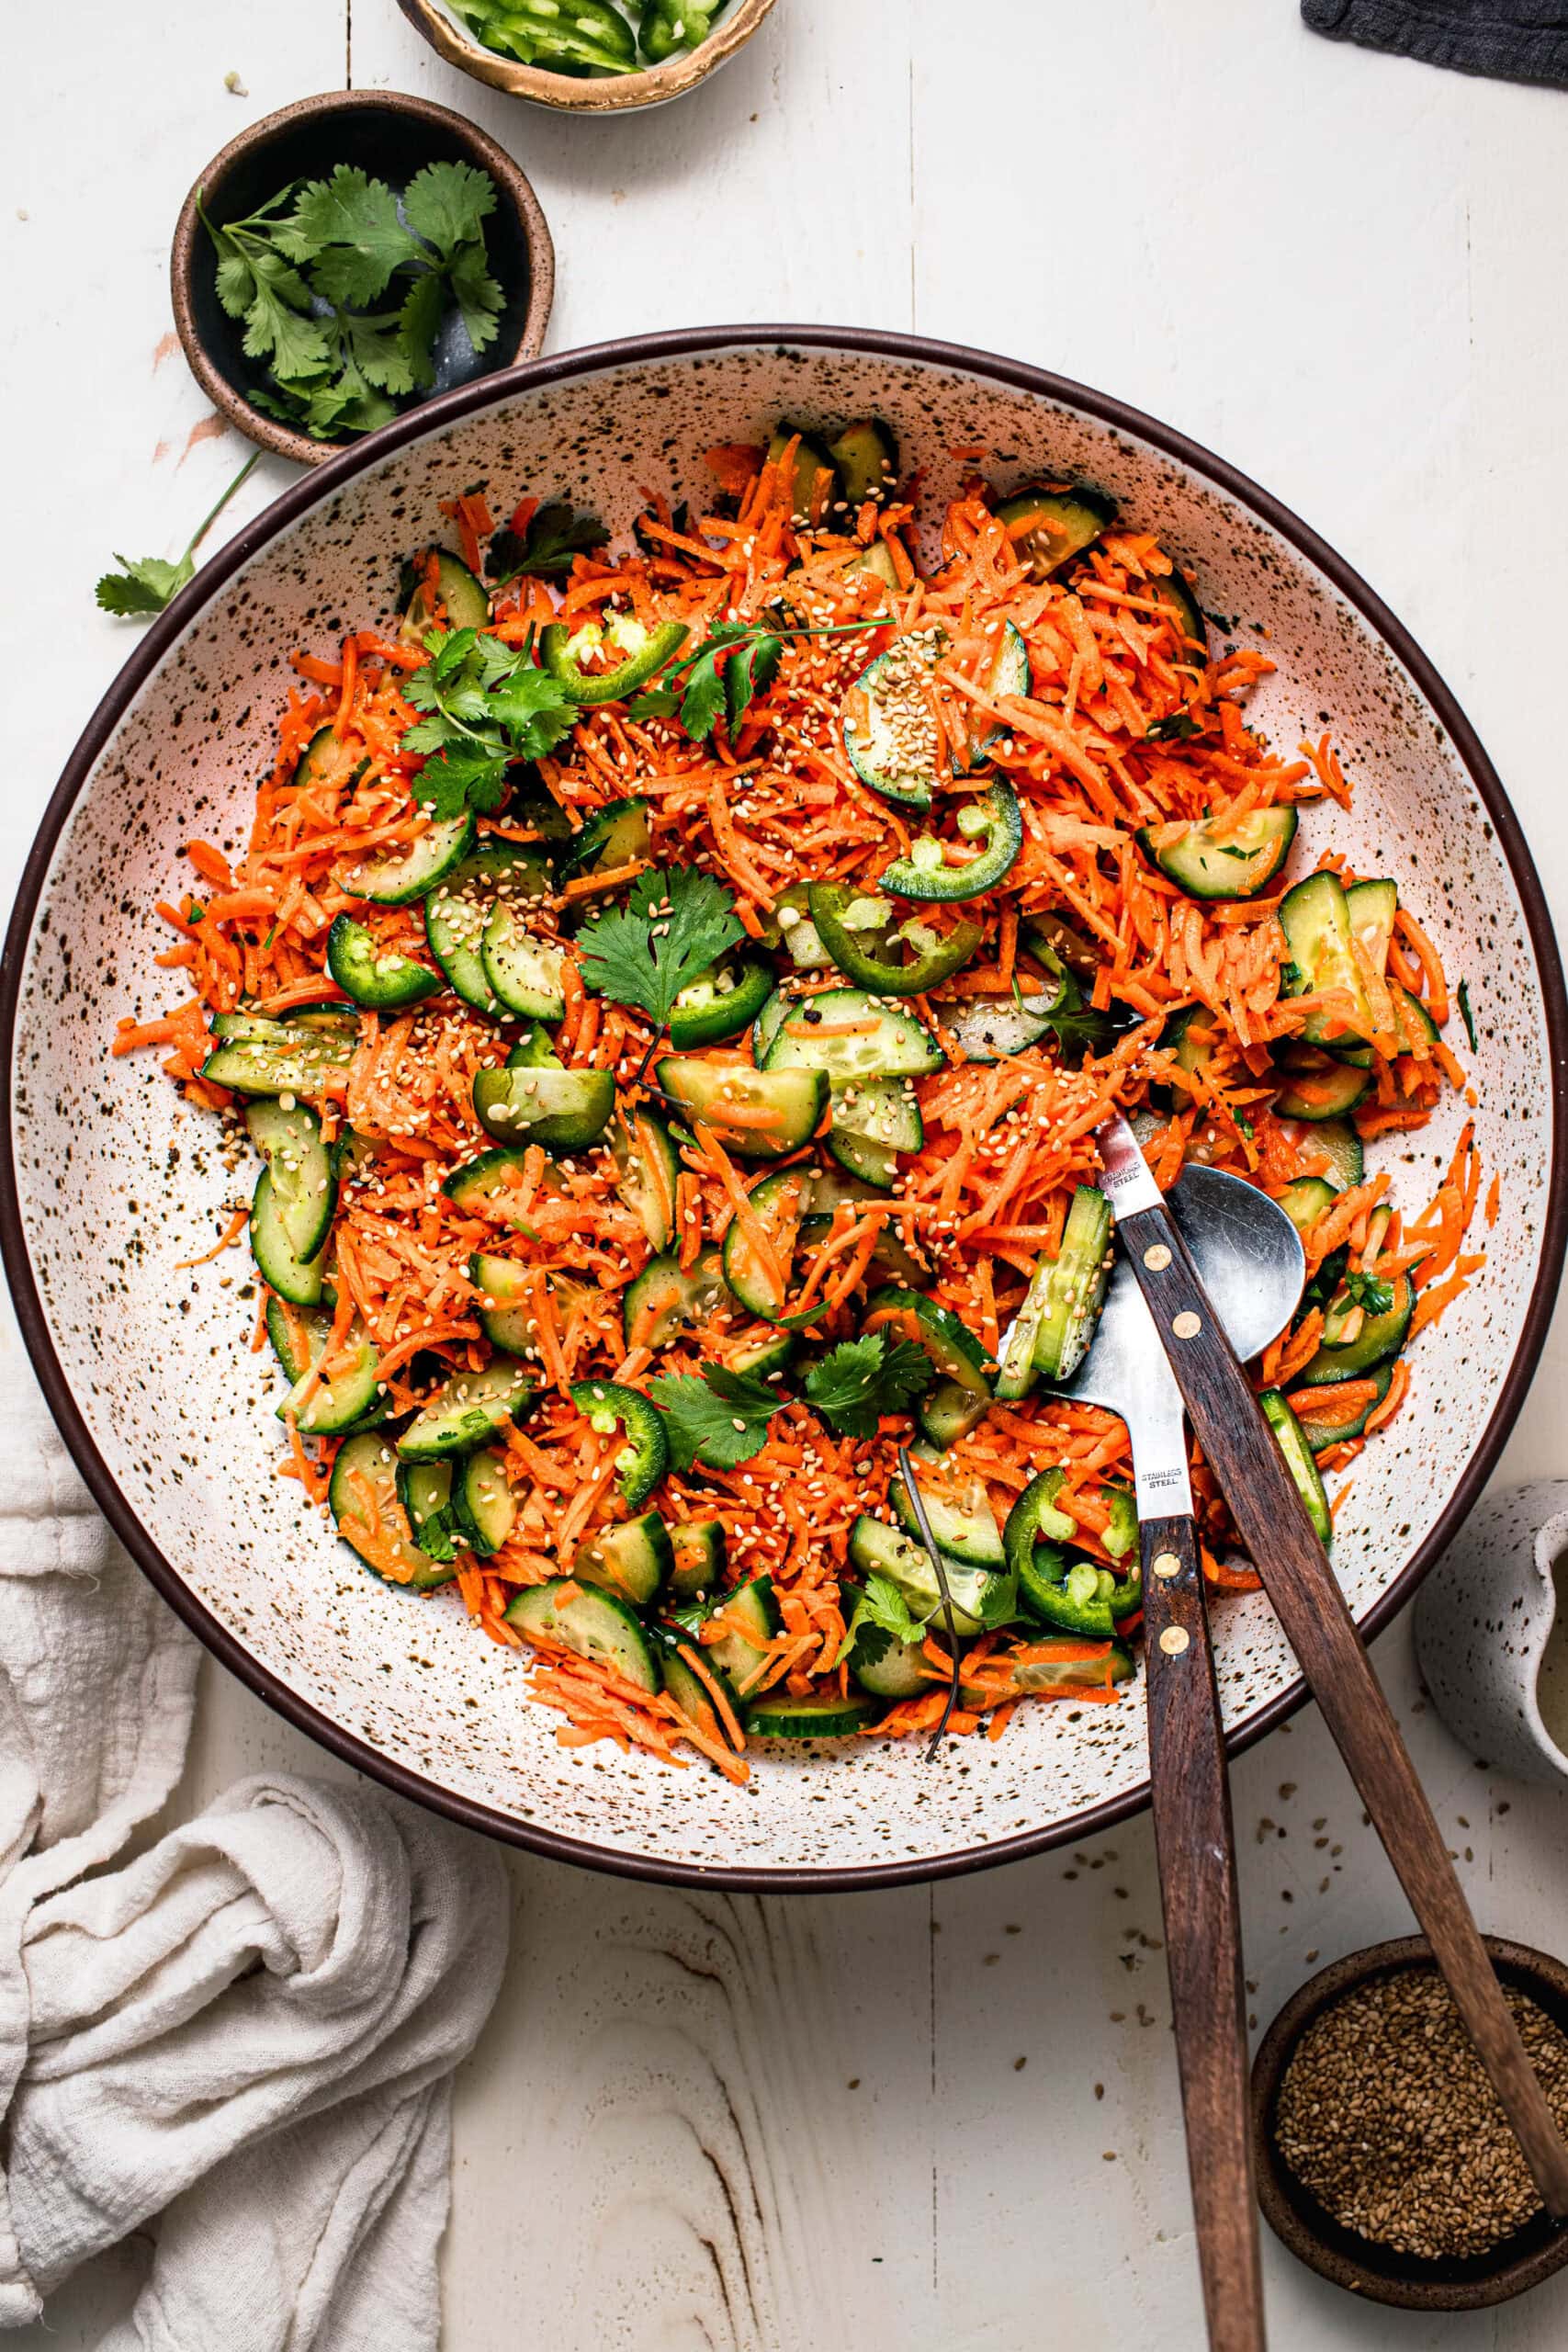
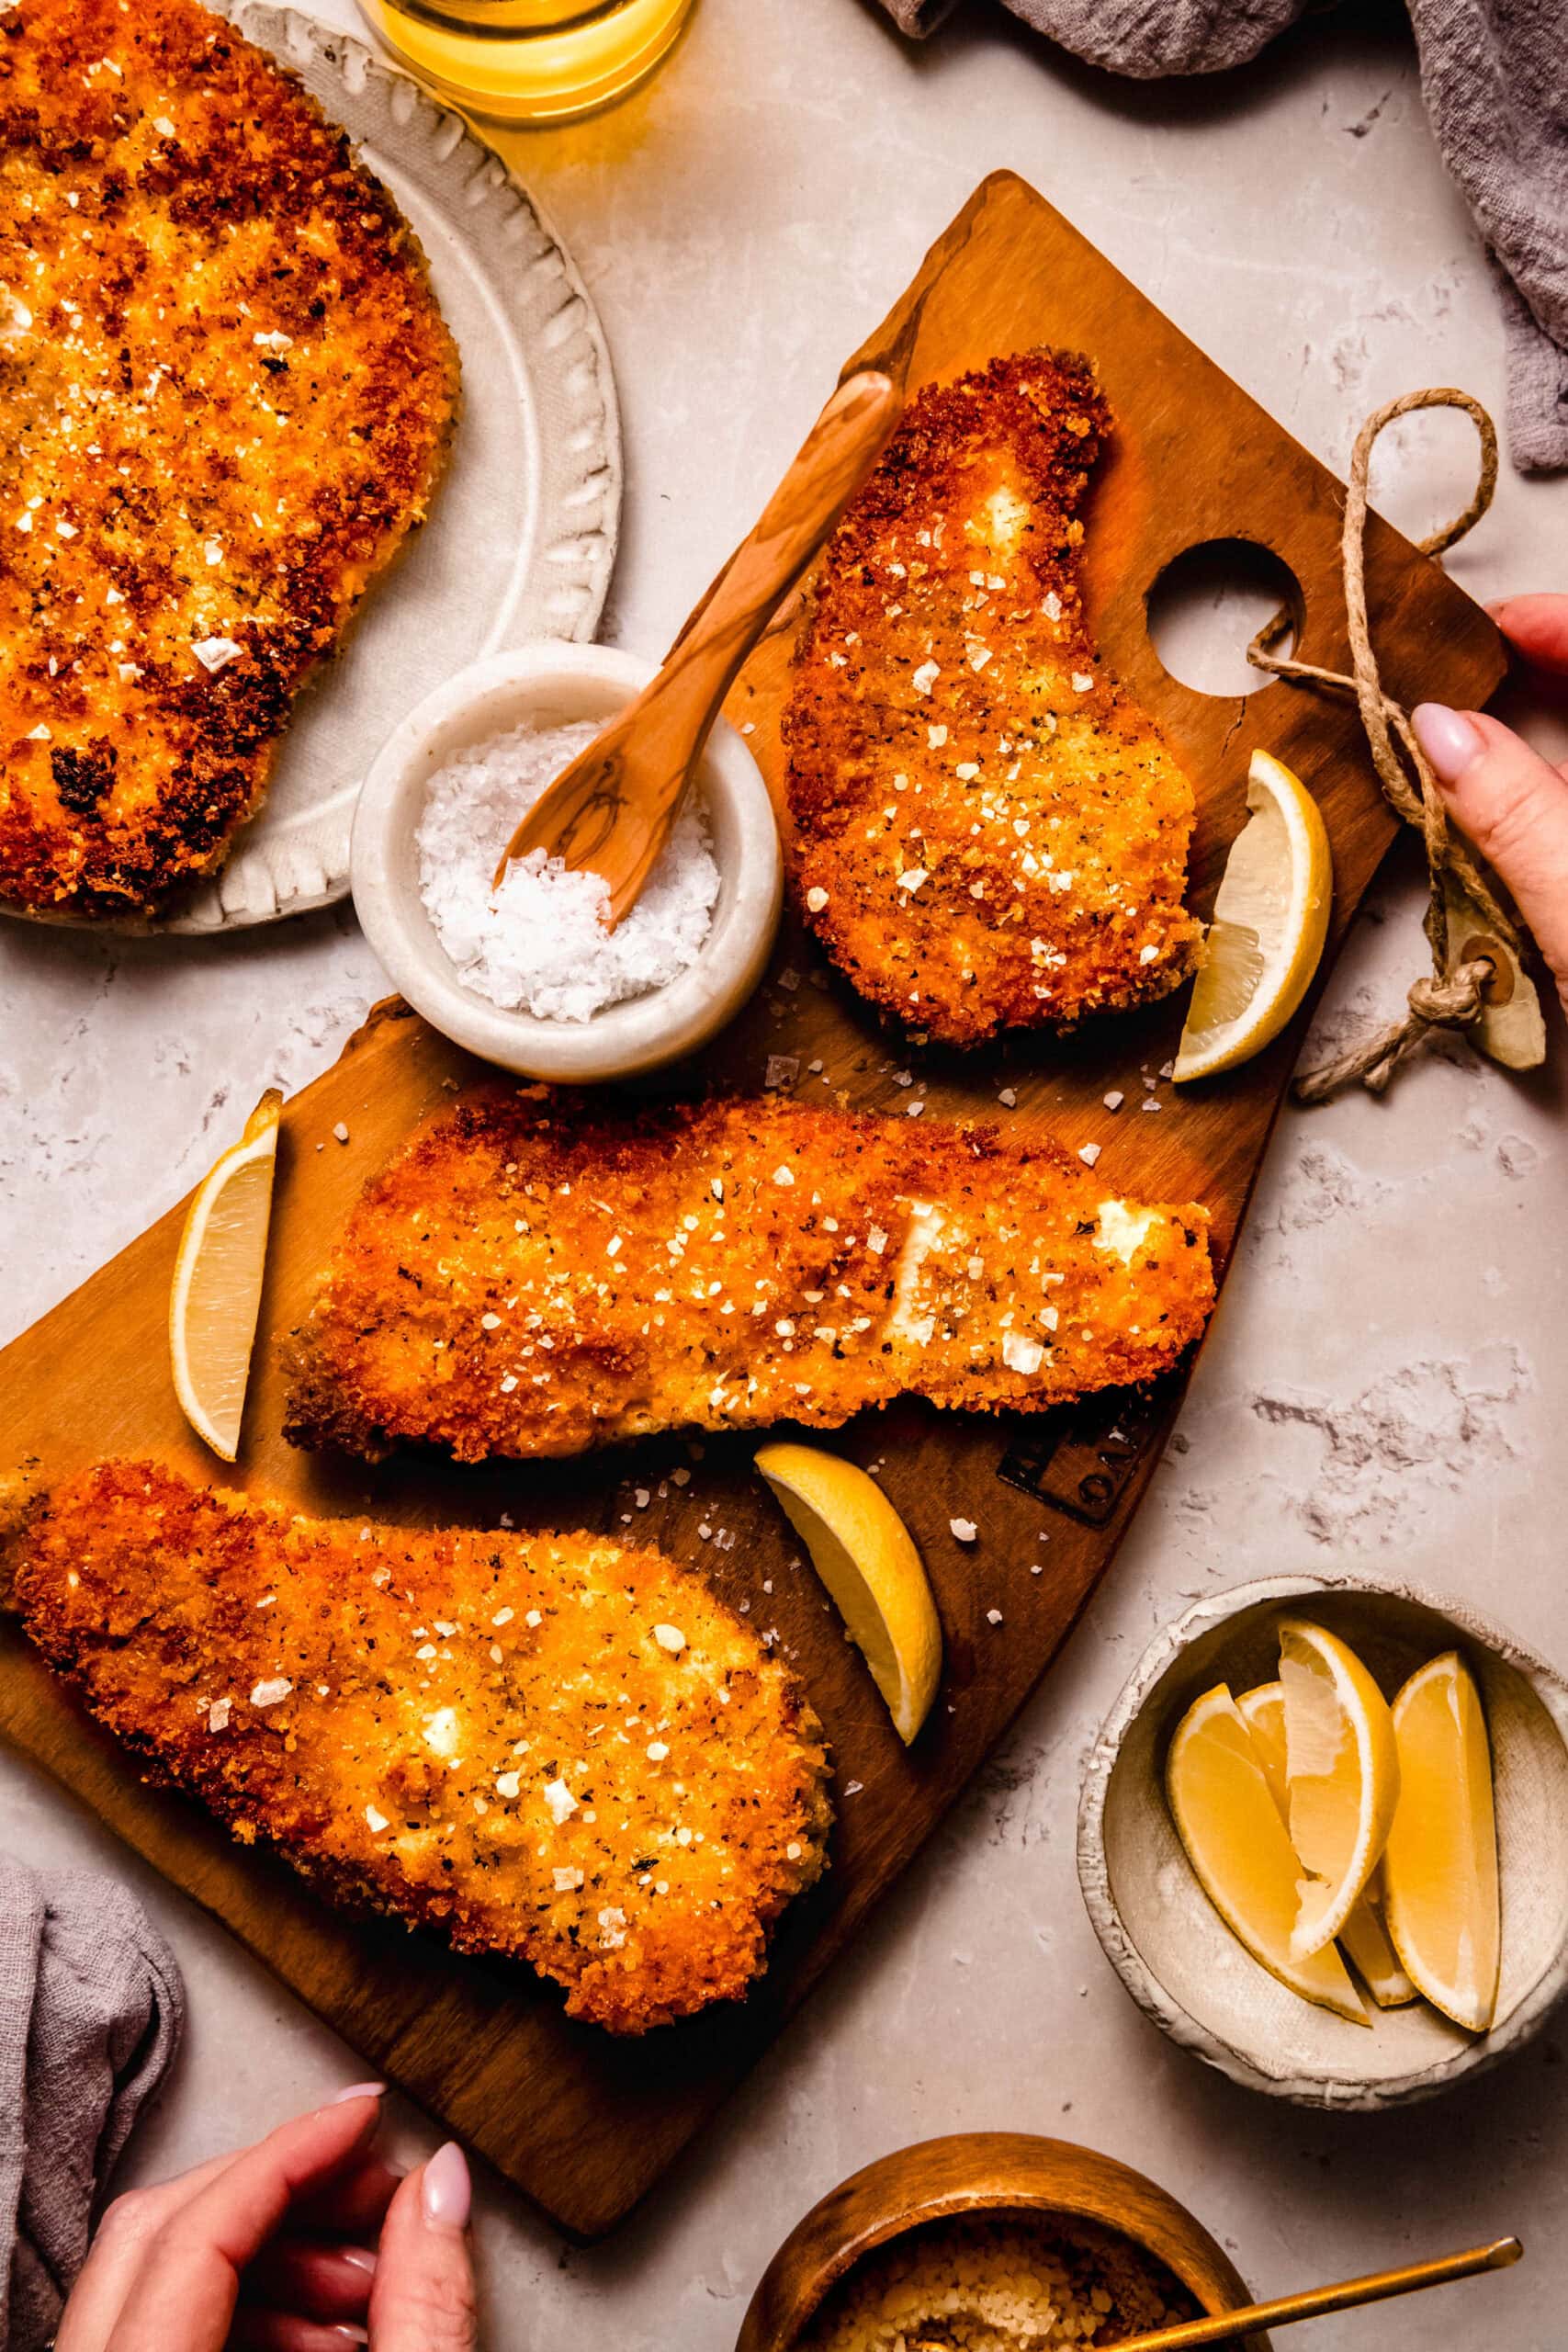
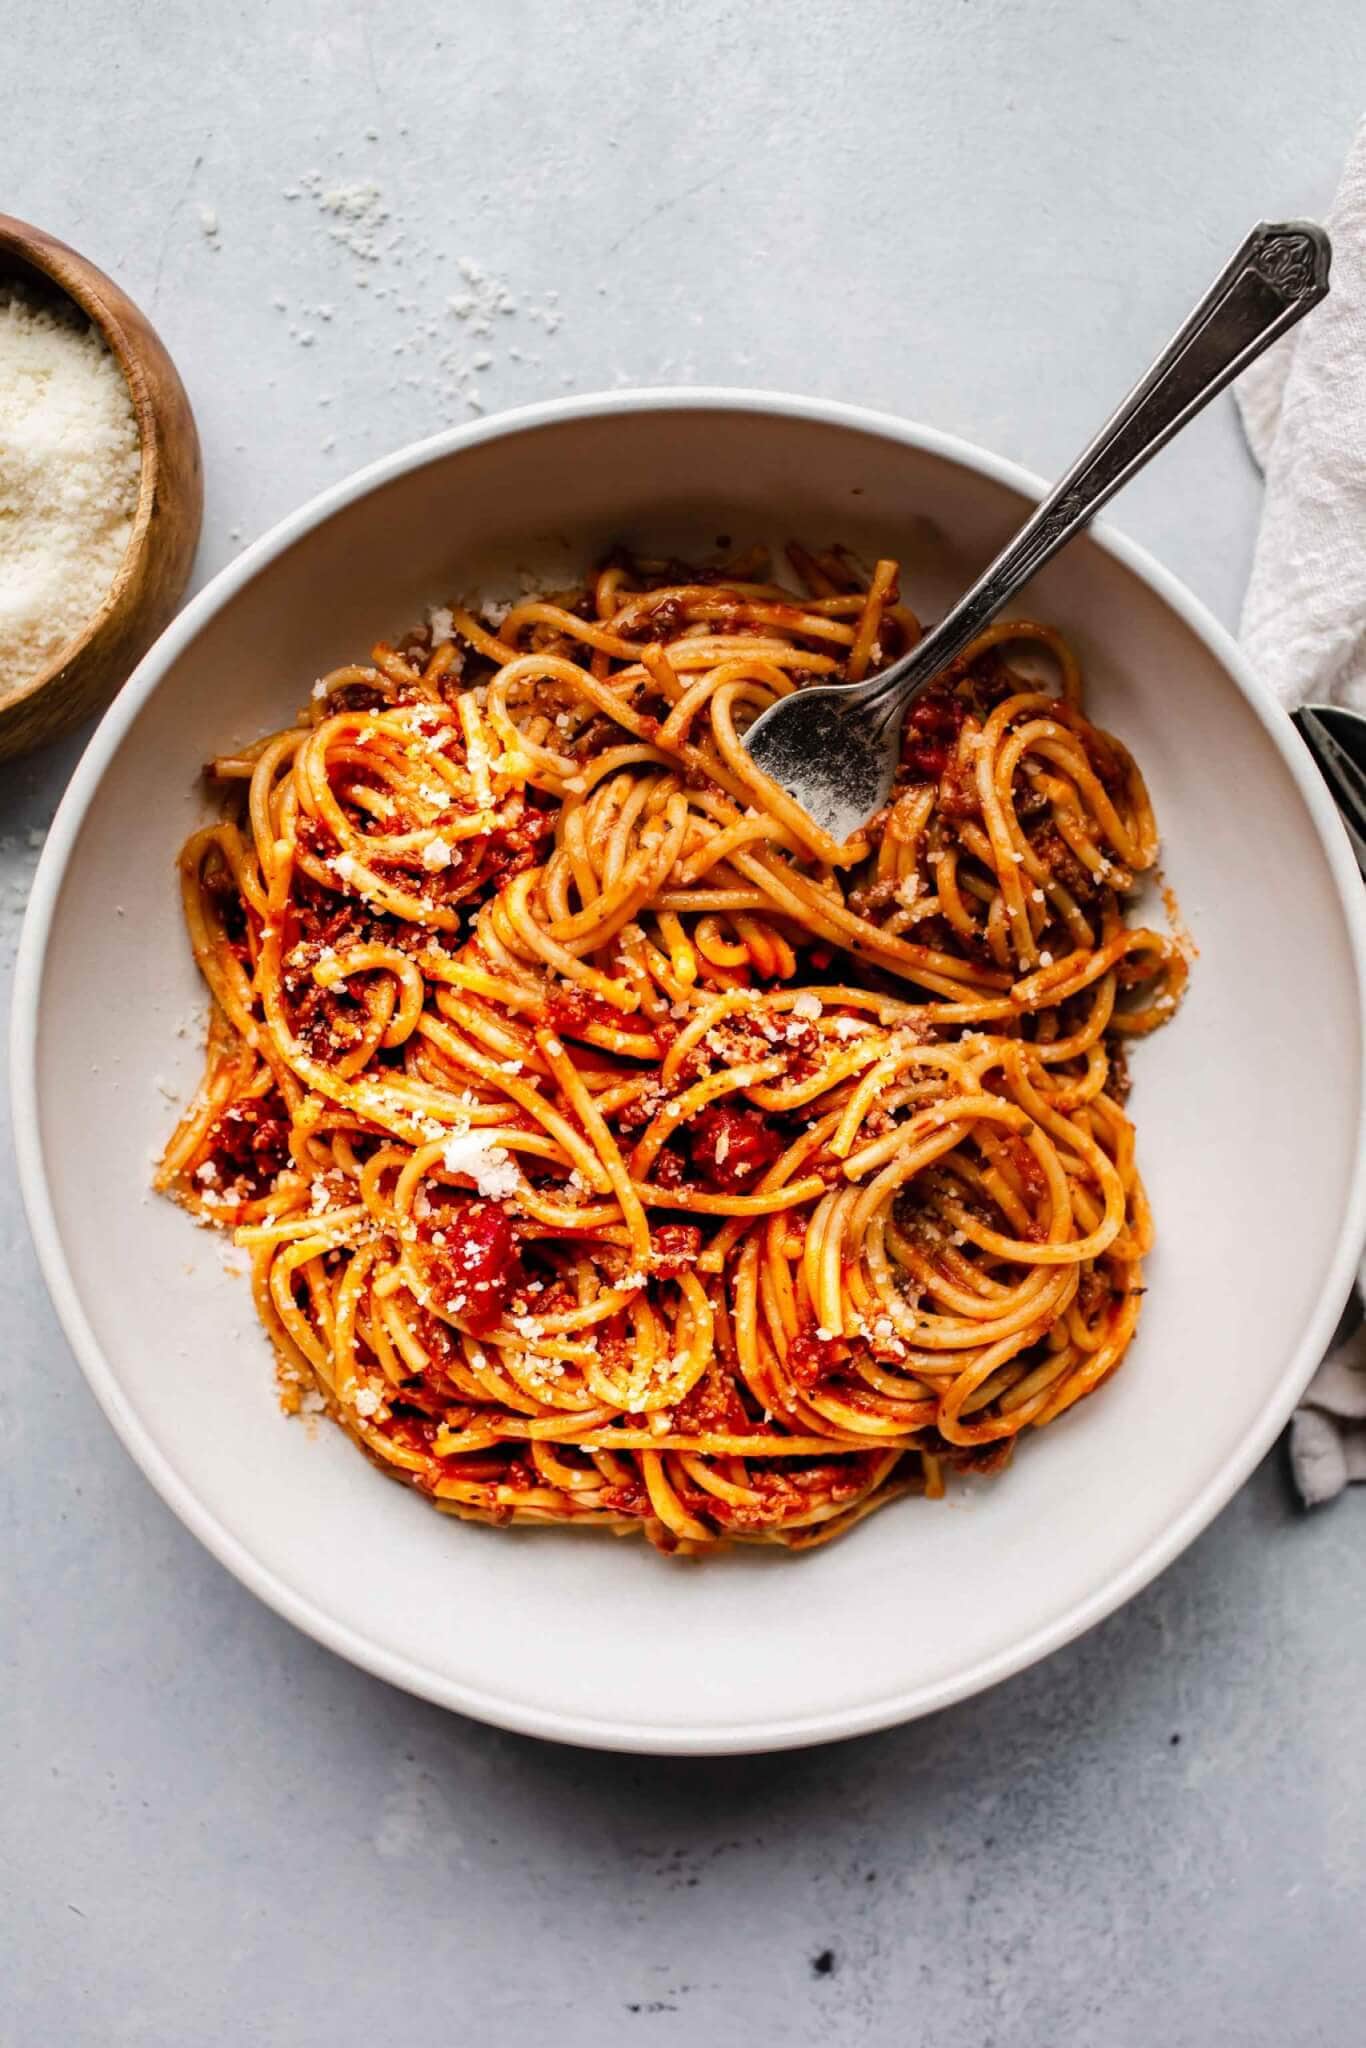
More tasty Asian-inspired dishes


Did you make this hibachi fried rice?
If you loved this hibachi fried rice recipe, I would appreciate it so much if you would leave a ⭐️star review⭐️! Also, be sure to snap a picture of your finished dish and share it with me on Instagram using the hashtag #platingsandpairings and tagging me @platingsandpairings.
For more great Platings & Pairings recipes, be sure to follow me on Pinterest, Facebook, YouTube, Twitter, and TikTok.

Full Recipe
Hibachi Fried Rice
Equipment
- Skillet (flat-top grill, griddle, or wok)
Ingredients
- 2 Tablespoons butter (divided)
- 3 strips bacon (cut into ½ pieces, optional)
- 2 eggs (whisked)
- 1 medium shallot (minced)
- 3 cloves garlic (minced)
- Salt and pepper (to taste)
- 4 cups rice (cooked and cooled )
- 2/3 cup frozen peas
- 3 green onions (sliced)
- ¼ cup soy sauce (low-sodium, or tamari)
Instructions
- Heat a large griddle, flat top grill, large skillet or wok over medium heat. Cook the 3 strips bacon, until crisp. Remove with a slotted spoon and let drain on paper towels.
- Remove all but 1 TBSP of the bacon fat from the griddle or wok and increase the heat to medium-high. Add 2 eggs and scramble. Once fully cooked, remove from heat and set aside.
- Add 1 TBSP butter to the now-empty griddle or wok and heat until melted. Add the 1 medium shallot and season with salt and pepper. Saute for 2-3 minutes, until the shallot has softened. Add the 3 cloves garlic and cook 30 seconds longer, until fragrant.
- Increase the heat to high and add in remaining TBSP butter. Once melted, add the 4 cups rice, 2/3 cup frozen peas, 3 green onions, and ¼ cup soy sauce, stir to combine.
- Fry over high heat for approximately 3 minutes, until it’s getting nice and brown, and crispy.
- Add the cooked bacon and eggs and stir to combine. Serve immediately.
Notes
- Store any leftovers in an airtight container in the fridge for 3-5 days or in the freezer for up to 3 months. I like to package it into individual Ziploc sandwich bags and freeze it laying flat.
- To reheat leftover chilled or thawed frozen fried rice, heat 1 Tablespoon of butter or oil in a medium skillet or in your Instant Pot using the “saute” setting. Add fried rice and cook until warmed through, about 5-7 minutes.
- Use cold, day-old rice straight from the refrigerator. The dried-out grains separate easily and fry without becoming mushy. If using fresh rice, spread it on a baking sheet and chill for 1-2 hours to remove moisture.
- The signature “hibachi” flavor and texture comes from quick frying over very high heat. Ensure your pan or griddle is hot before adding the rice to ensure crispy bits.
- Have all ingredients ready (cut, sliced, measured, and within arm’s reach) before you start cooking. This recipe moves very fast once the heat is on, and there’s no time to stop and prep.
- Feel free to adapt this recipe with what you have. Swap shallots for a mix of onion and garlic. Skip the bacon and use extra butter for sautéing. Got carrots or other veggies? Toss them in, too!
- Use a large griddle or wok. A generous surface area is essential as it prevents overflow and allows the rice to spread out in a thin layer. This ensures maximum contact with the hot pan, which is key for evaporating excess moisture and achieving the proper fried rice texture.
- Extra protein – Mix in sautéed chicken, shrimp, or pork. Edamame or cubed tofu are great non-meat protein options!
- Vegetarian hibachi fried rice – Ditch the bacon and add in more butter or oil for scrambling the eggs. You can also mix in other veggies and legumes, depending on your preference. Broccoli florets, red bell pepper, jalapenos, or mushrooms are all delicious options.
- Flavor boosts and alternatives – Mix in a bit of sesame oil, ginger, chili oil or sriracha for an easy and effective boost of flavor. Always taste to test before adding more. For a flavor alternative, try swapping out the regular soy sauce for some kecap manis (sweet soy sauce). Or, try adding in some kimchi.
- Low-carb hibachi fried rice – Swap the rice for cauliflower rice like I’ve used in this Bacon Cauliflower Fried Rice recipe (AKA Keto Fried Rice).


Leave a Reply