
Learn how to make Garlic Aioli at home in just 5 minutes with only 4 ingredients! This creamy condiment is so delicious and perfect as a dip, drizzle, sandwich spread, and so much more.
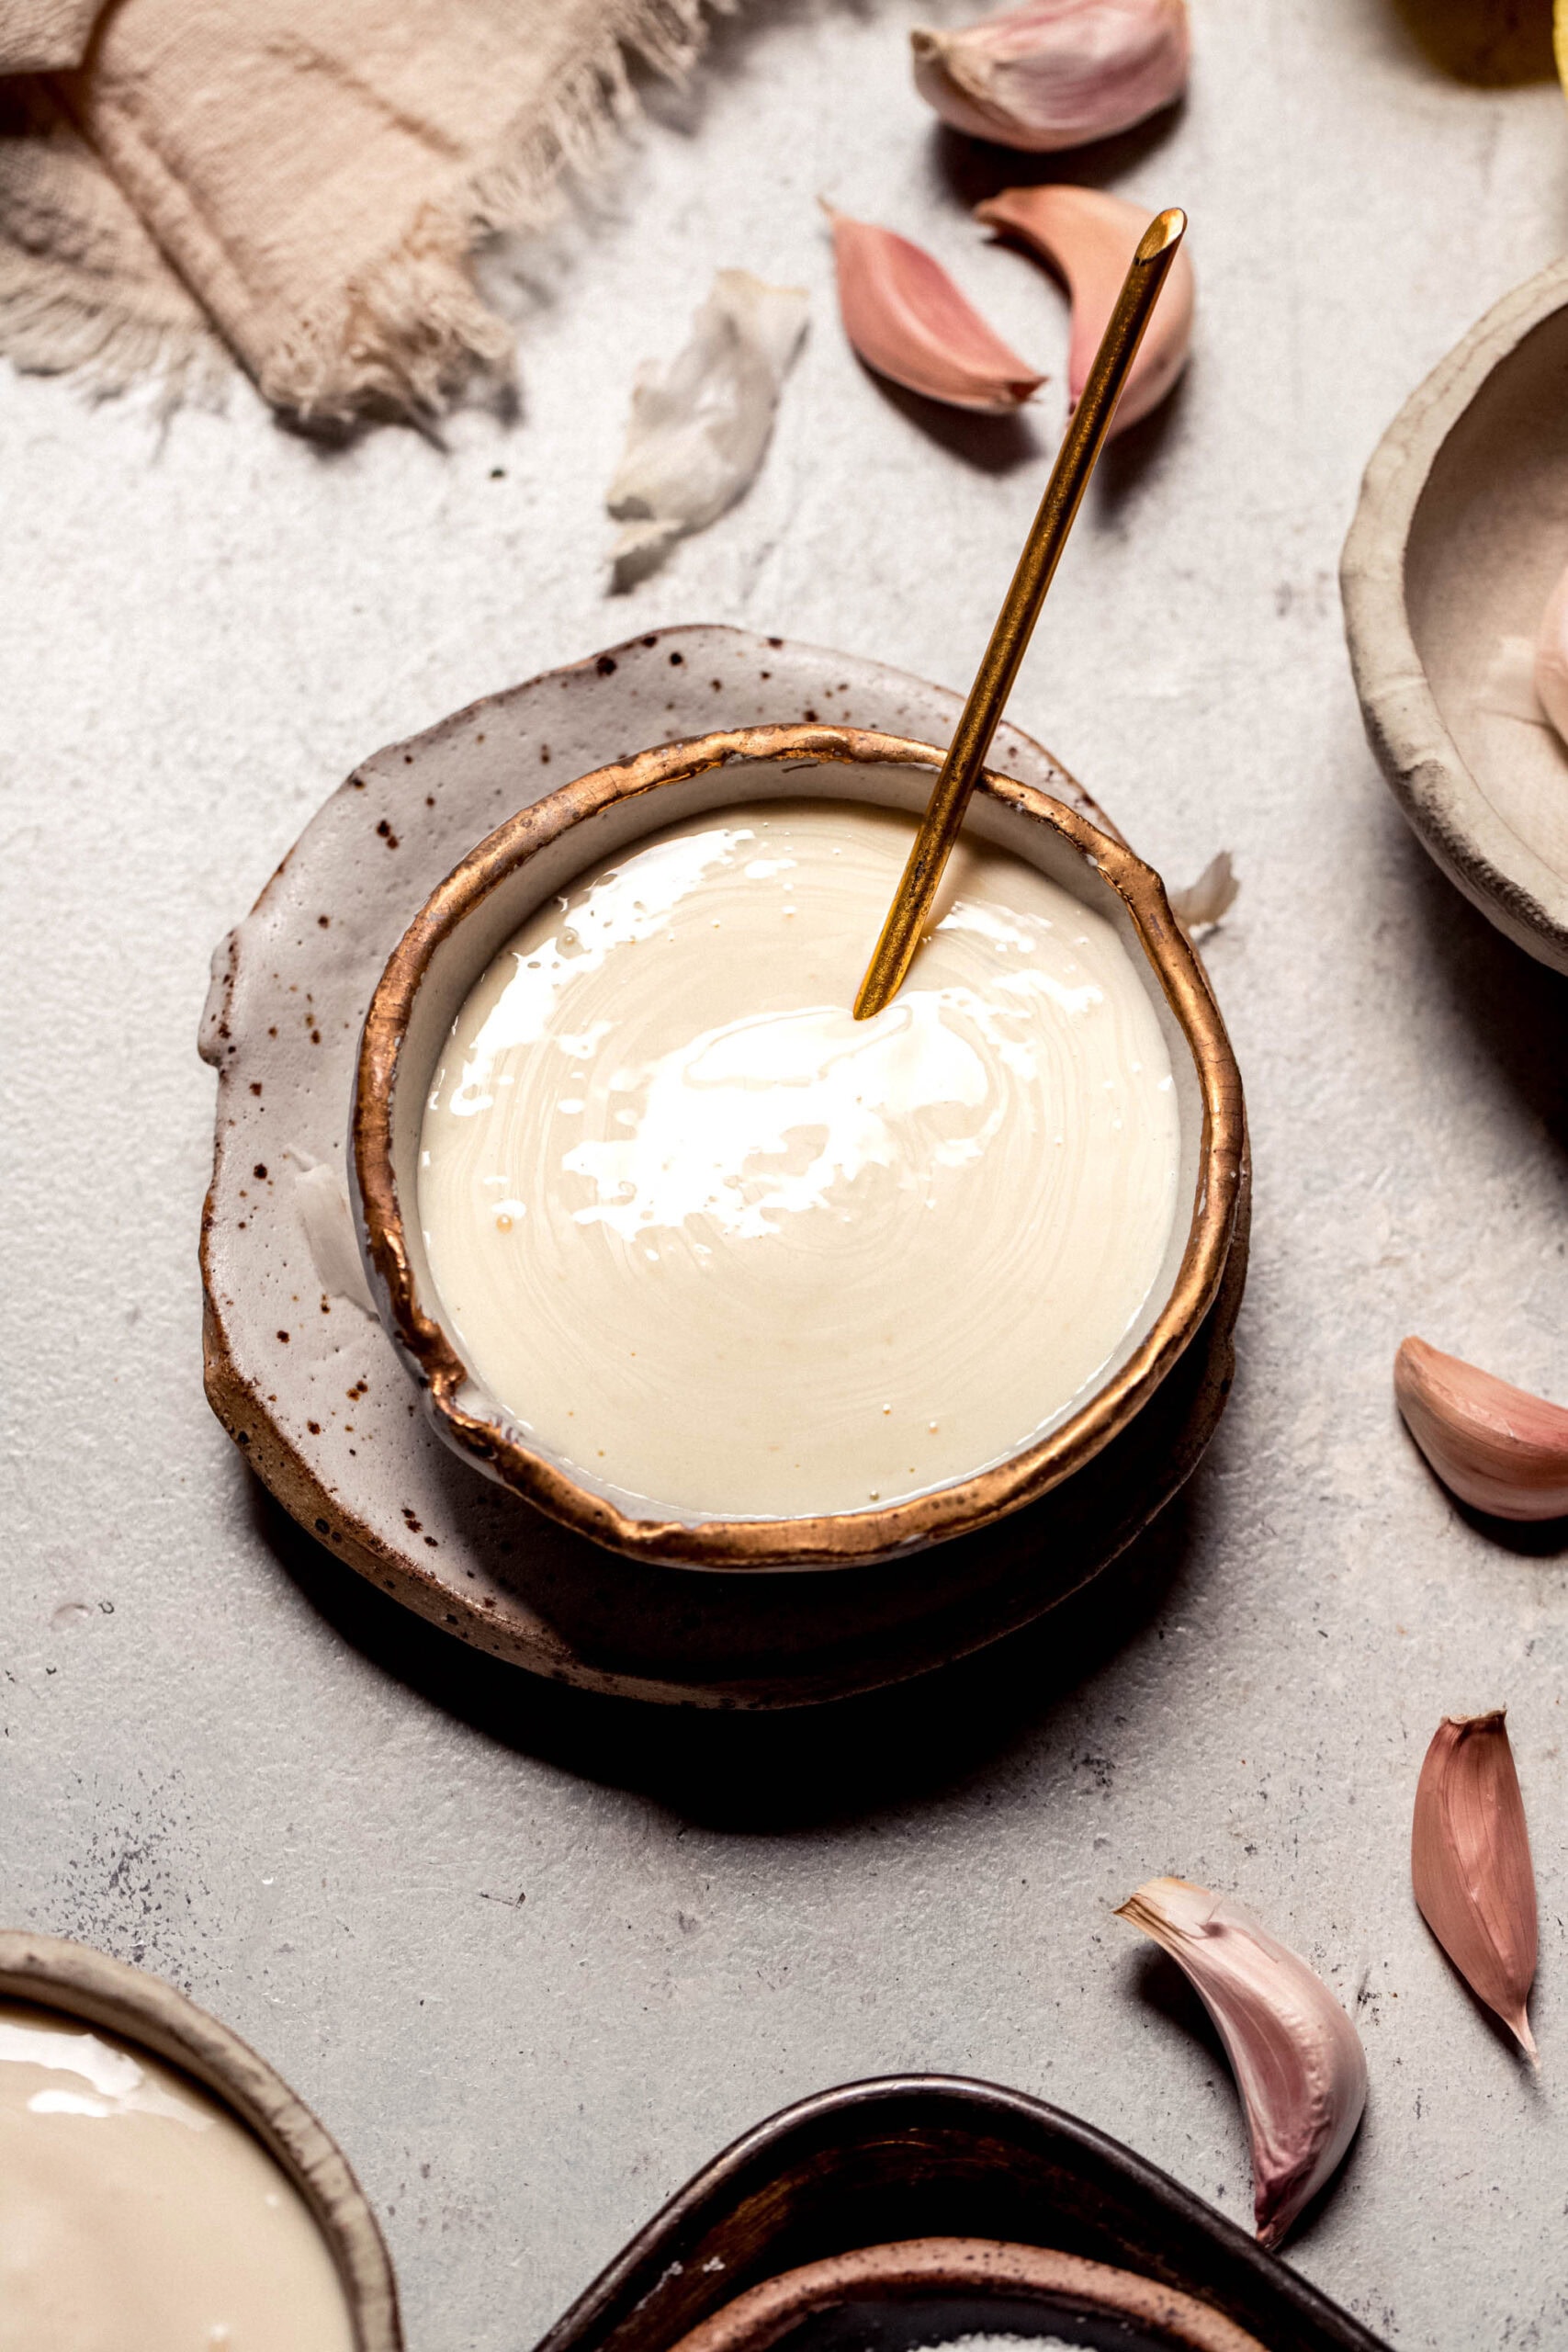
Table of Contents
I can’t resist the big, juicy burger from my favorite burger joint, but the one thing that always gets me to go back for more is the side of garlic aioli that comes with it. Oh-so creamy and garlicky, I’m using as much of it as I possibly can on my burger, fries, and anything else on the table. I love it so much that I just had to make my own version at home!
Introducing my homemade 4-ingredient Garlic Aioli recipe. By blending a few pantry staples together, this recipe leaves me with a restaurant-quality aioli to drizzle over grilled veggies, dip fries into, tuck into wraps and sandwiches, spoon over grain bowls, and serve alongside grilled or roasted salmon and chicken. Trust me, once you see how versatile this stuff is, you’ll want to keep a batch in your fridge 24/7.

What is garlic aioli?
If we’re getting technical, traditional garlic aioli is made by slowly emulsifying garlic and olive oil together (usually with a mortar and pestle) until it becomes a thick, velvety sauce. No eggs, no shortcuts. Just a little patience and a lot of garlic-forward flavor.
But in most American kitchens (mine included), aioli typically refers to a garlicky, mayo-based sauce that delivers the same rich, savory flavor with a lot less effort. That’s the version we’re making here.
All you have to do is stir mayonnaise, garlic, lemon juice, and salt in a bowl, and voilà! It’s in the same delicious family as my Homemade Pesto Mayo and Homemade Sriracha Mayo.

Ingredient notes

- Mayonnaise – This is the rich and creamy base that helps carry all that garlicky goodness. A high-quality mayonnaise makes a big difference here.
- Garlic cloves – I use a microplane to grate my garlic, but you can also mash the cloves into a paste. Don’t hesitate to add an extra clove or two if you really love garlic.
- Lemon juice – Try to use freshly squeezed lemon juice if you can. It gives the garlic sauce a balancing vibrancy and citrusy punch that can’t be beat!
- Salt
How to make it
- Mix the Ingredients: Add the mayonnaise, grated garlic, lemon juice, and a pinch of salt to a small bowl. Stir until the mixture is smooth and well combined.
- Chill or Serve: You can use your aioli right away or let it sit in the fridge first to give the flavors more time to meld.
Tips and tricks
- While you can serve it right away, I highly recommend refrigerating the aioli for at least 30 minutes to allow the flavors to meld and the sauce to thicken slightly. It’s worth the wait!
- Once you have everything well-mixed, taste the aioli and adjust the flavors as needed. Want more punch? Add more garlic or another splash of lemon juice. If it tastes flat, chances are it needs more salt.
- If your aioli is too thick, stir in a small amount of water, lemon juice, or vinegar to loosen it up. For a thicker consistency, just add another spoonful or two of mayo.


Variations
Here are a few simple ways to play around with the flavors and ingredients in this easy garlic aioli recipe:
- Vegan garlic aioli – If you’re looking for a no-egg aioli recipe, swap in your favorite vegan mayonnaise.
- Roasted garlic aioli – For a mellow flavor, use roasted garlic instead of raw. Simply roast your garlic in the oven or air fryer until it’s soft and caramelized, then mash it into the mayo for a smoother, sweeter flavor.
- Red pepper aioli – Add in some roasted red peppers for a smoky, delicious flavor.
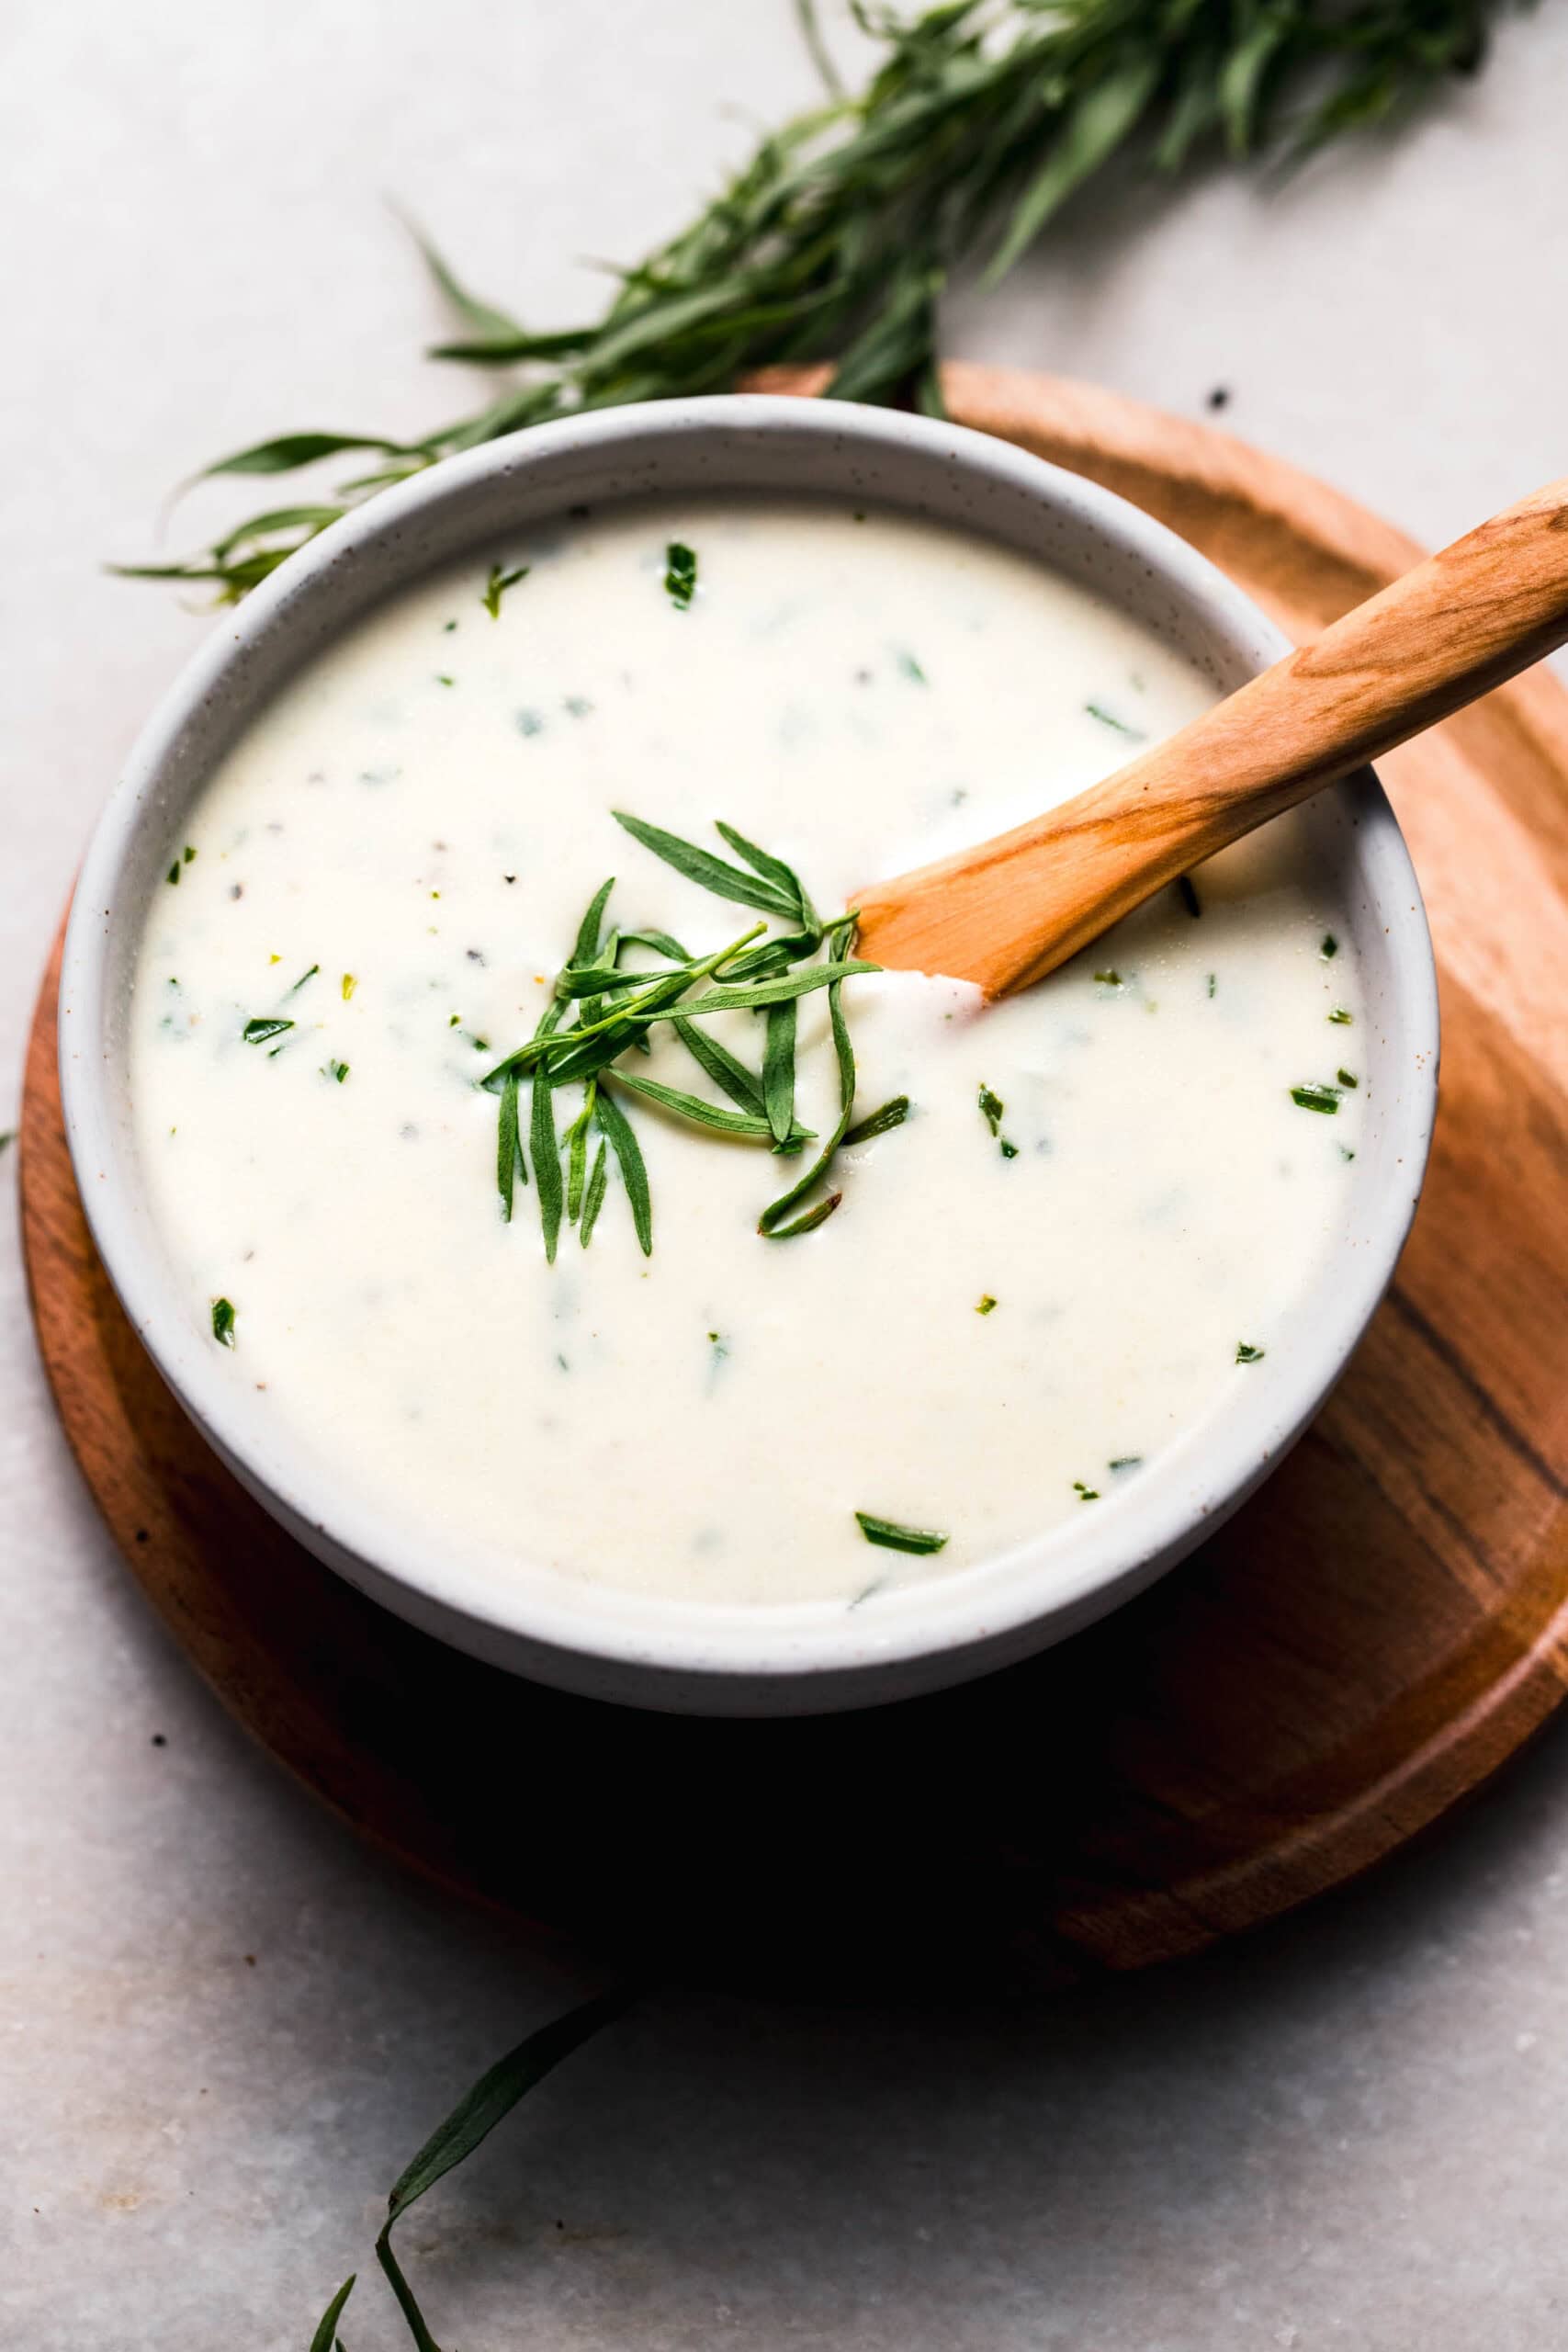
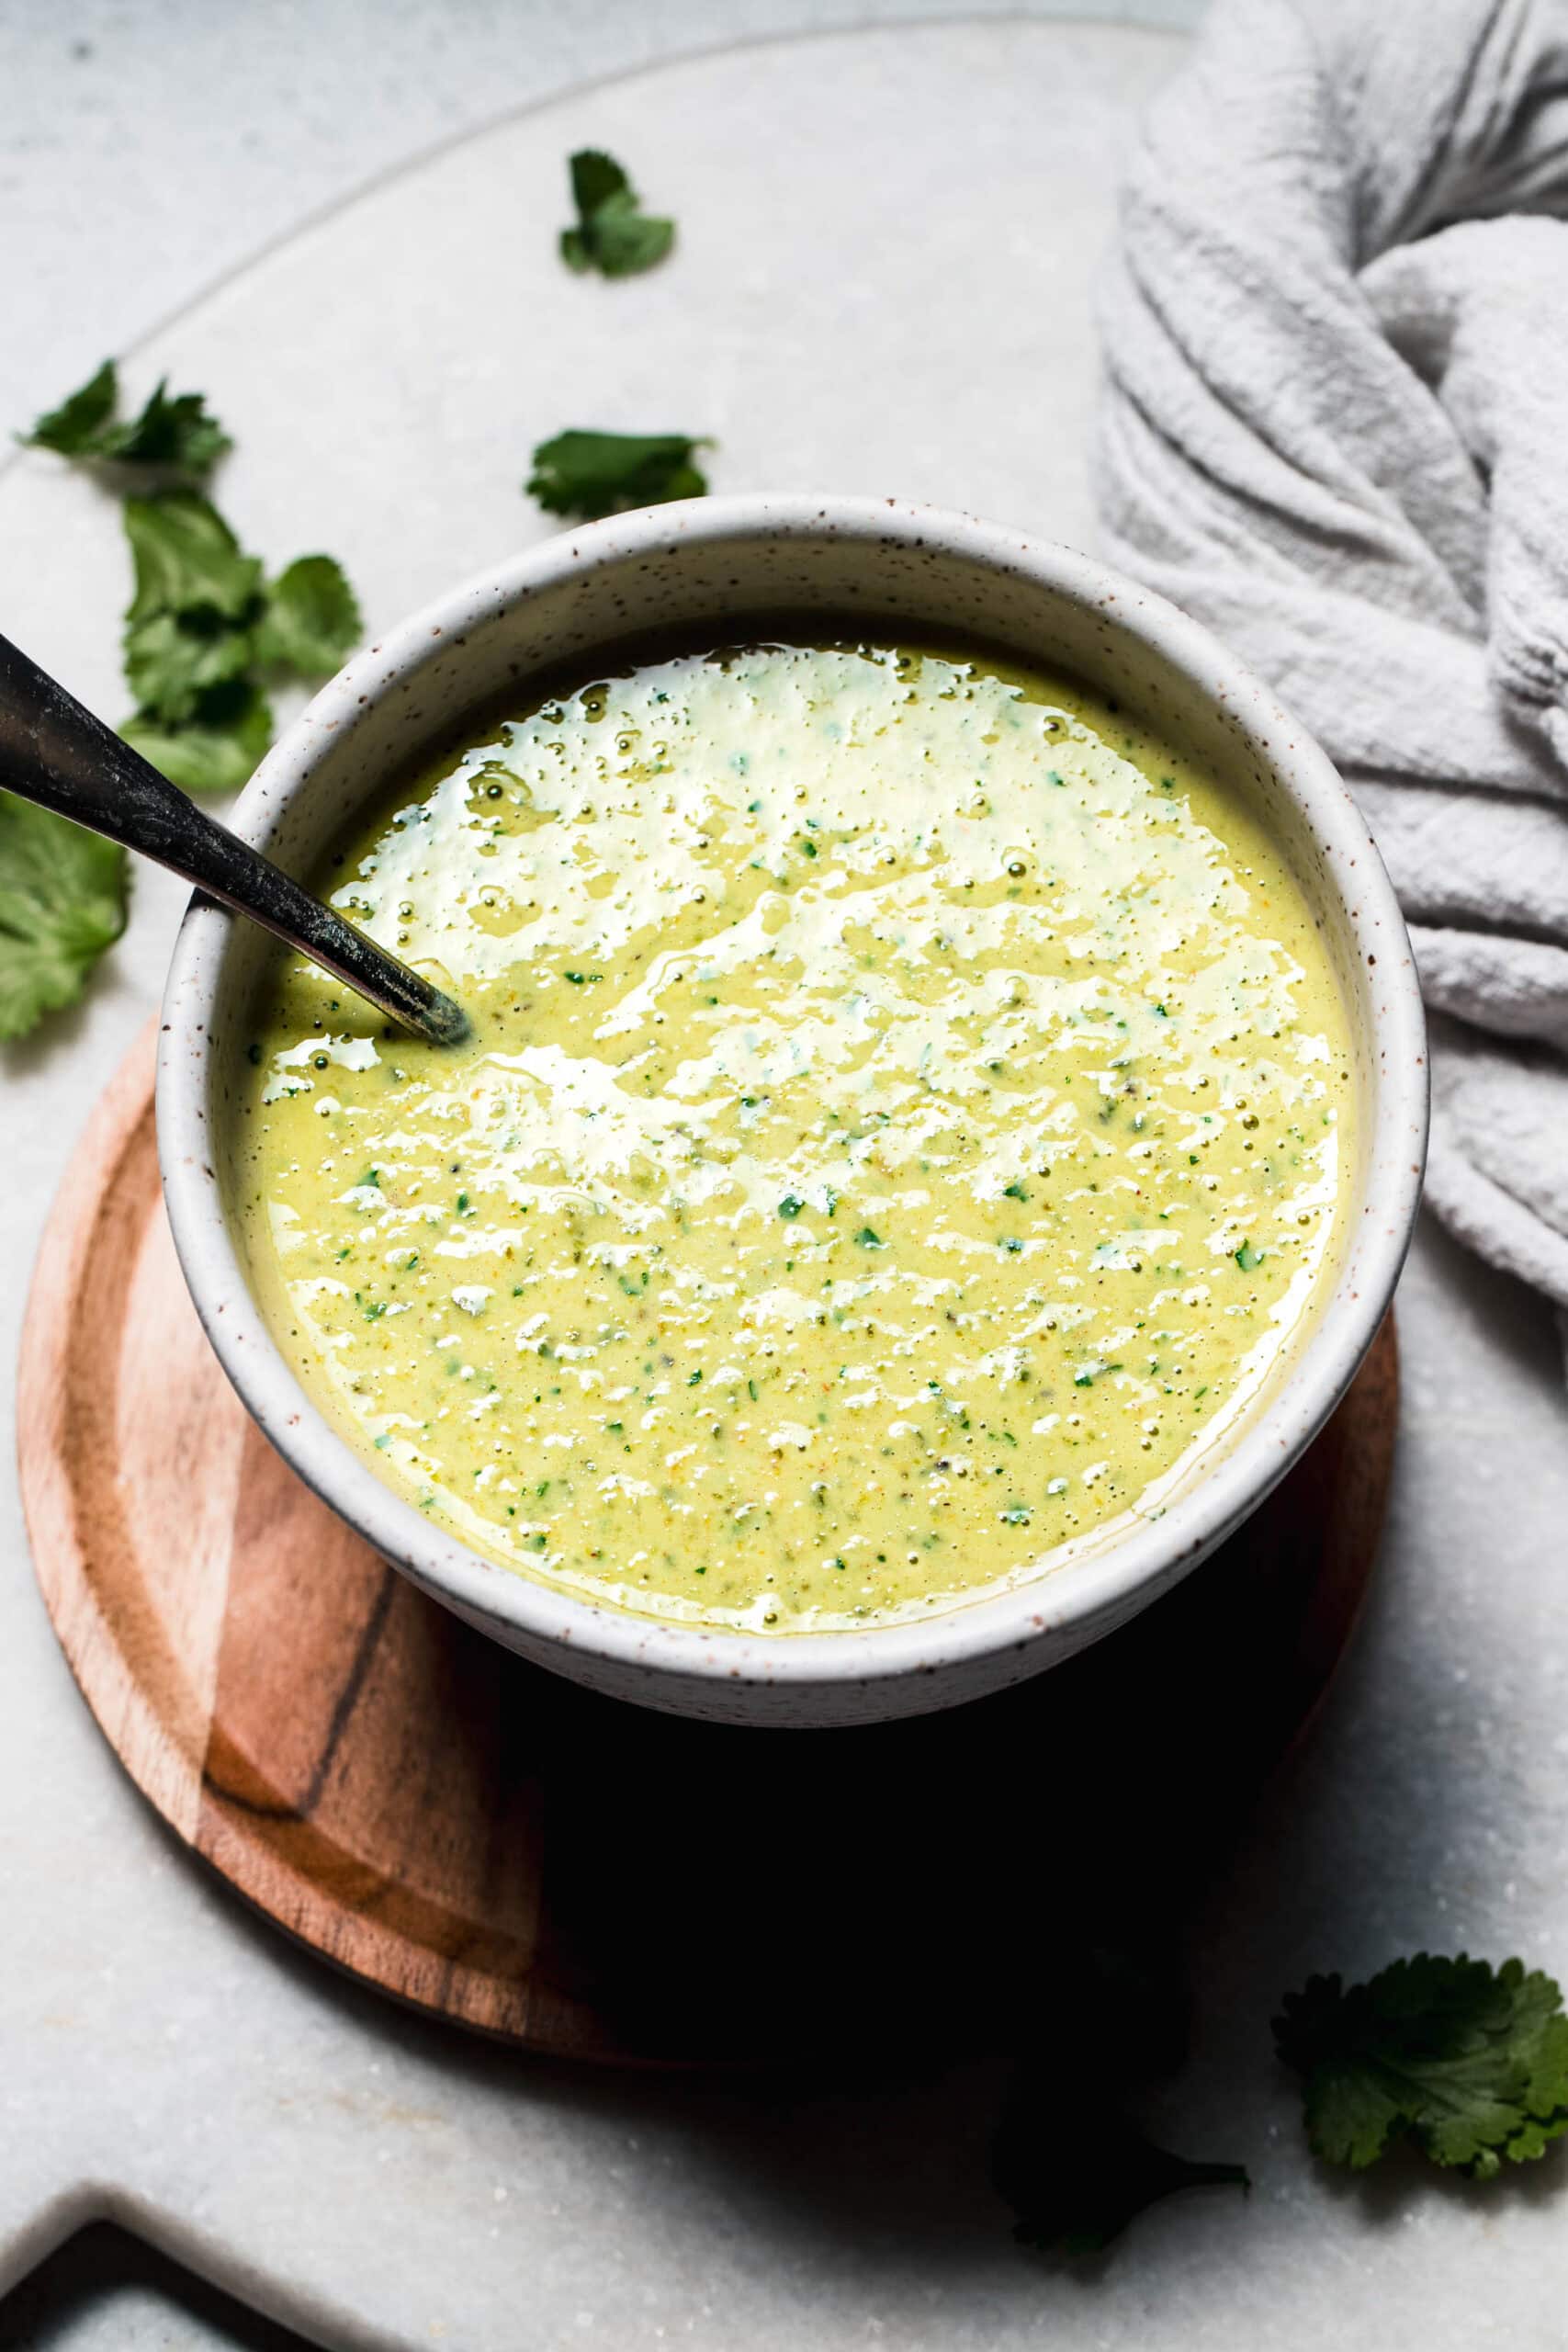
- Garlic & herb aioli – Stir in finely chopped fresh herbs such as parsley, dill, chives, or basil for a pop of freshness and color.
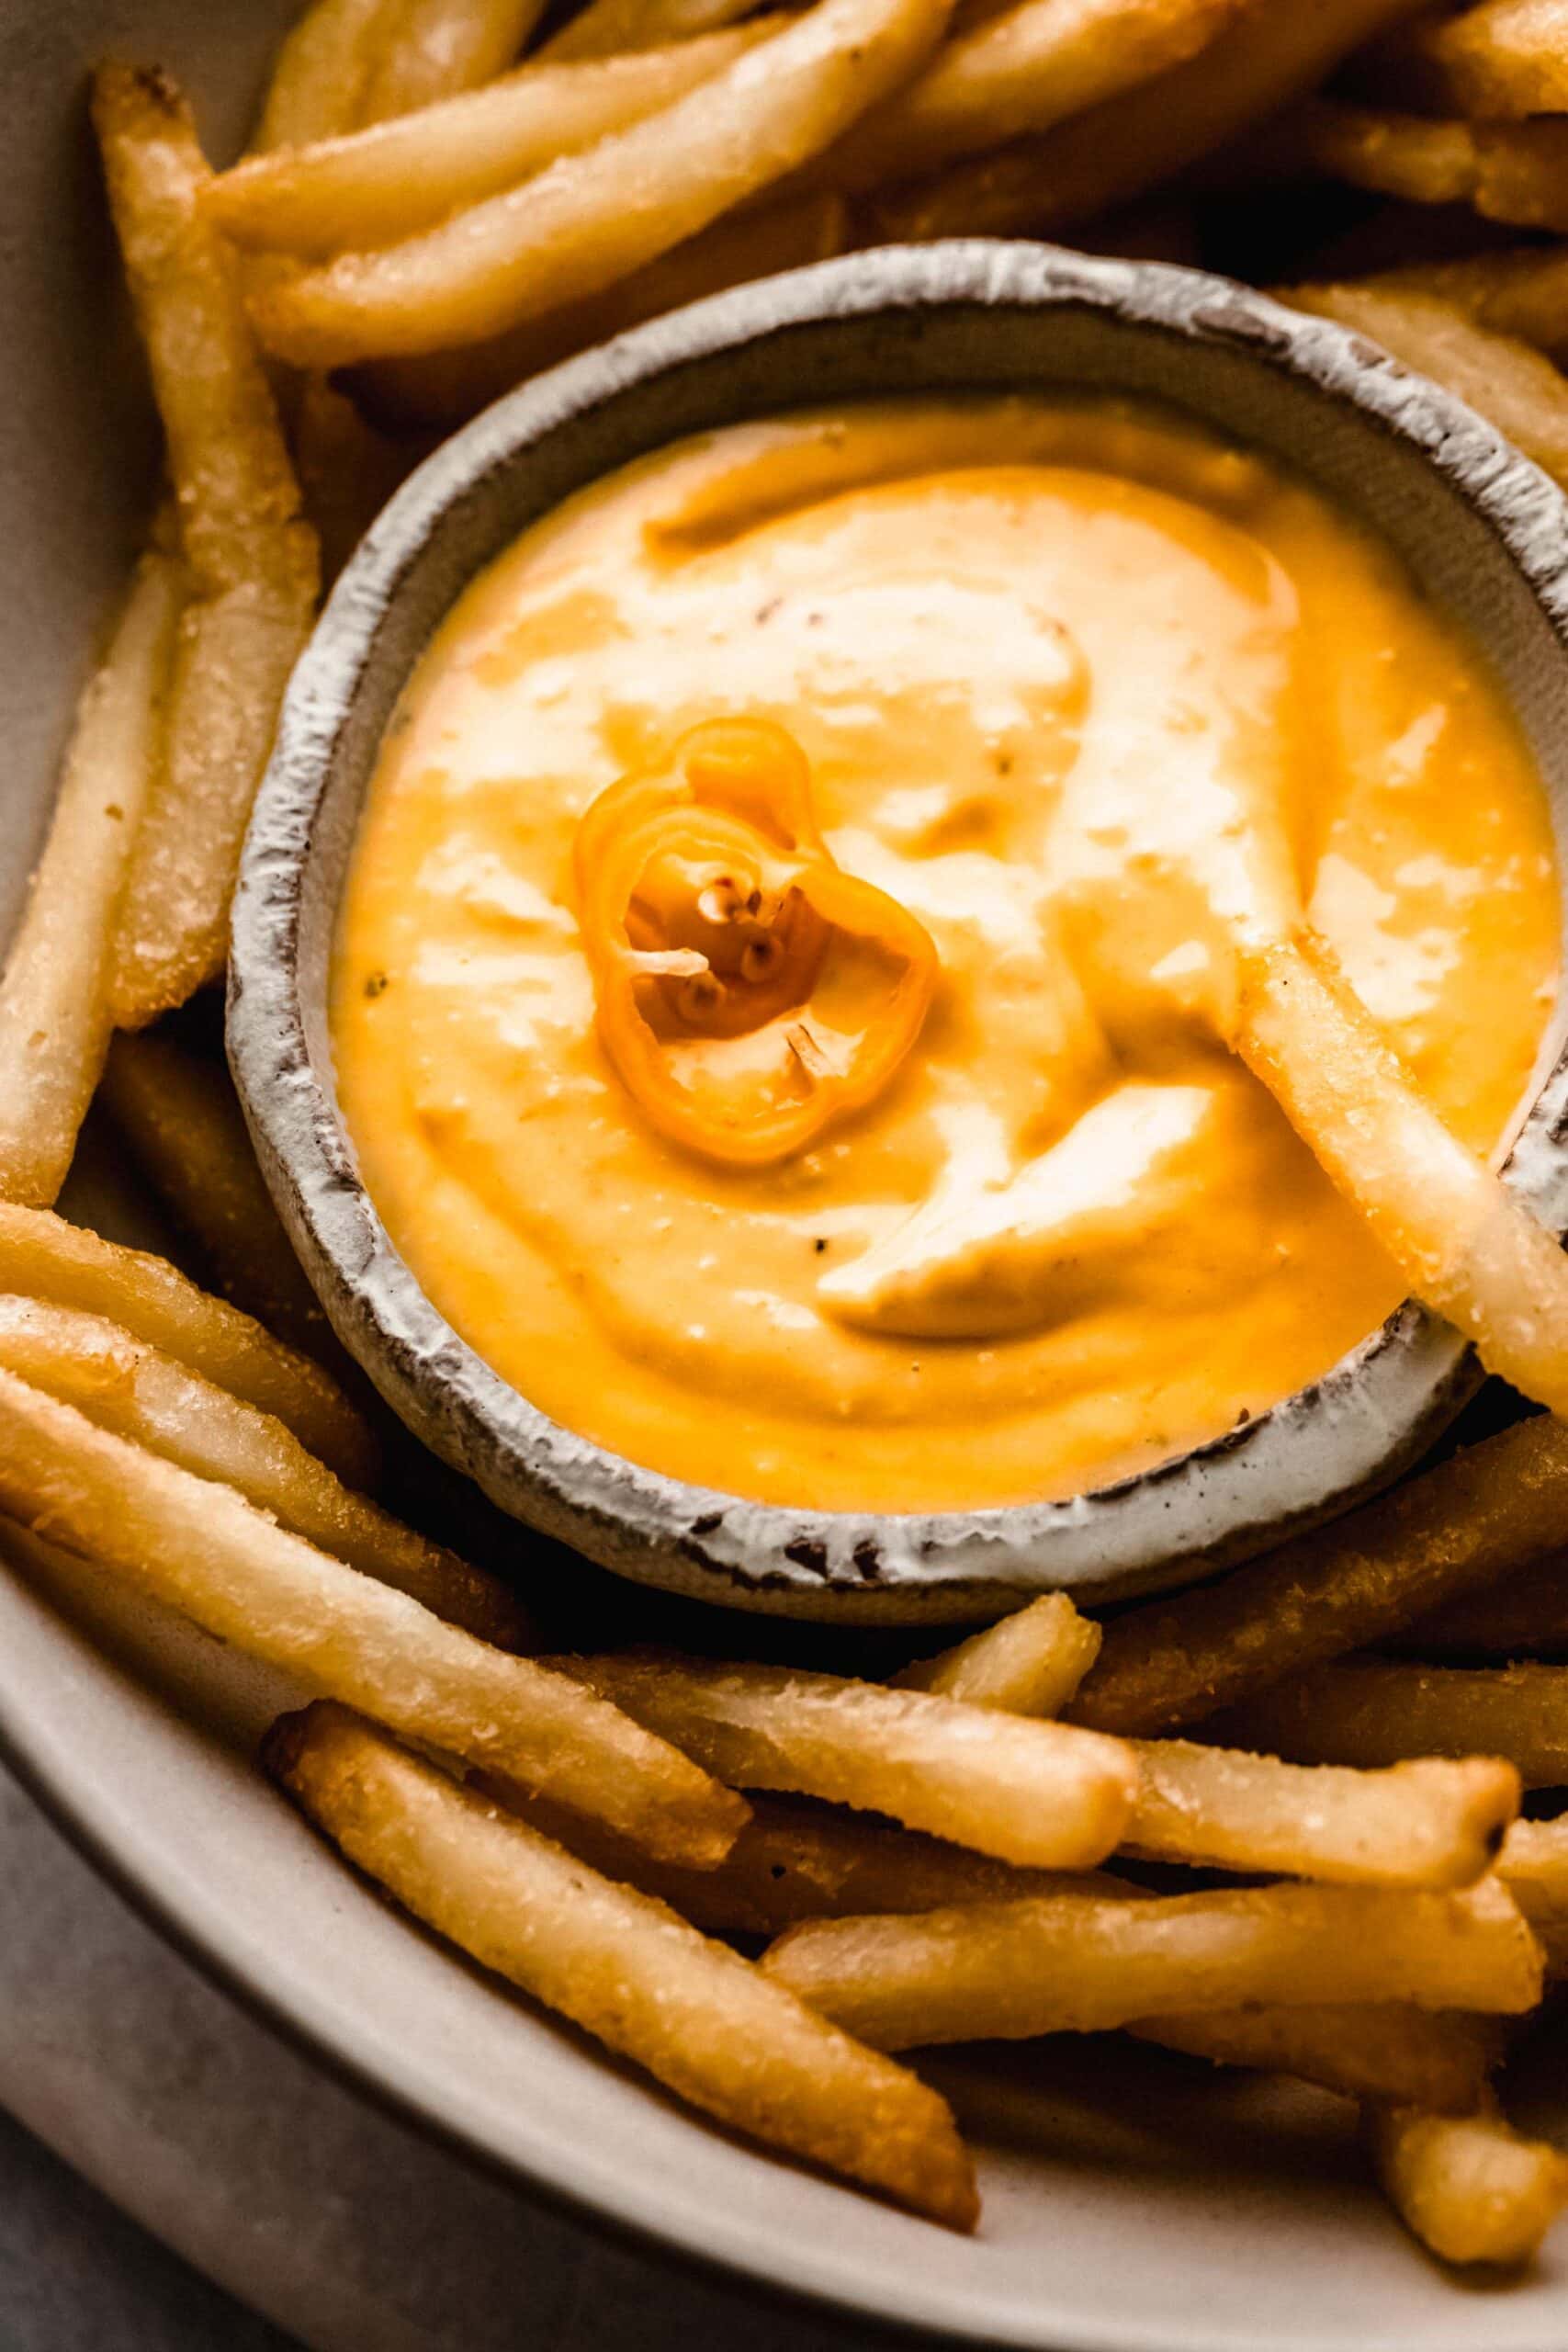
- Give it a spicy kick – Add cayenne pepper or hot sauce if you like a little heat. Or, go with smoked paprika or chipotle powder for a smoky flavor that pairs well with grilled foods.
Serving suggestions
Garlic aioli isn’t just a simple dipping sauce… It’s the kind of condiment that instantly elevates anything it touches. Here are some of my favorite ways to use it:
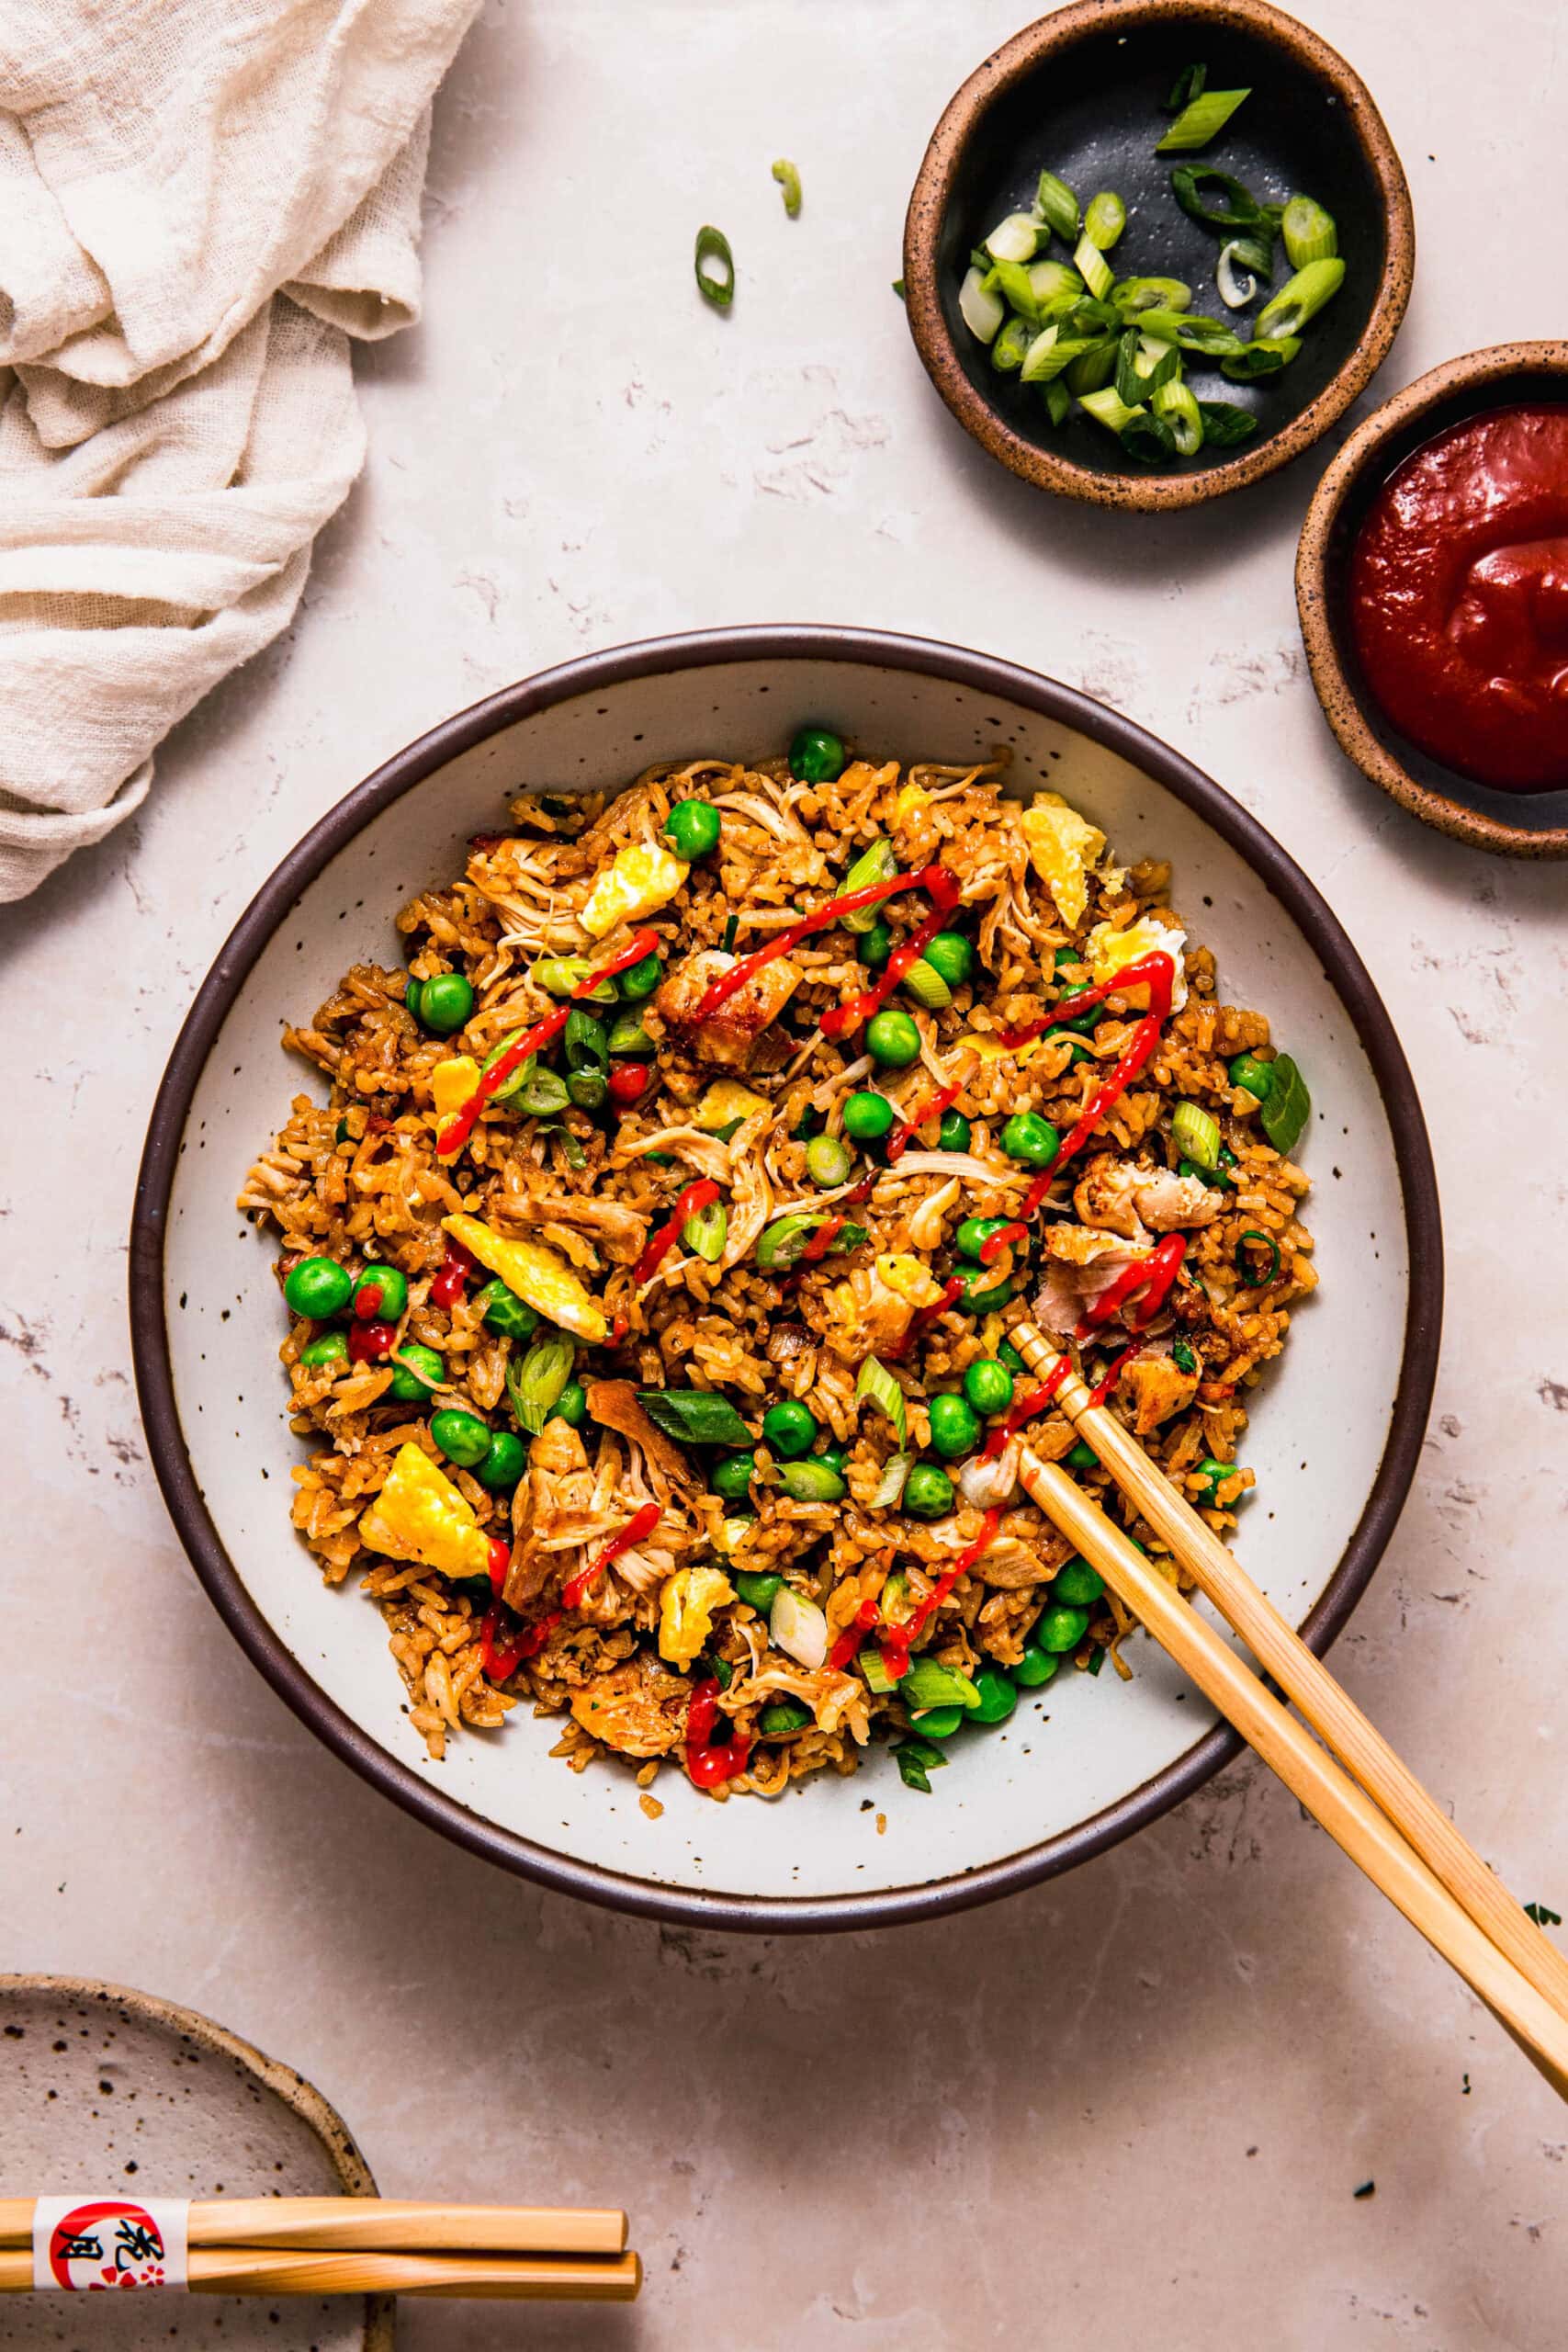
- Use it as a dip – That creamy, garlicky richness is made for dipping fried finger foods and crisp vegetables, like french fries, zucchini fries, fried green beans, roasted brussels sprouts, broccoli, grilled asparagus, or even a fresh crudité platter.
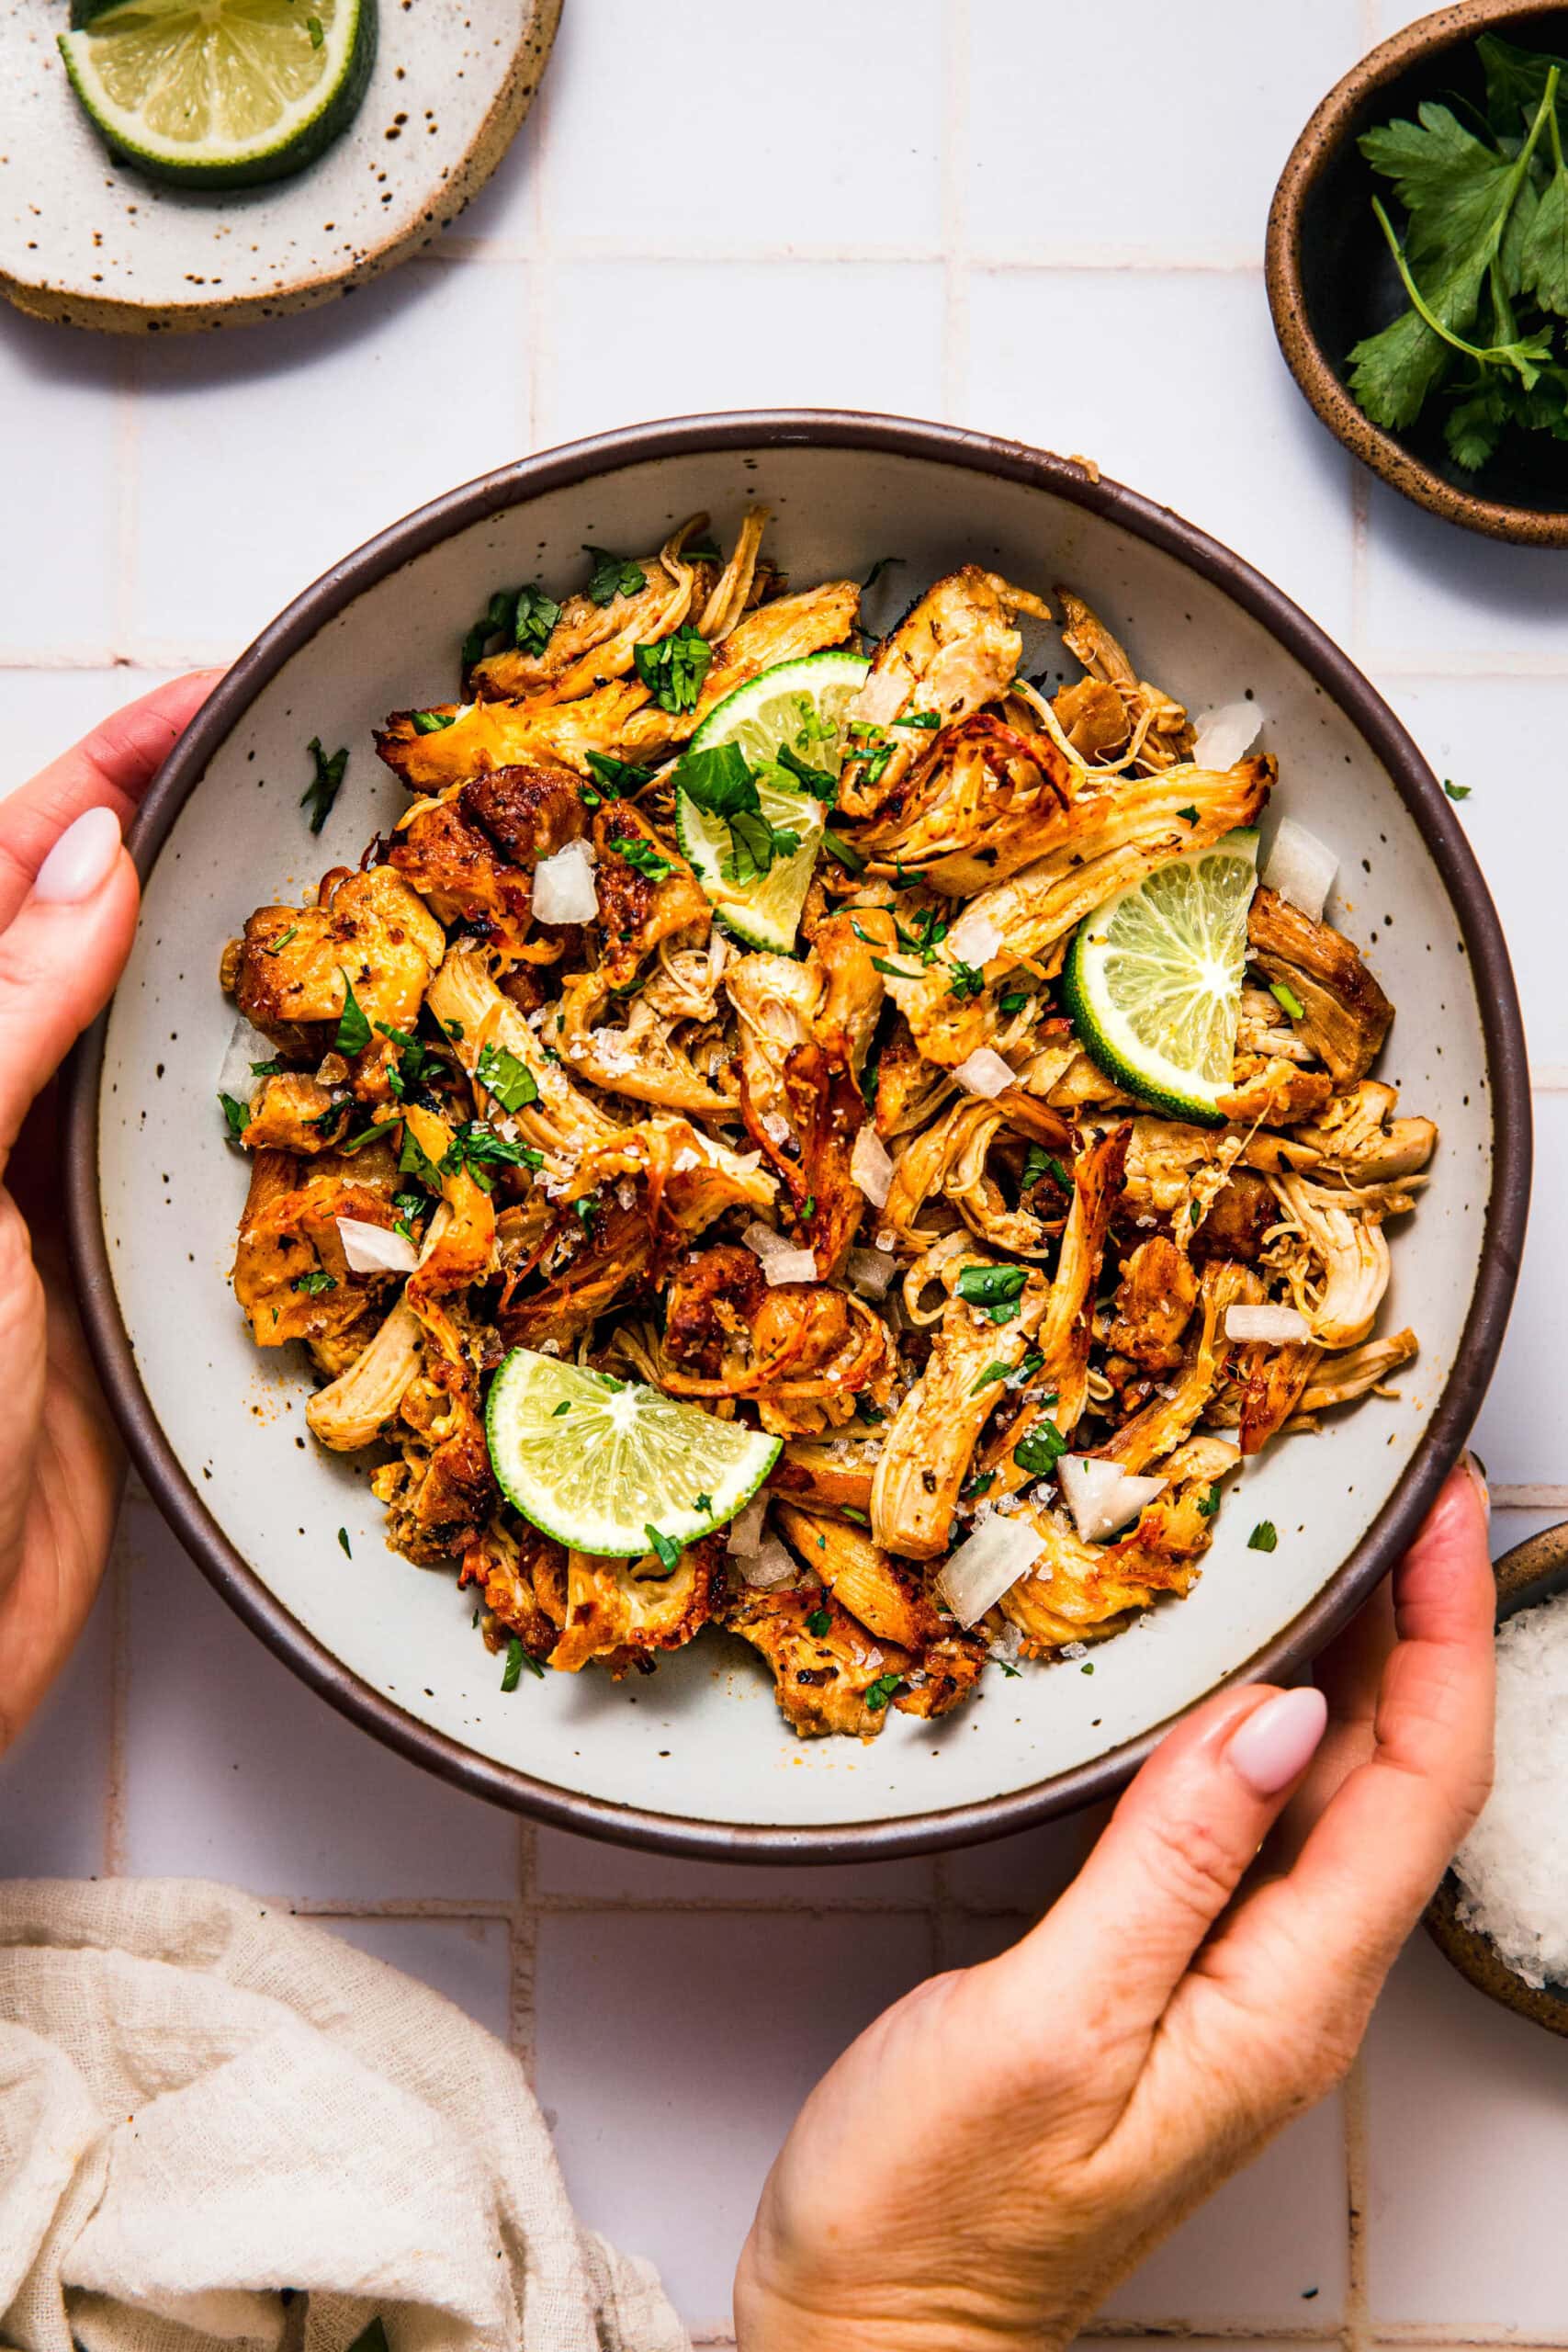
- Spread it – Swipe the sauce onto anything from cheesesteaks and grilled chicken sandwiches to your favorite burgers. I always have it on hand whenever we do these French Dip Burgers, these Red Wine Burgers, or these Lamb Burgers.
- Drizzle it – Thin it out with extra lemon juice or olive oil and drizzle it over salads and grain bowls, like these Harissa Chicken Bowls or this Sweet Potato Buddha Bowl with Chickpeas.
- Pair it with grilled proteins – It pairs perfectly with anything hot off the grill, like steak, chicken, salmon, and lamb chops.

Storing
Transfer the garlic aioli to an airtight container and refrigerate it for 3 to 4 days. Unfortunately, aioli doesn’t freeze well because it tends to become grainy and separate as it thaws.
More creamy condiments


Did you make this easy garlic aioli recipe?
If you loved this creamy, ultra-garlicky mayo-based aioli recipe, I would appreciate it so much if you would leave a ⭐️star review⭐️! Also, be sure to snap a picture of your finished dish and share it with me on Instagram using the hashtag #platingsandpairings and tagging me @platingsandpairings.
For more great Platings & Pairings recipes, be sure to follow me on Pinterest, Facebook, YouTube, Twitter, and TikTok.

Full Recipe
Easy Homemade Garlic Aioli
Equipment
Ingredients
- 1/2 cup mayonnaise
- 2 cloves garlic (grated or minced)
- 2 Tablespoons lemon juice (plus more to taste)
- Pinch salt
Instructions
- Combine all ingredients in a small bowl and stir to combine.
Notes
- While you can serve it right away, I highly recommend refrigerating the aioli for at least 30 minutes to allow the flavors to meld and the sauce to thicken slightly. It’s worth the wait!
- Once you have everything well-mixed, taste the aioli and adjust the flavors as needed. Want more punch? Add more garlic or another splash of lemon juice. If it tastes flat, chances are it needs more salt.
- If your aioli is too thick, stir in a small amount of water, lemon juice, or vinegar to loosen it up. For a thicker consistency, just add another spoonful or two of mayo.
- Vegan garlic aioli – If you’re looking for a no-egg aioli recipe, swap in your favorite vegan mayonnaise.
- Roasted garlic aioli – For a mellow flavor, use roasted garlic instead of raw. Simply roast your garlic in the oven or air fryer until it’s soft and caramelized, then mash it into the mayo for a smoother, sweeter flavor.
- Garlic & herb aioli – Stir in finely chopped fresh herbs such as parsley, dill, chives, or basil for a pop of freshness and color.
- Give it a spicy kick – Add cayenne pepper or hot sauce if you like a little heat. Or, go with smoked paprika or chipotle powder for a smoky flavor that pairs well with grilled foods.


Leave a Reply