• Facebook
  • Instagram
  • Pinterest
  • YouTube
Platings and pairings logo.
Start Here
All Recipes
Perfect Pairings
Wine Travel
About
Home

How to Use the Instant Pot Rice Setting

Jump to Recipe

Posted by:

Erin Lynch

|

Updated:

May 8, 2025

|

4.96 from 204 votes

This site runs ads and generates income from affiliate links. Disclosure policy.

Instant pot rice button pinterest image.
  • Facebook
  • Flipboard
  • Email

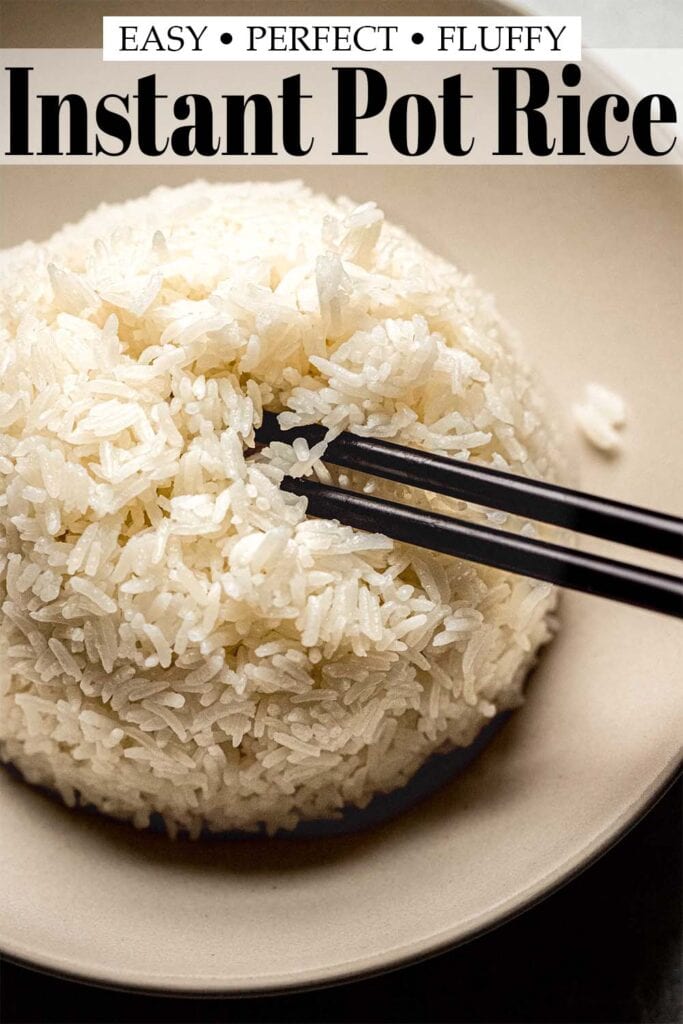
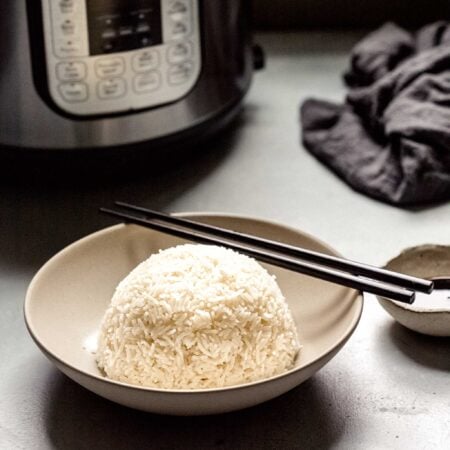
With this easy Instant Pot Rice recipe, you’ll see it’s simple to make fluffy rice with minimal measuring and perfect results every time. With directions for white rice, basmati, jasmine and brown. Plus, how to use the Instant Pot rice button.

Bowl of rice and small bowl of soy sauce next to instant pot.

Save This Recipe!

Enter your email address to get a link to this post conveniently in your inbox!

Save Recipe

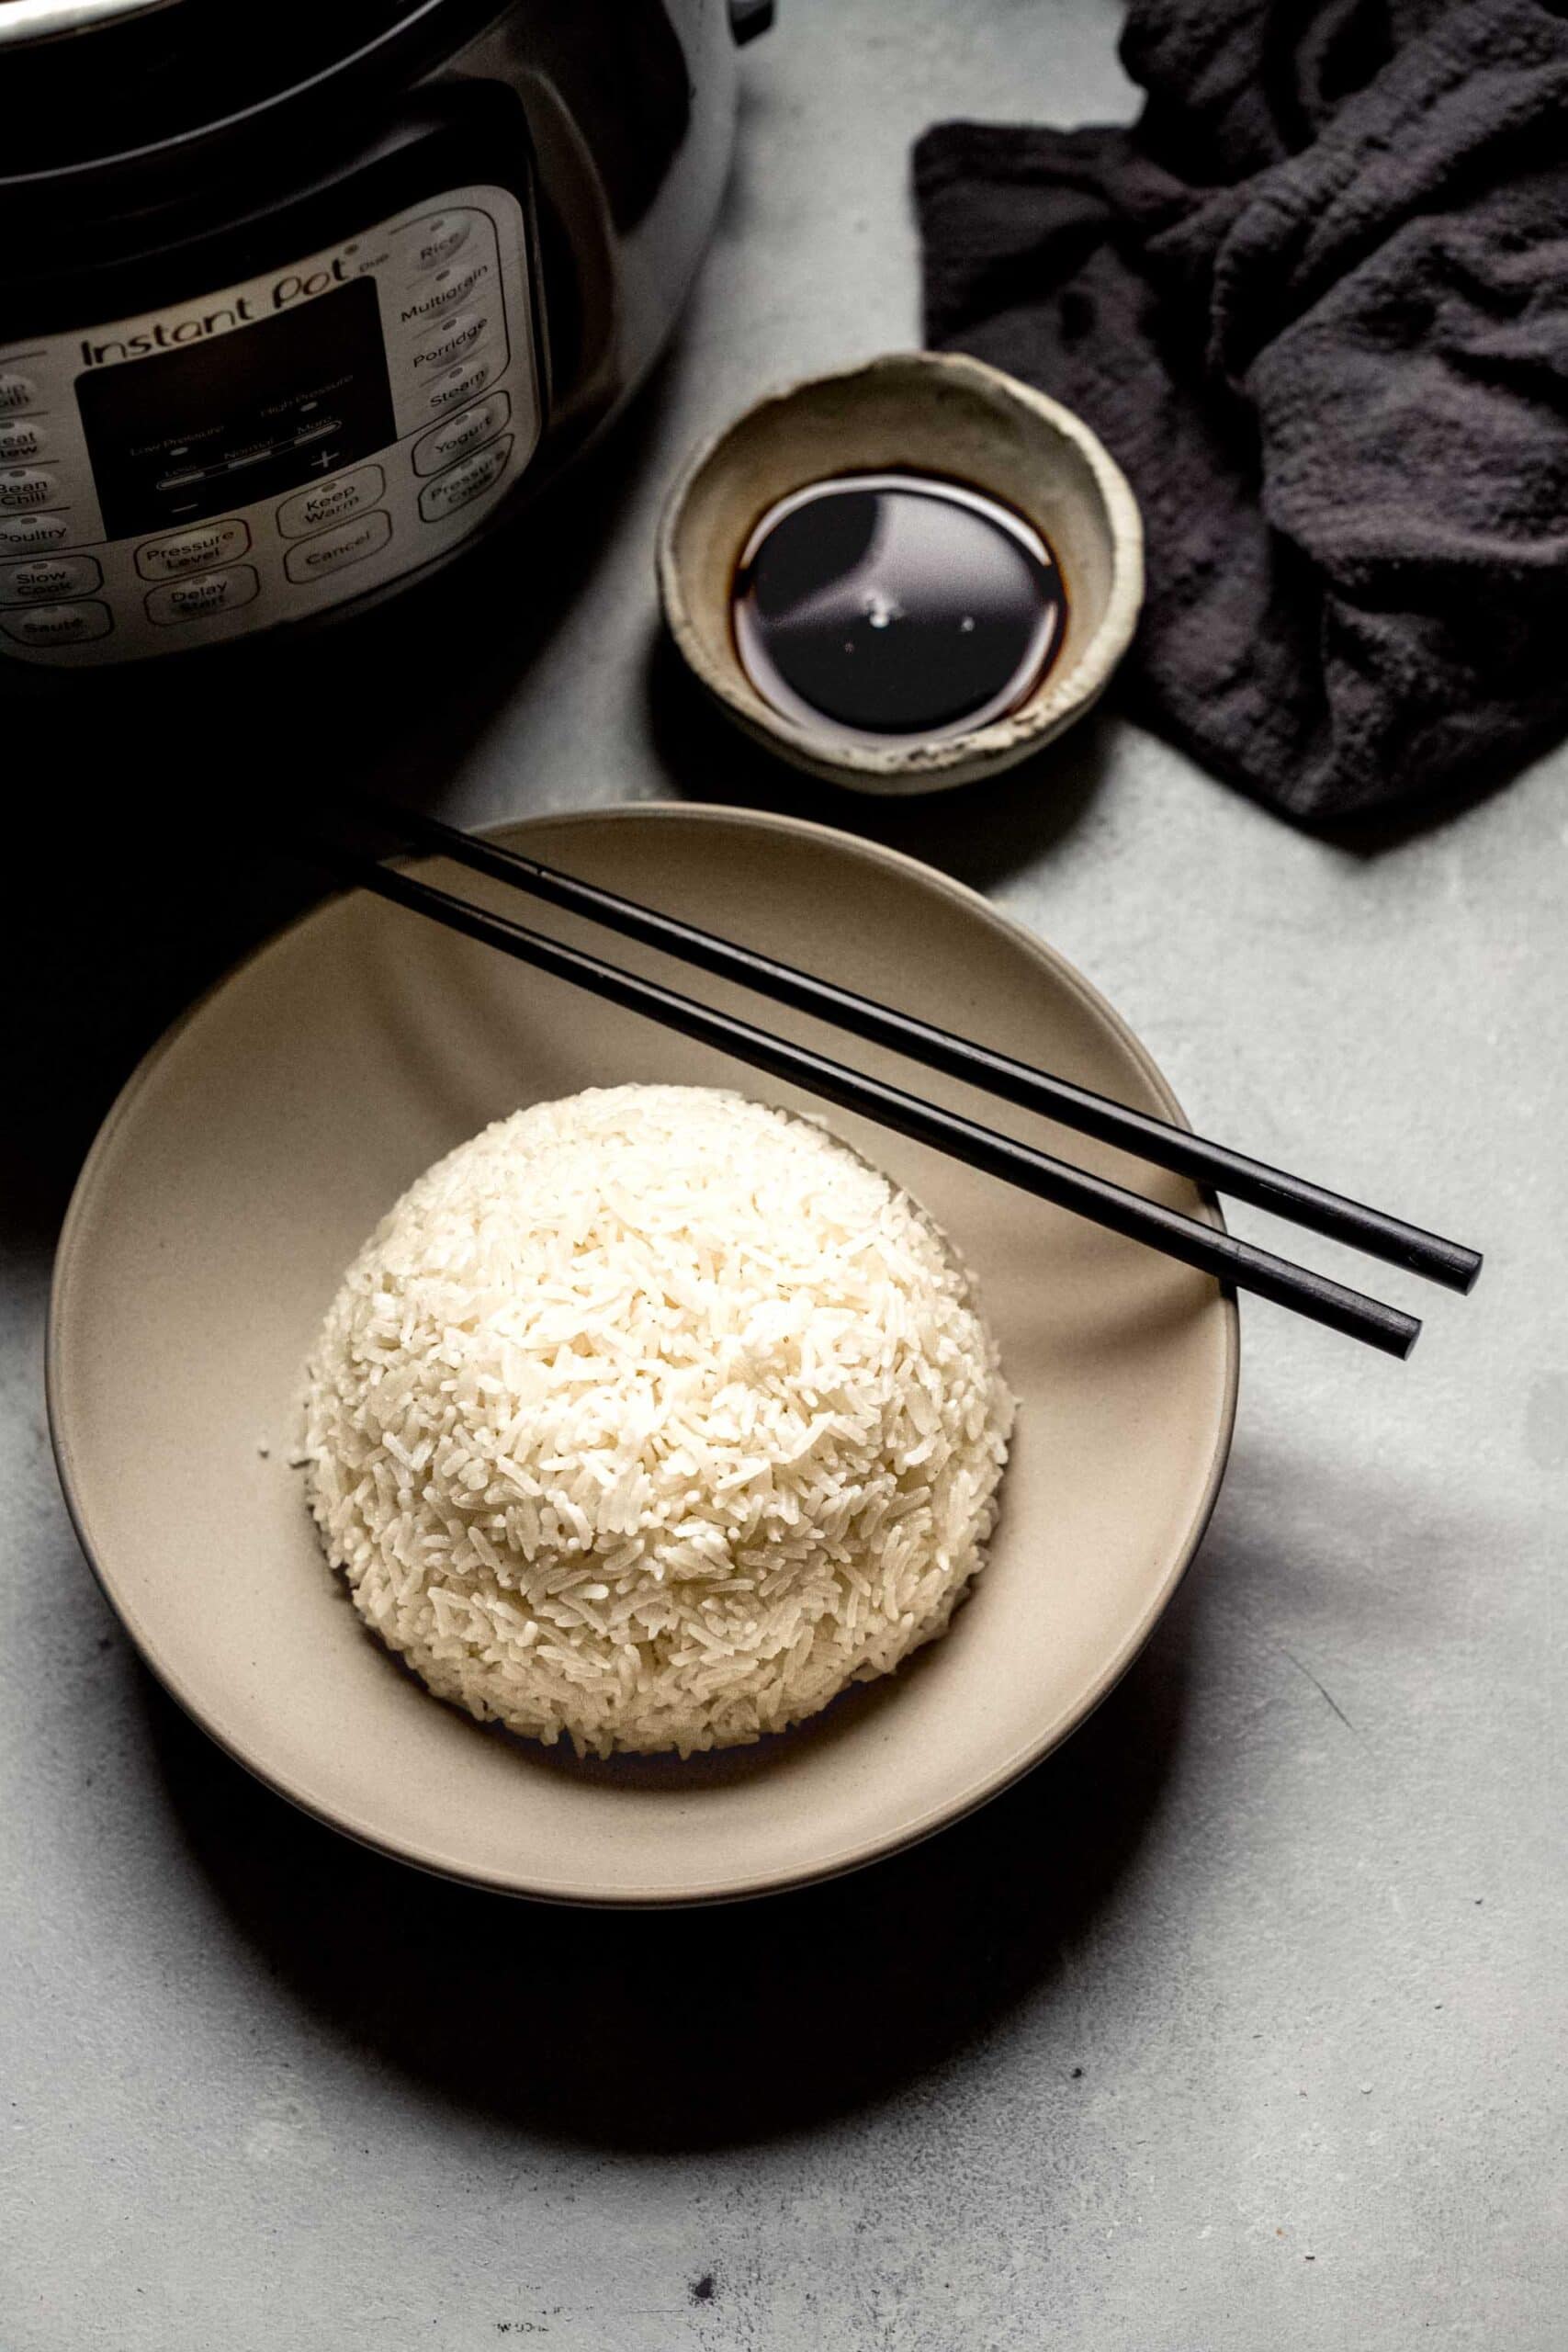
Today I thought I’d share with you my “method” for how to cook perfect rice in the Instant Pot.

Cooking rice in the instant pot is easy, hands free and simple. 

Table of Contents

  • Water to Rice Ratio
  • How to Make It
  • Instant Pot Rice Button Instructions
  • How Long to Cook Rice in the Instant Pot
  • Recipe Tips
  • How Much Rice Can I Cook in My Instant Pot?
  • Storing + Reheating
  • Serving Suggestions
  • Full Recipe

Reader

Love


5 stars
I followed your directions exactly and the rice came out perfectly! Thank you!

–

Beverly Hembree

Water to Rice: Ratio

  • 1:1 – While you generally use 1 cup rice to 1 ¼ cups water for stovetop rice, in the Instant Pot, that ratio drops down to 1:1, aka 1 cup of water for every one cup of rice.

The reason for the reduced water is that the Instant Pot is more “sealed” than a traditional cooking pot, meaning less evaporation of water during the cooking process.

How to Make It

  1. Rinse Rice: Rinse rice under cold running water until water runs clear.
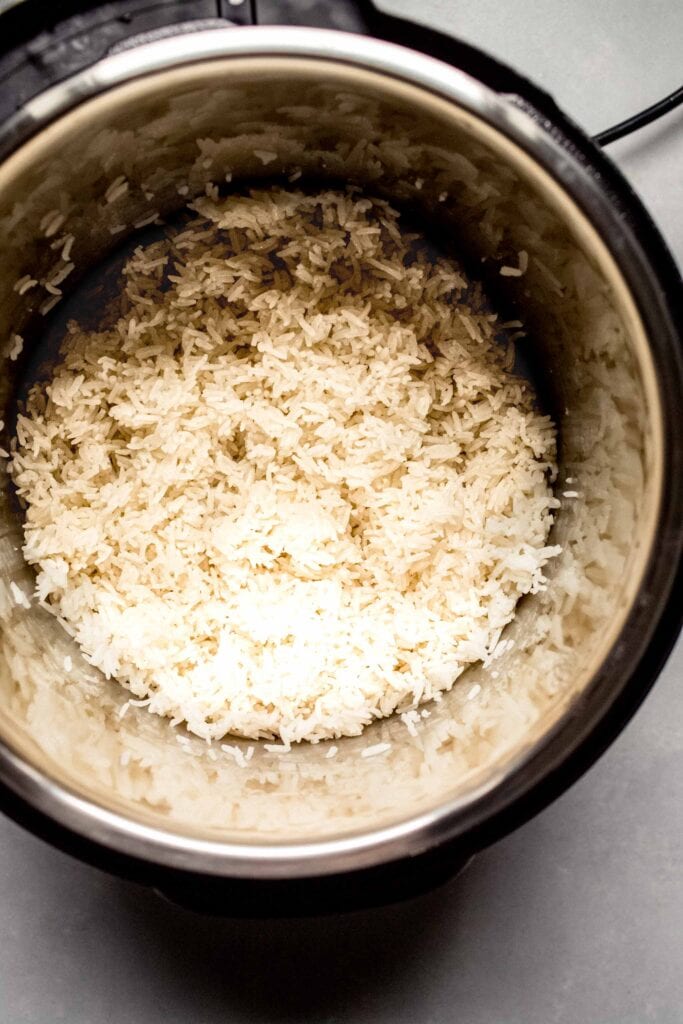
  2. Add Ingredients to Pressure Cooker: Add oil to Instant Pot along with the rinsed rice, water and salt.
  3. Seal: Lock the lid and set the steam valve to seal.
  4. Cook: Cook white rice using the instant pot rice setting or follow the cooking chart below.
  5. Release Pressure: Allow the pressure to release naturally for 10 minutes and then release any remaining pressure.
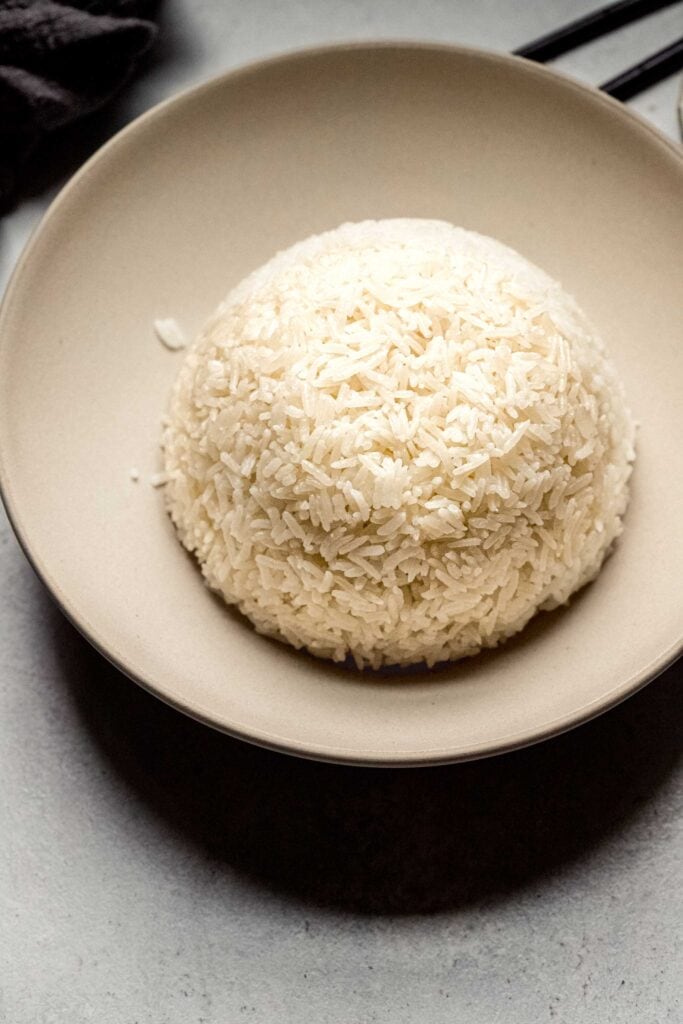
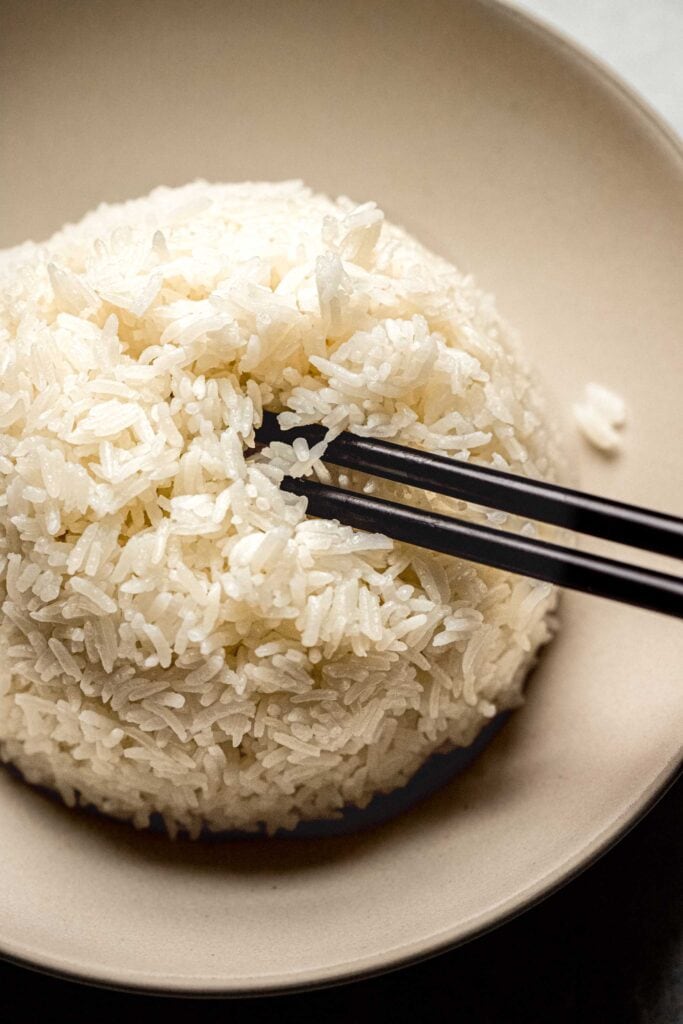
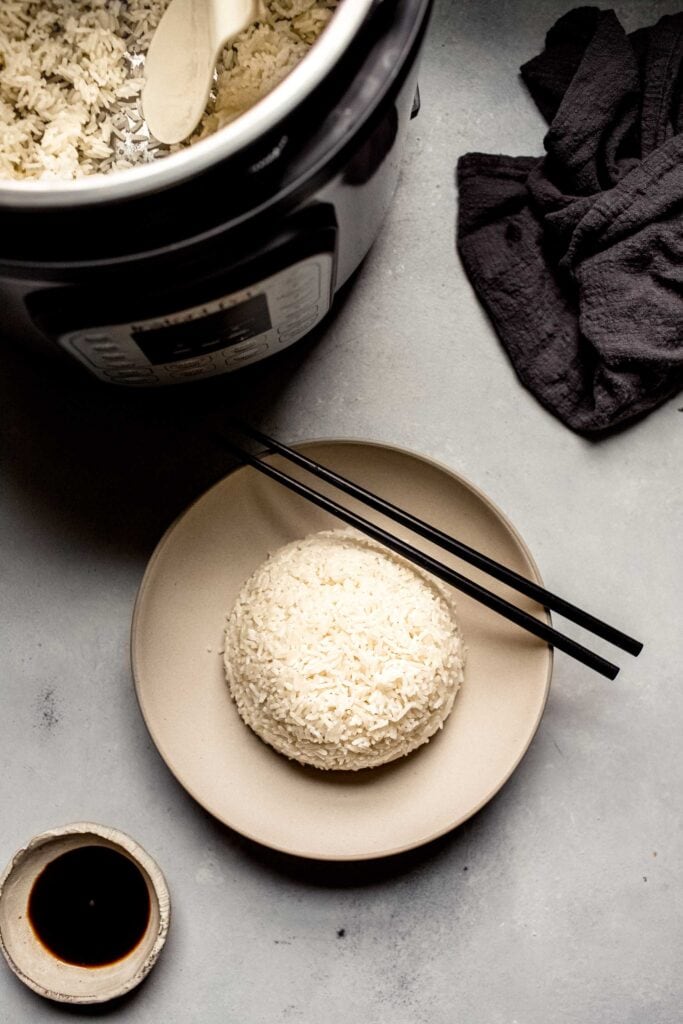
  6. Fluff: Fluff rice with a fork and serve.
Cooked rice in instant pot.

Instant Pot Rice Button Instructions

  • Most Instant Pot models will have a “RICE” button – This is the perfect button to use if you’re cooking white rice. If you’re cooking any other type of rice, be sure to follow the timing chart below – The water to rice ratio will remain the same.

How Long to Cook Rice in the Instant Pot

  • White Rice: 4-8 minutes
  • Brown Rice: 22-24 minutes
  • Jasmine Rice: 4-8 minutes
  • Basmati Rice: 4-8 minutes
  • Wild Rice: 25-30 minutes

Total Time: Note that you still need to account for the time it takes for the Instant Pot to come to pressure, and then for the natural pressure release. It will take about 10 minutes for the pressure to build, and then we will let the pressure release naturally for 10 minutes too. So, in reality, you should add 20 minutes to the cooking time below.

Dome of rice in ivory bowl.

Recipe Tips

  • Rinsing: Be sure to rinse the rice before adding it to the pot, to get rid of any additional starches. Just run it under water until the water is clear. The result is rice that’s light and fluffy.
  • Oil: I like to add in 1 teaspoon of oil for each cup of rice that I’m making – This not only prevents the rice from sticking to the pot, but it also cuts down on the foaming a bit so that your Instant Pot doesn’t sputter and spit.
  • Salt: I add a pinch of salt for each cup of rice that I’m cooking, to flavor the rice right from the get-go.
  • Adding Flavor: If you’d like to add even more flavor and nutrition you can cook it in broth instead of water. I love making parmesan broth, instant pot bone broth and slow cooker bone broth. All you need is some leftover parmesan rinds or meat bones and veggie scraps. 

How Much Rice Can I Cook in My Instant Pot?

The recipe below is for cooking 1 cup of rice, which will yield about 3 cups of cooked rice. But the recipe can be easily adjusted using the recipe card below (just click the 2x or 3x button).

Depending on the size of your instant pot, you can cook the following amounts of rice:

  • 6-Quart Instant Pot: You can cook up to 4 cups of dry rice, which will make about 12 cups of cooked rice.
  • 8-Quart Instant Pot: You can cook up to 6 cups of dry rice, which will make 18 cups of cooked rice.

Note: The water to rice ratio (1:1) and cook time will stay the same regardless of the amount of rice you are cooking.

Storing + Reheating

  • Storing – Let your rice cool to room temperature, then refrigerate it in an airtight container for 4 to 5 days. 
  • Freezing – Seal the cooled leftovers in a freezer-friendly bag or container and freeze for 4 to 5 months. 
  • Reheating – If frozen, thaw the rice in the fridge before reheating. If the grains seem dry, add 1 to 2 tablespoons of water and reheat in the microwave in 30 second intervals. Repeat until the rice is hot and fluffy.
Chopsticks in bowl of rice.

Serving Suggestions

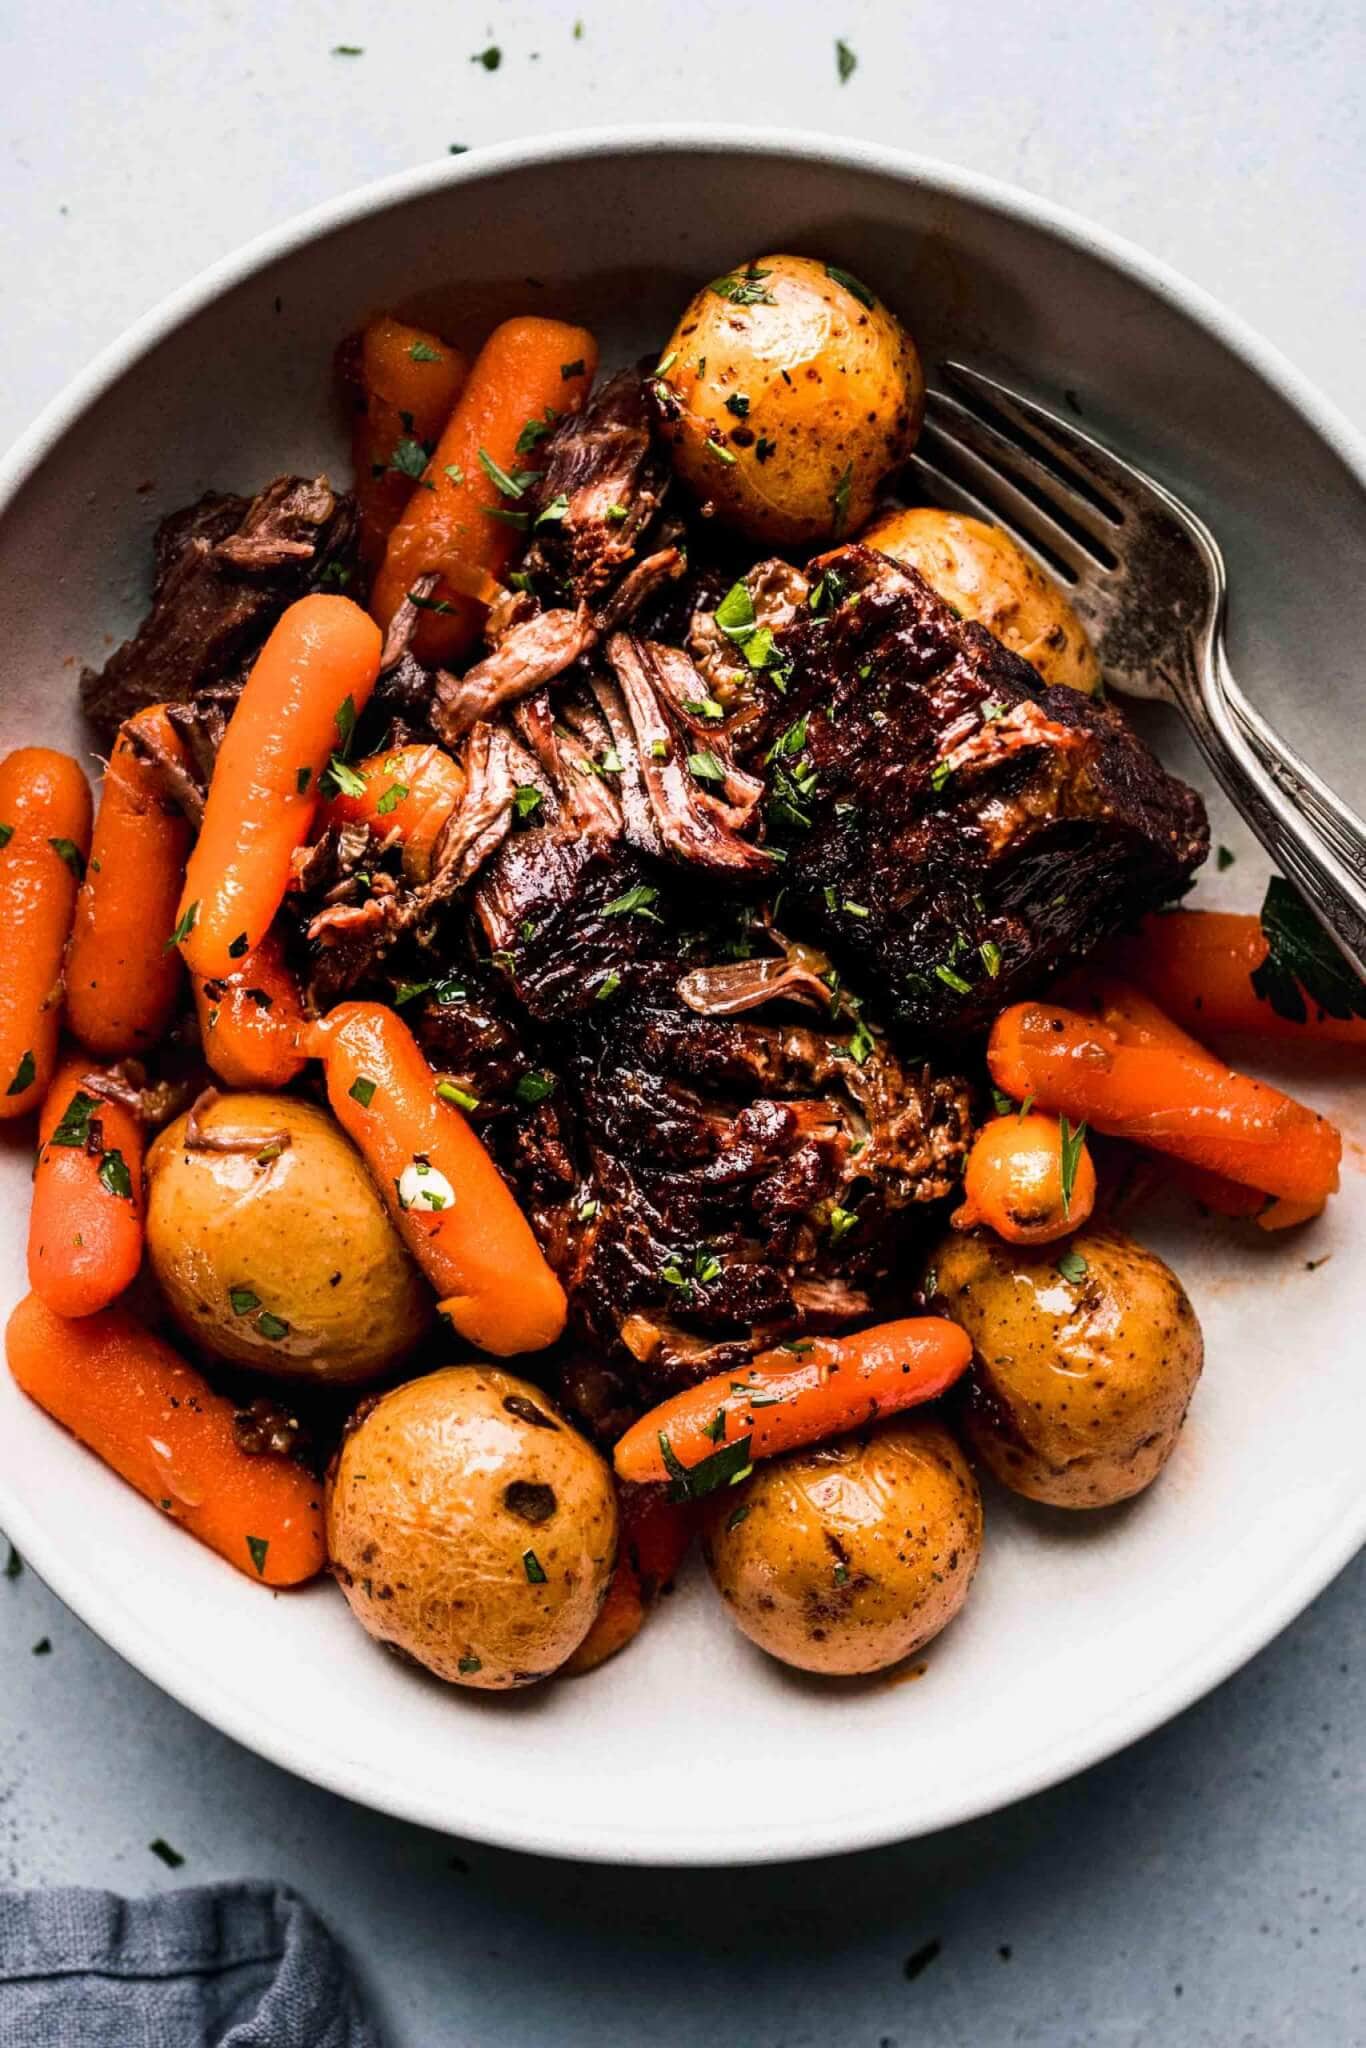
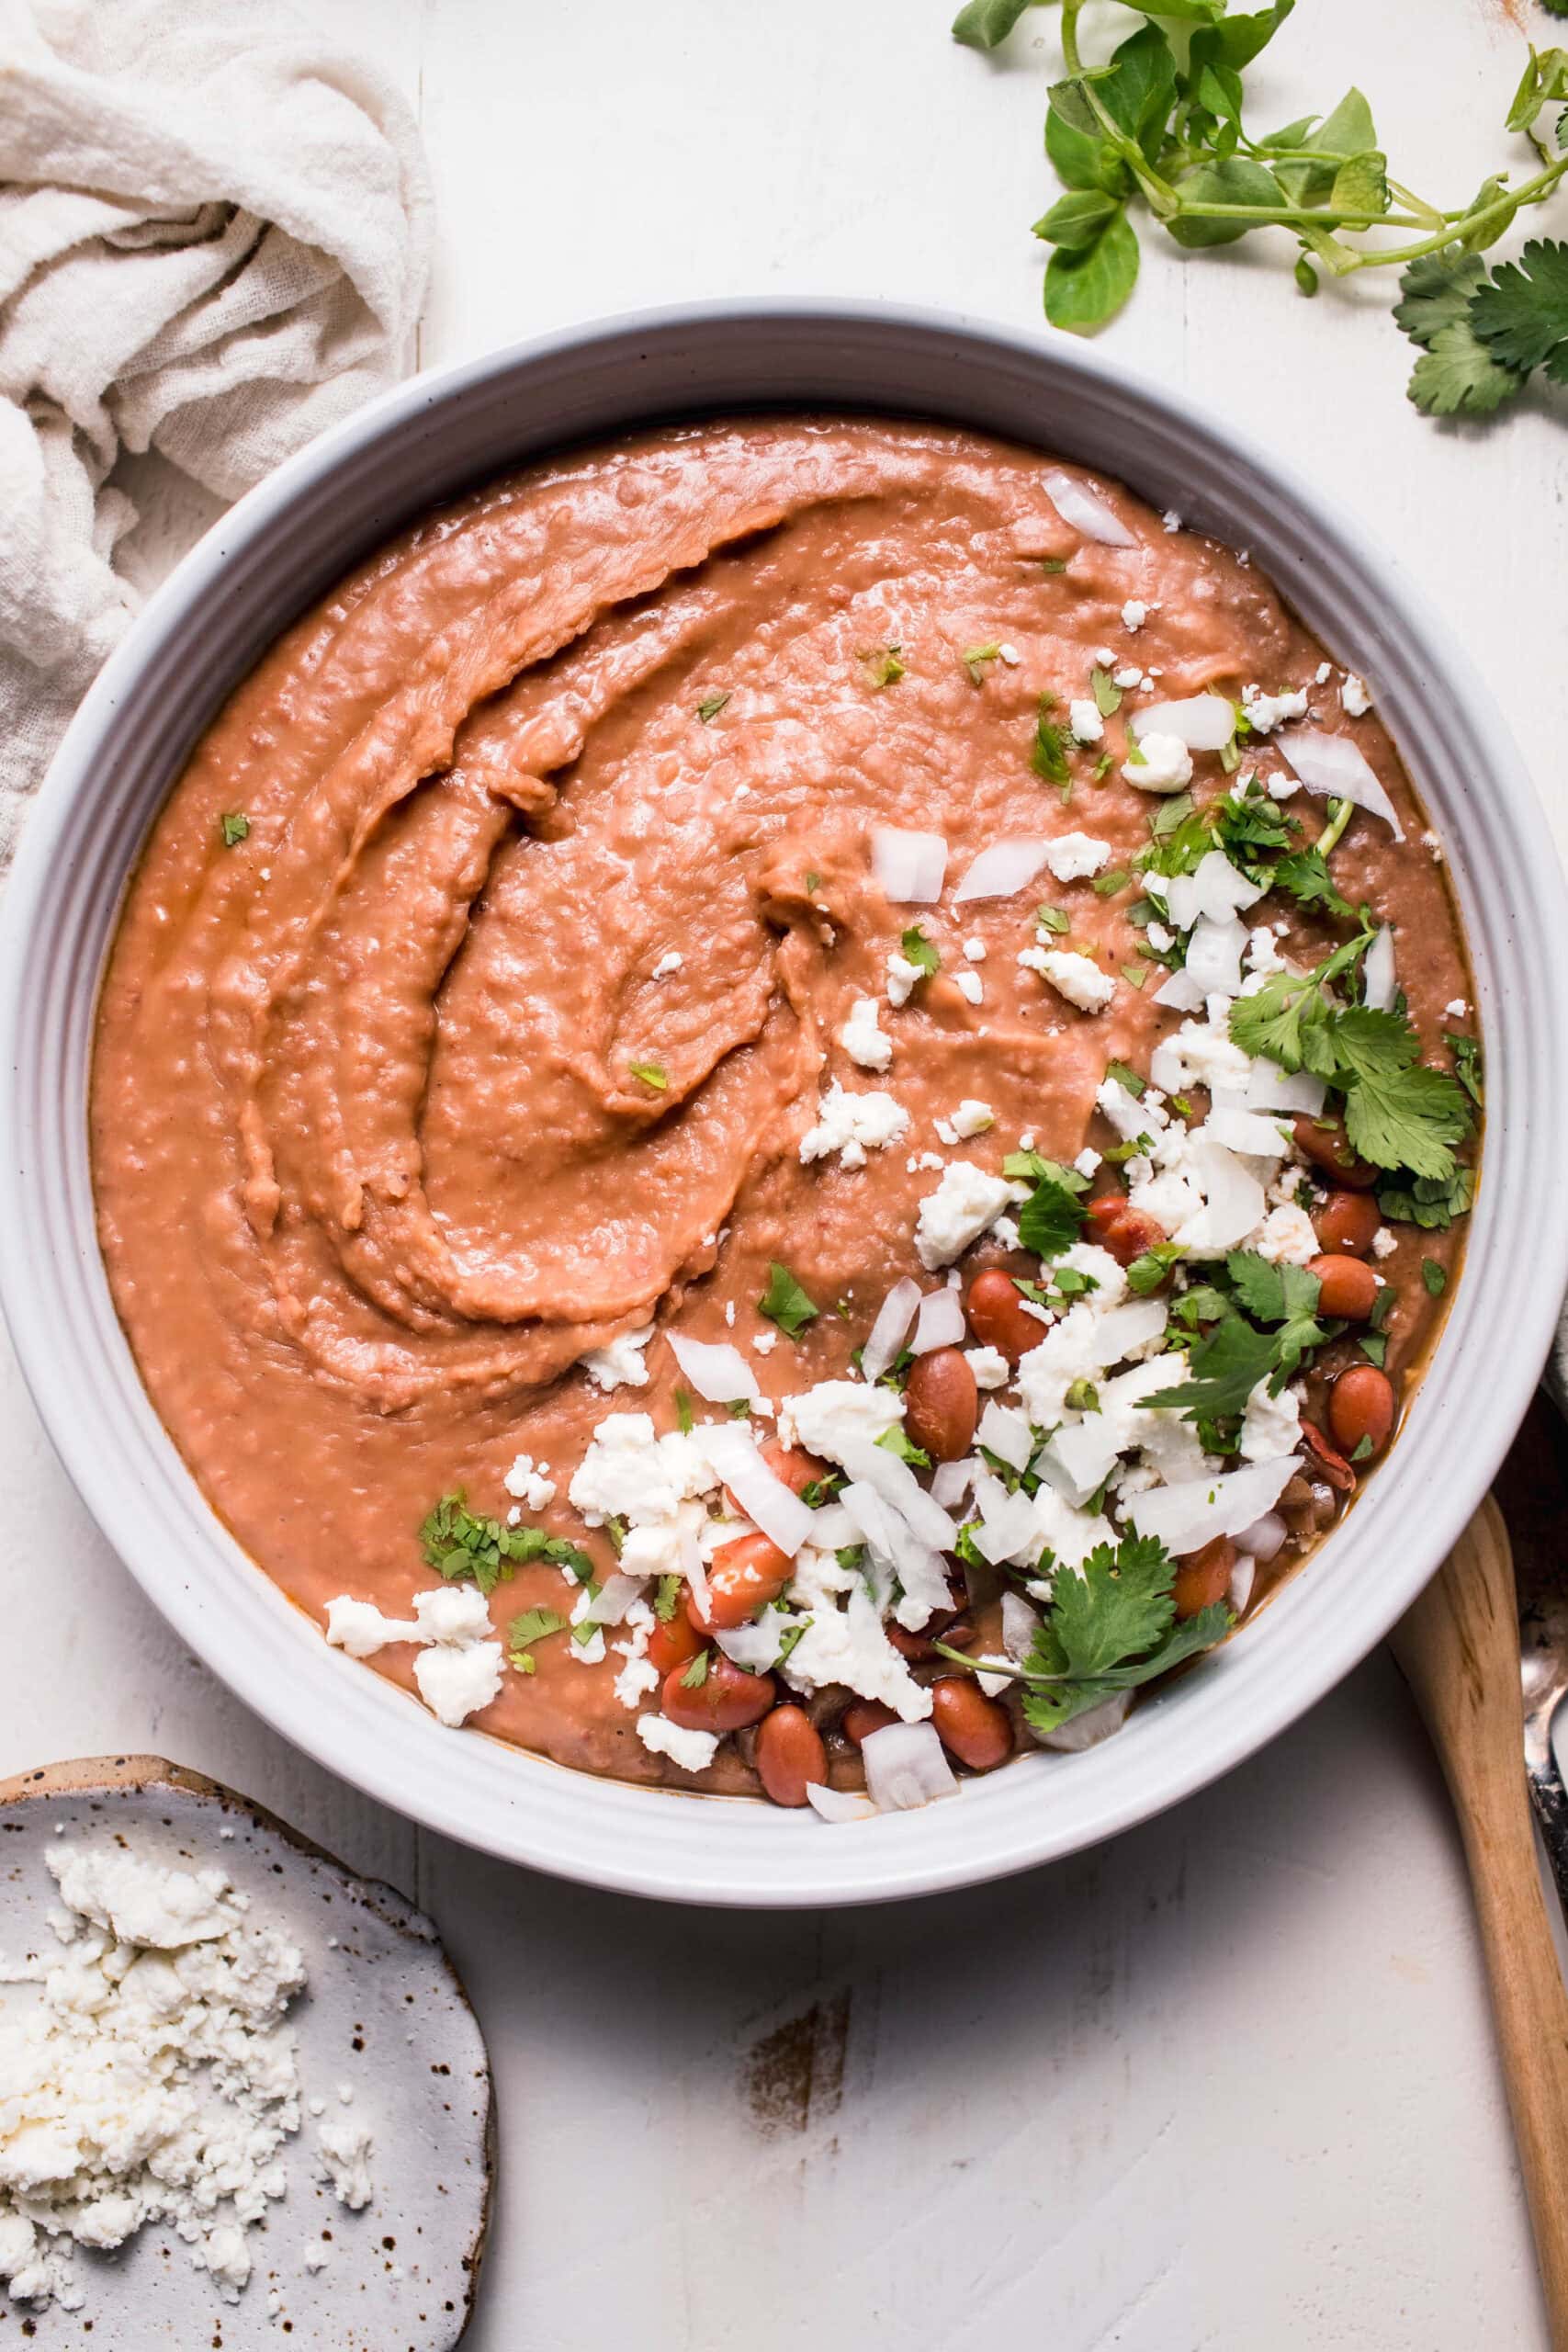
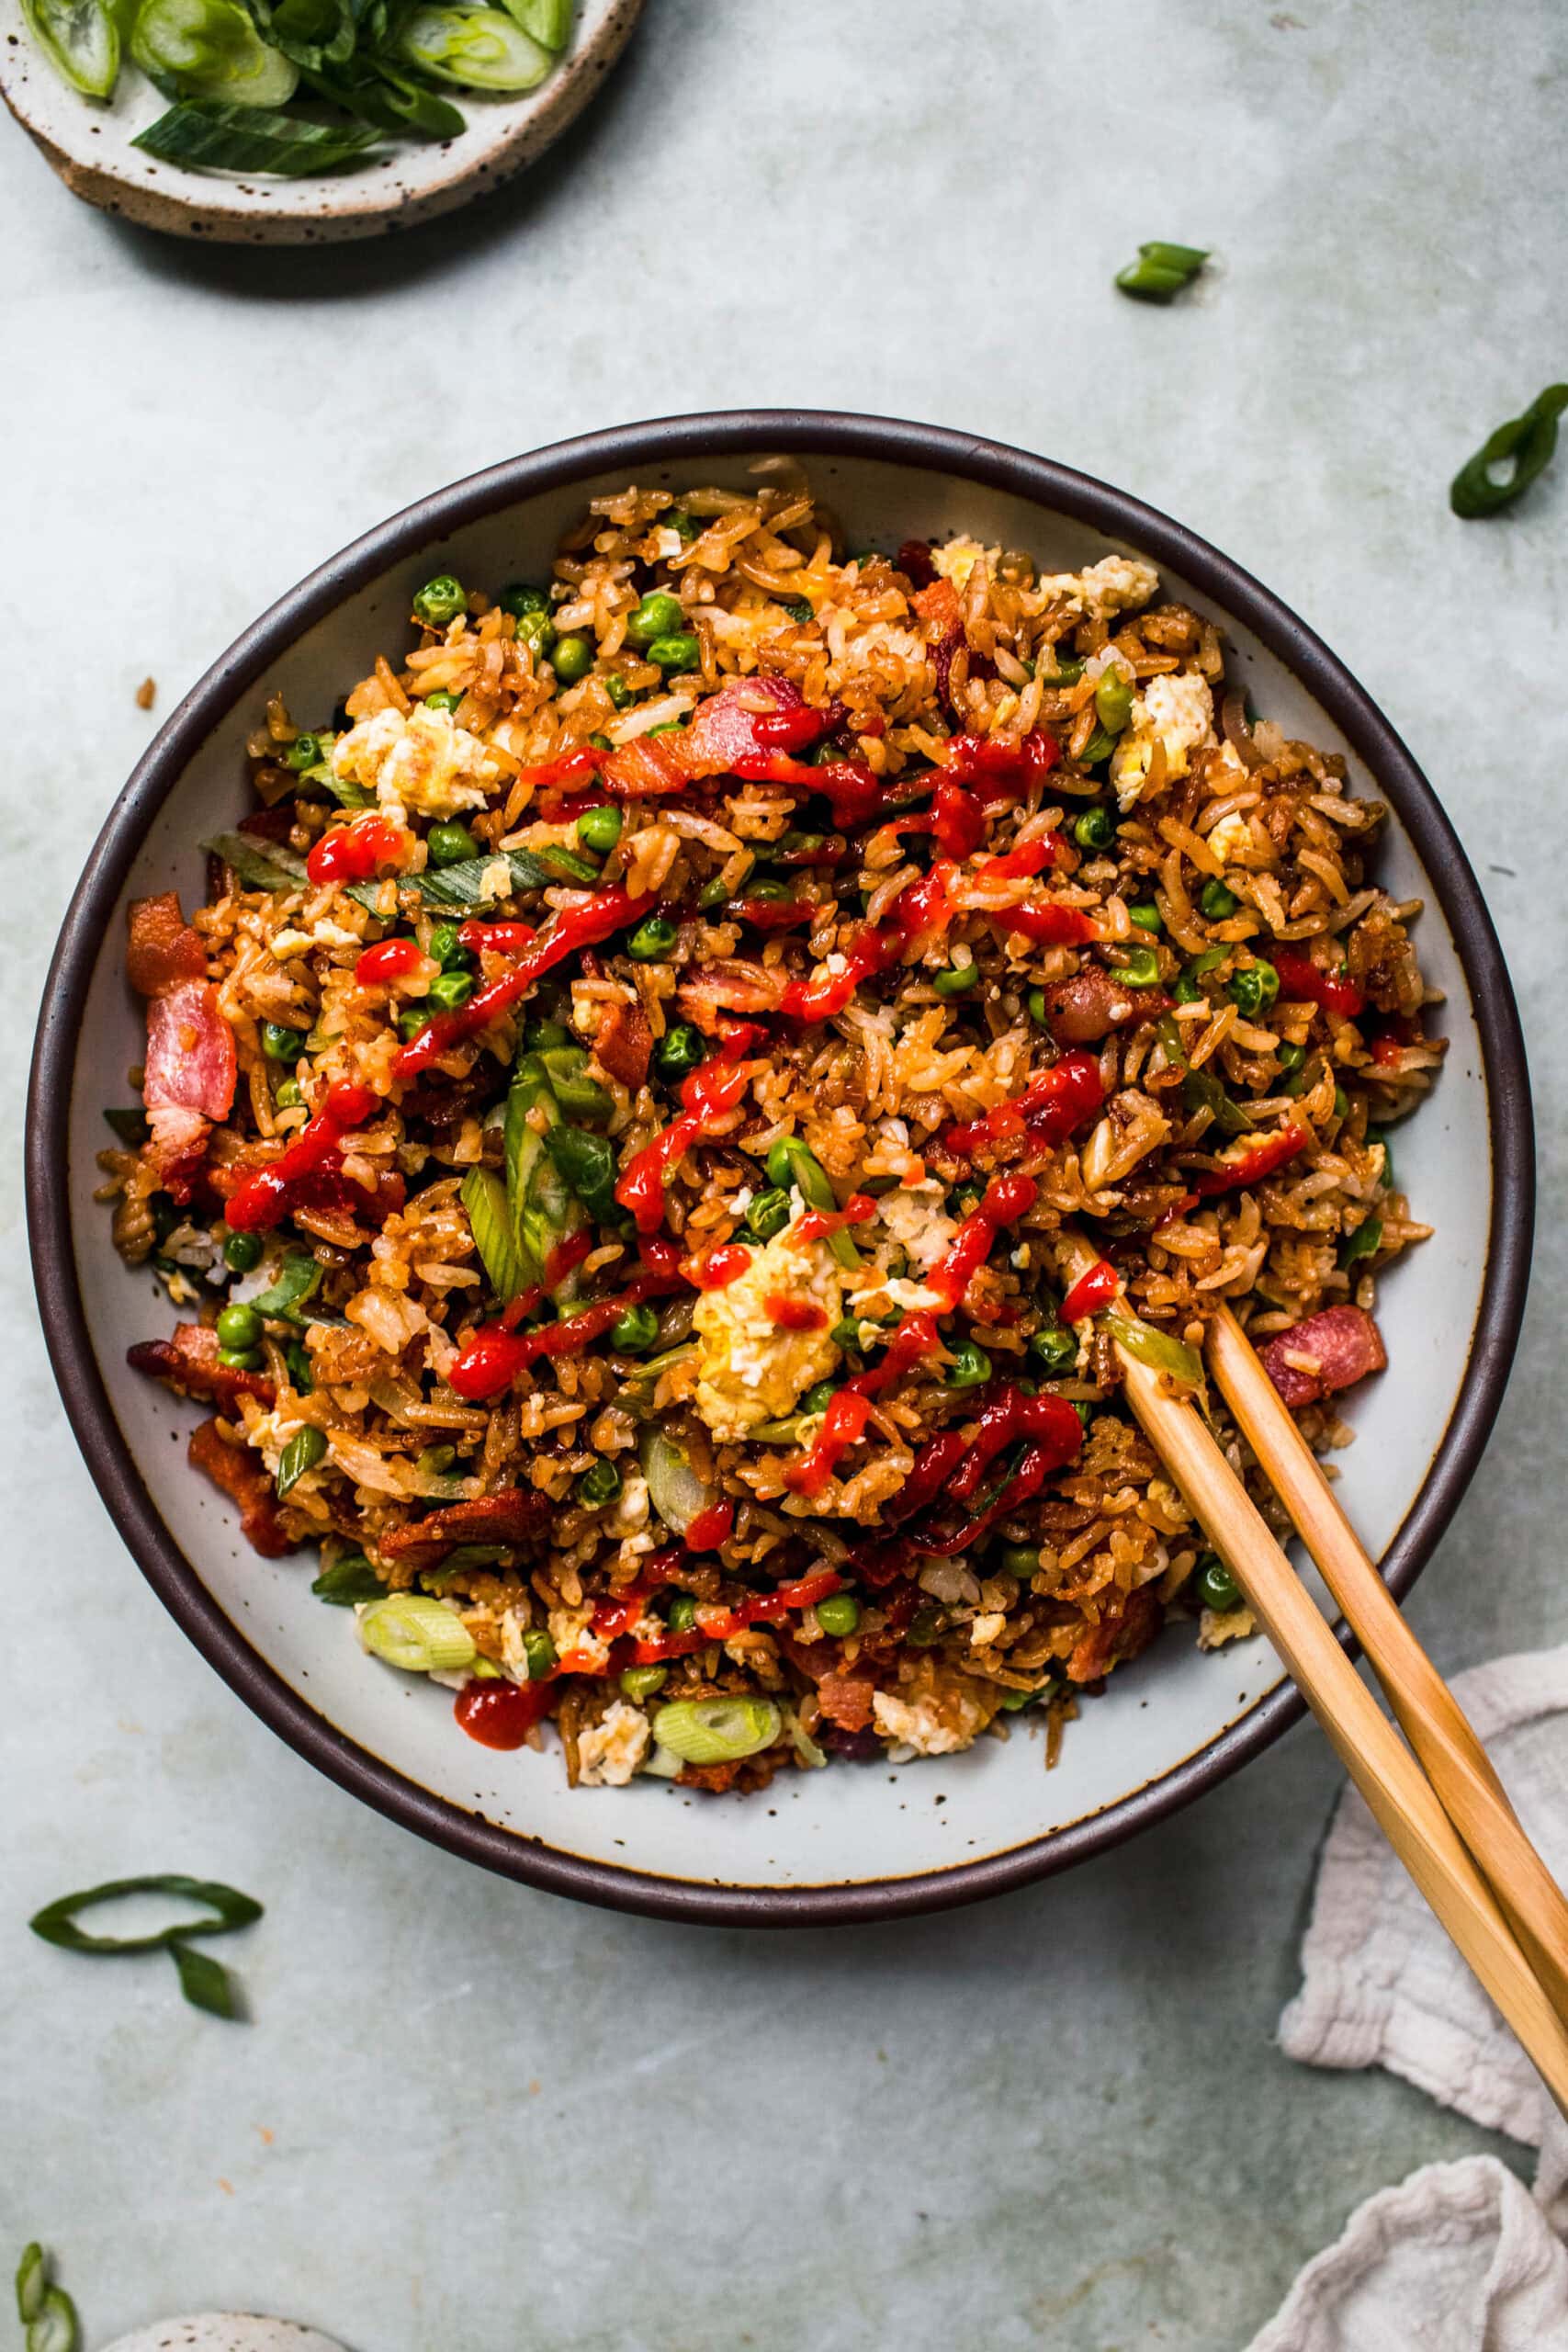
Rice is fantastic served hot or chilled. Use a hot and fresh batch of delicious rice to go with:

  • Spicy Peanut Tofu Bowls
  • Thai Beef Stir Fry 
  • Ginger Veggie Stir Fry
  • Turkey Swedish Meatballs
  • Mongolian Beef
  • Lamb Stir Fry with Green Beans 

You can also top your rice with one of these 15+ sauces for rice bowls.

Or, chill your rice to serve with: 

  • Shrimp Sushi Bowls
  • Salmon Sushi Bowls
  • Tuna Rice Bowl
  • 15-Minute Poke Bowls
  • Vegetarian Sushi
Bowl of rice and small bowl of soy sauce next to instant pot.

More Rice Recipes

  • Instant Pot Fried Rice
  • Instant Pot Mexican Rice
  • Toasted Rice Powder
  • Rice Cooker Rice
  • Instant Pot Red Beans & Rice
  • Bacon Fried Rice

More Perfect Whole Grains

  • How to Cook Perfect Quinoa in the Instant Pot
  • Rice Cooker Quinoa
  • The Best Instant Pot Farro
  • Instant Pot Oatmeal
  • Instant Pot Risotto 

More Instant Pot Recipes

  • Weight Loss Cabbage Soup (7-Day Diet)

    new!

    Weight Loss Cabbage Soup (7-Day Diet)

  • The BEST Instant Pot Chili

    new!

    The BEST Instant Pot Chili

  • Instant Pot Pot Roast with Red Wine

    new!

    Instant Pot Pot Roast with Red Wine

  • Instant Pot Black Eyed Peas (No Soak!)

    new!

    Instant Pot Black Eyed Peas (No Soak!)

  • How to Make Instant Pot Farro (Easiest Recipe!!)

    new!

    How to Make Instant Pot Farro (Easiest Recipe!!)

  • The BEST Instant Pot Refried Beans (No Soaking!)

    new!

    The BEST Instant Pot Refried Beans (No Soaking!)

Browse More Instant Pot Favorites

Did you try out your instant pot rice button?

If you loved this post on how to use the instant pot rice setting, I would appreciate it so much if you would give this recipe a ⭐️star review⭐️! Also, be sure to snap a picture of your finished dish and share it with me on Instagram using the hashtag #platingsandpairings and tagging me @platingsandpairings.

For more great Platings and Pairings recipes, be sure to follow me on Instagram, TikTok, Pinterest and Facebook.

Save This Recipe!

Enter your email address to get a link to this post conveniently in your inbox!

Save Recipe – Before Recipe Card

Bowl of rice and small bowl of soy sauce next to instant pot.

Full Recipe

Instant Pot Rice

With these tips you’ll see it's simple to learn how to cook perfect rice using the Instant Pot rice setting. The result is fluffy & flavorful rice that’s easy to prepare with minimal measuring.
4.96 from 204 votes
Print Pin
Serves 4 people
Created by Platings and Pairings
Prep Time: 1 minute min
Cook Time: 8 minutes mins
Time for pressure to build and release: 20 minutes mins
Total Time: 28 minutes mins

Ingredients

  • 1 cup rice
  • 1 cup water
  • 1 teaspoon cooking oil (olive oil, vegetable oil, canola oil)
  • 1 pinch salt

Instructions

  • Rinse rice under cold running water until the water runs clear.
  • Add oil to the Instant Pot along with the rinsed rice (still damp), water and salt.
  • Lock the lid and set the steam valve to its “sealing” position. Select the “RICE” button (if cooking white rice) or follow the cooking chart below. Allow the pressure to release naturally for 10 minutes and then release any remaining pressure. Fluff rice with a fork and serve.

Notes

Cook Times: 
  • White, Jasmine & Basmati Rice: 4-8 minutes
  • Brown Rice: 22-24 minutes
  • Wild Rice: 25-30 minutes
Tip: Use the recipe card to adjust the number of servings you are making. The water to rice ratio (1:1) and cook time will stay the same regardless of the amount of rice you are cooking.

Nutrition

Calories: 168kcal | Carbohydrates: 36g | Protein: 3g | Sodium: 5mg | Potassium: 53mg | Calcium: 13mg | Iron: 0.4mg
Did you make this recipe?Mention @platingsandpairings or tag #platingsandpairings!

This instapot rice recipe was originally published in 2017. It was updated in 2022 to add new photos, and again in 2023 to add new content.

  • Facebook
  • Flipboard
  • Email
4.96 from 204 votes (147 ratings without comment)

Leave a Reply Cancel reply

Your email address will not be published. Required fields are marked *

Recipe Rating


This site uses Akismet to reduce spam. Learn how your comment data is processed.

238 responses

  1. Dean
    December 29, 2018

    I used 1:1 ratio, and set the Instant Pot for 1 minute (as per the “Perfect Jasmine Rice” recipe that came with my IP) and during the cooking process, my IP said “BURN” on it….so I stopped the process and, after cooling, opened it up to find that most of the rice was pretty close to cooked. Just slightly undercooked but that makes sense as I stopped the process. The rice on the bottom was burned onto the IP (basically like it happens with most regular rice cookers). Anyone else having “BURN” come up? Is the rice on the bottom always going to burn? Suggestions?

    Reply
  2. Jennifer Merck
    January 3, 2019

    4 stars
    The 1:1 ratio didn’t work for me either. I tried it twice before I decided I needed to increase the water to a 1.5 ratio.

    Reply
  3. Dianna
    January 7, 2019

    5 stars
    Hi Erin
    While I’m not a fan of sticky rice I love the idea of rinsing the rice as you do for Quinoa.. I have cooked both with your ratio of water and both have come out perrfectly and I coat my pot with 1 coconut cooking spray. Fantastic.

    Reply
    1. Erin
      January 8, 2019

      I’m glad it worked out for you Dianna!

      Reply
  4. K
    January 10, 2019

    5 stars
    So the 1:1 ratio can change based on elevation. The higher the elevation, the more water. This “no” commenter has a bug up their butt! Modify your recipe and if it doesn’t work, it’s not an absolute science!

    We used leftover broth from making carnitas a couple nights before and made Mexican rice. It was incredible!

    Reply
  5. Arthur Riepenhoff
    January 14, 2019

    5 stars
    This is the first time my rice came out light and fluffy. I followed your recipe except I didn’t rinse my rice first (I actually forgot bc never do it), and I used coconut oil. I let it sit 10 min after it was finished then released any pressure left. This is my go to for rice now. Thank you.

    Reply
    1. Erin
      January 15, 2019

      I’m so happy it worked for you Arthur!

      Reply
  6. Diahna
    January 22, 2019

    5 stars
    I added minced garlic, chopped cilantro, and butter instead of the vegatable oil.
    1 cup of rice to one 1/8 cup of water, and it was delicious!!! (The extra water was because I like my rice a little sticky) if not, just ommit the extra water. 1/1 rice/water ratio works fine, but you do have to rinse the rice first.

    Reply
    1. Erin
      January 22, 2019

      I love your additions Diahna!

      Reply
  7. Kristel
    January 23, 2019

    I haven’t had the IP long, and after reading all the comments, I wasn’t sure what to do about the amount of water, rice setting etc. But looking at the recipe again, I noticed it said “Select the ‘RICE’ button OR follow the cooking chart below.” (My emphasis added on the “or.”) So I kept it at 1 cup of rice, 1 cup water, and the other ingredients, and used my IP rice setting, which is low pressure for 12 minutes. Rice came out great! It was a little salty for me, so the only thing I would change next time is to halve the salt. Thanks for the tips, Erin!

    Reply
    1. Erin
      January 29, 2019

      I’m so happy it was helpful Kristel!

      Reply
  8. Mary
    January 24, 2019

    5 stars
    I have a 3Q IP. Thanks! Love your tips in addition to the recipes. Not making it tonight but am interested in tips for cooking black rice. I usually make coconut rice but for this week’s meals that won’t work. Until then never had a successful rice cook so am thrilled with IP. Still a newbie as I am very late to the IP trend.

    Reply
  9. Marilyn
    January 28, 2019

    Thank you!!!! This worked out perfect!!! Thank you!

    Reply
    1. Erin
      January 29, 2019

      I’m so happy to hear that – THanks Marilyn!

      Reply
  10. Kate
    February 7, 2019

    When You say what the pressure release naturally for 10 minutes, does that mean put it on venting or do nothing?

    Reply
    1. Erin
      February 7, 2019

      Hi Kate – That means do nothing for 10 minutes, then vent. Hope that helps!

      Reply
←Older Comments
1 … 4 5 6 7 8 … 11
Newer Comments→

Hi, I’m Erin!

Can I pour you a glass of wine? Let’s have some fun in the kitchen! Maybe some pasta? A juicy steak? I’ve got loads of yummy, easy recipes for you! Because cooking should feel as comfy as your favorite yoga pants. ♥

Know More

Follow Me on Social!

  • Instagram
  • Facebook
  • Pinterest
  • X
  • YouTube

Recent Recipes

  • Smashburger Sauce
  • Mexican Pasta Salad
  • Christmas Pasta Recipes
  • Prosciutto Wrapped Pork Tenderloin
  • Tahini Dressing
  • Tortellini in Brodo
  • Grilled Chicken Street Tacos
  • Baked Goat Cheese Recipe

Dish Type

30 Minute Meals
Appetizer Recipes
Cocktail Recipes
Dessert Recipes
Healthy Recipes

Cooking Method

Air Fryer Recipes
Grilling Recipes
Instant Pot Recipes
Slow Cooker Recipes
Sous Vide Recipes

Ingredient

Beef Recipes
Chicken Recipes
Lamb Recipes
Pork Recipes
Seafood Recipes

Cocktails

Classic
Gin
Margarita
Moscow Mule
Vodka

Sides

Bread
Potatoes
Rice
Salad
Vegetables

Travel

Australia
California
Europe
Hawaii
Italy
About Me
Contact
Privacy Policy

© All Rights Reserved.

Rate This Recipe

Your vote:


A rating is required
A name is required
An email is required

Recipe Ratings without Comment

Something went wrong. Please try again.