
Learn how to make beef gravy with beef drippings or beef broth! With only 10 minutes of hands-on work, it’s surprisingly simple and yields rich and beefy brown gravy every time. Perfect for french fries, meat, potatoes, and more!
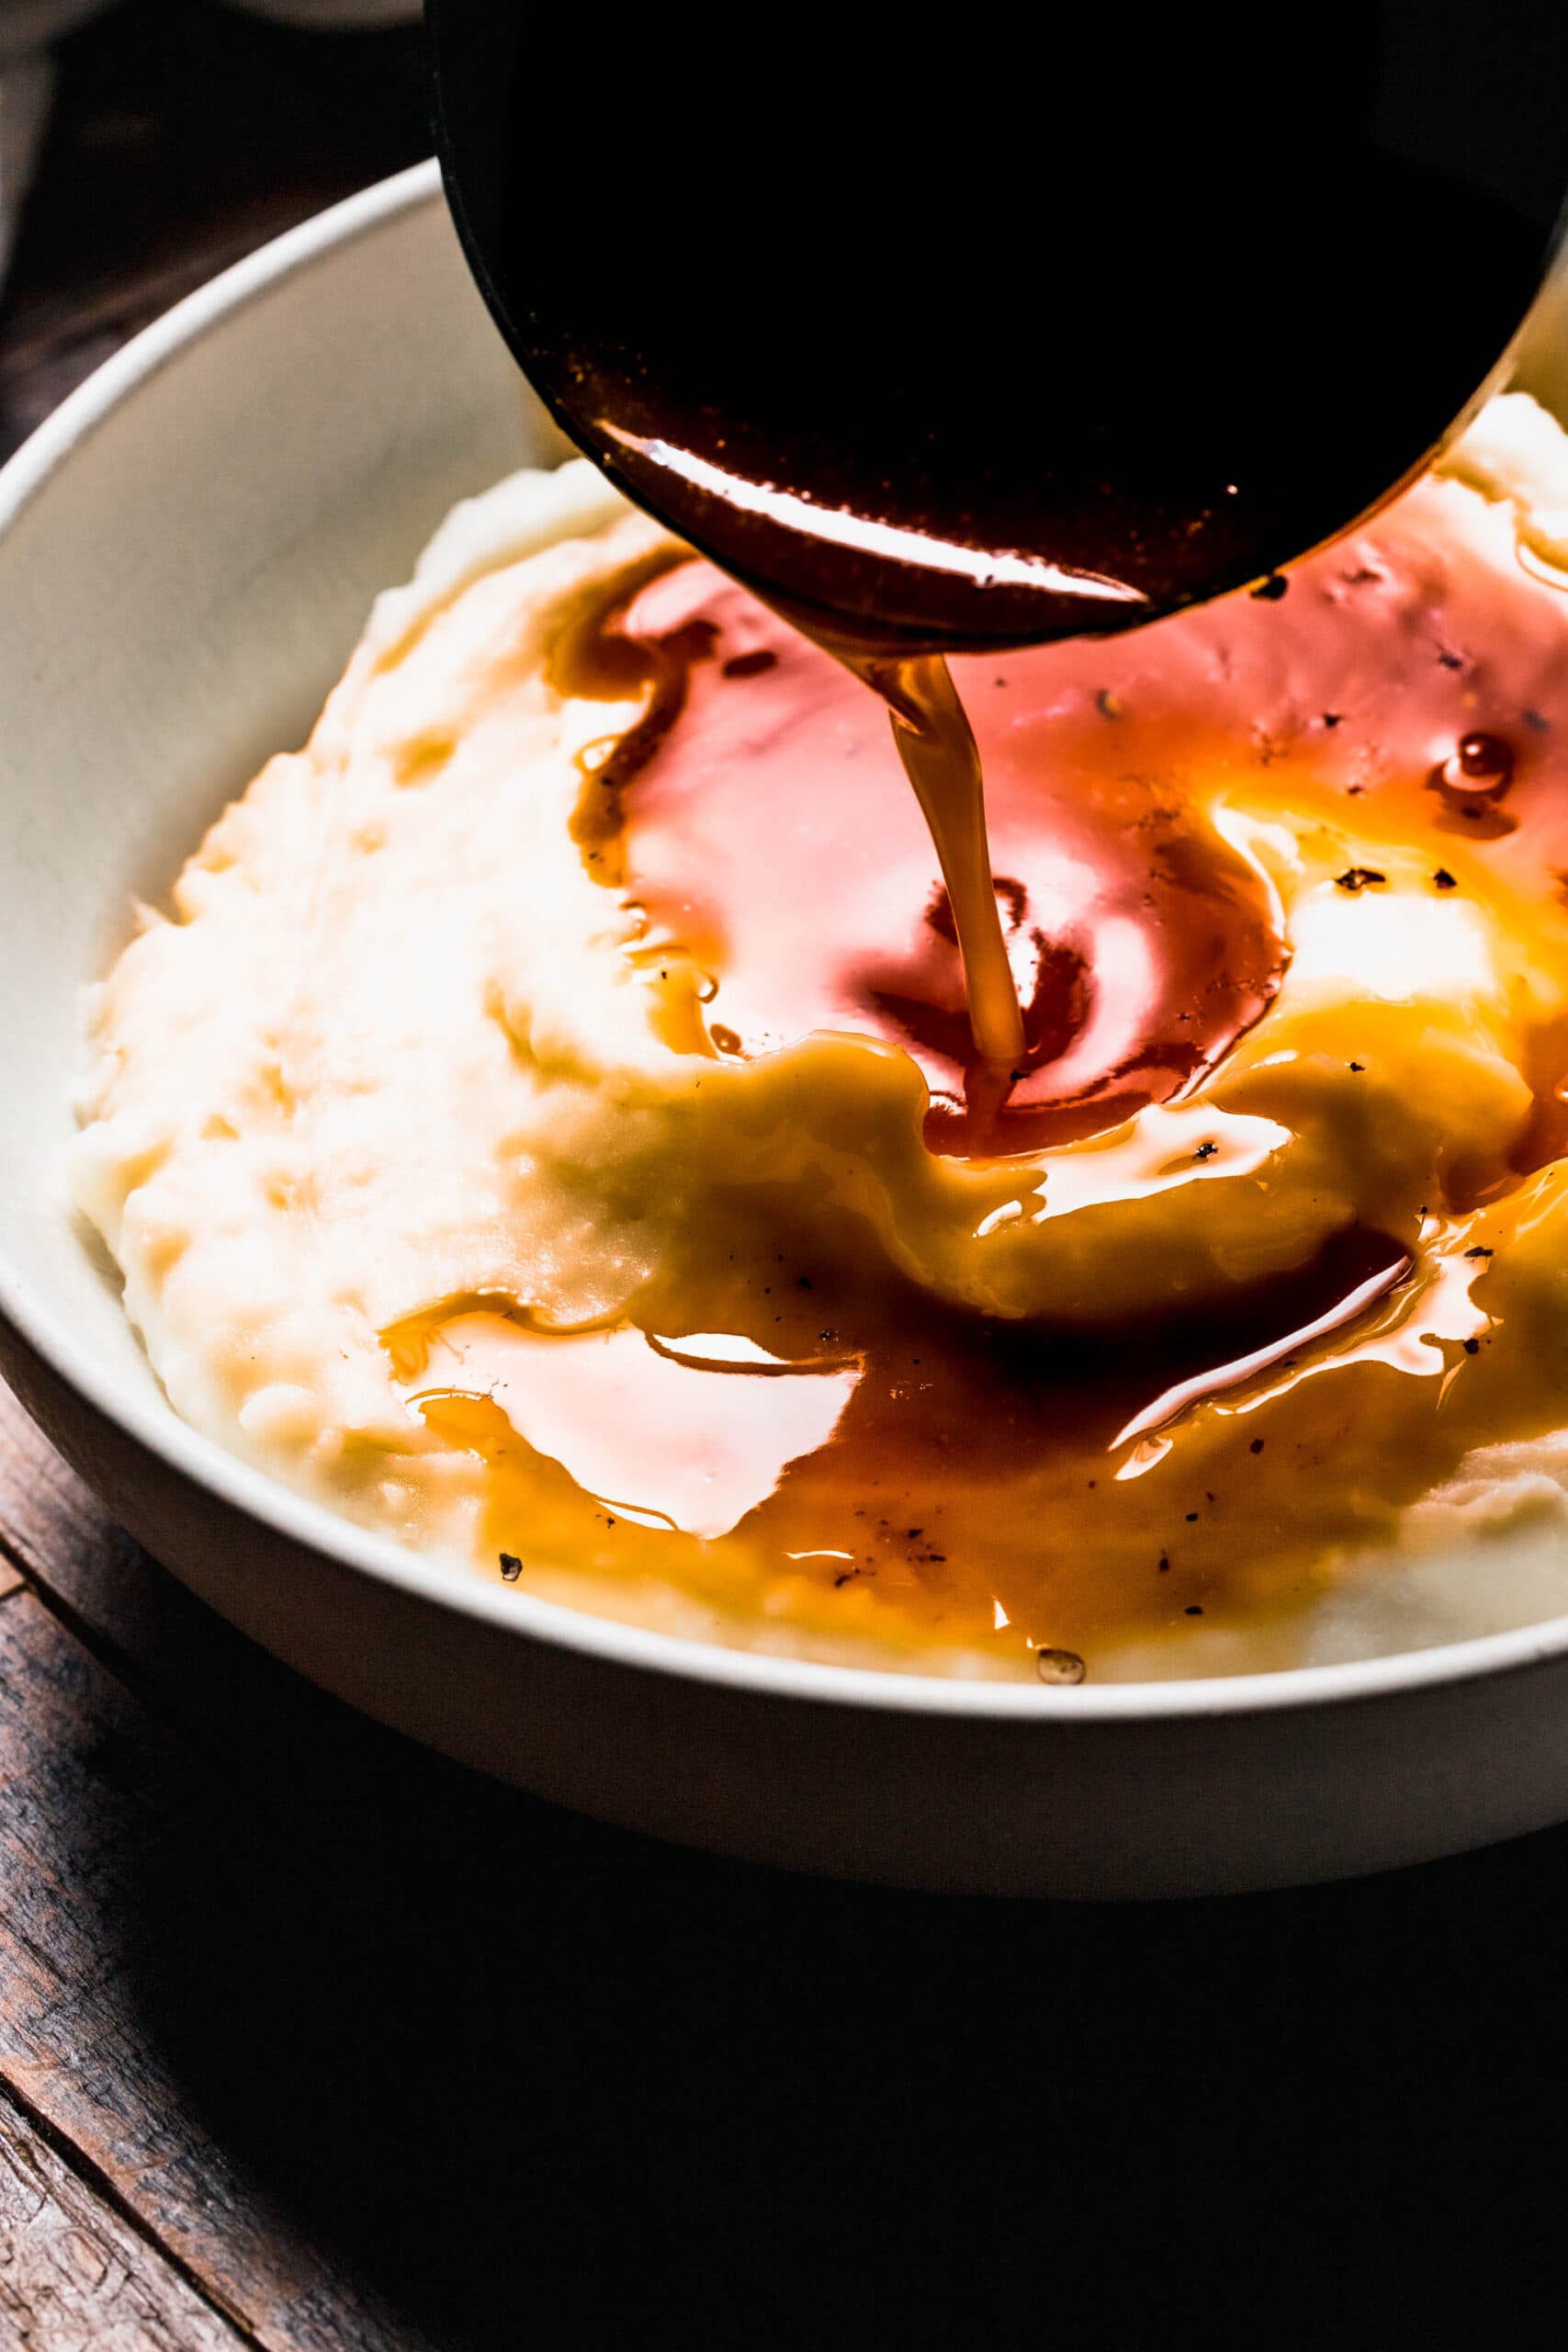
Table of Contents
The best way to finish a plate of meat and potatoes is with a generous pour of this easy beef gravy on top. It’s rich, beefy, and perfectly seasoned!

If you love making homemade gravy as much as I do, you’ll want to try my Chicken Gravy and Onion Gravy recipes, too!
This beef gravy recipe is one you should have in your repertoire at all times. Not only is it a fantastic condiment that takes weeknight dinners over the top, but it’s a must-have on any holiday menu.
Once it’s ready, pour the well-seasoned brown gravy over these Smoked Beef Short Ribs, Mashed Potatoes, Classic Steak Diane, roasted turkey, and so much more. The ways to use it are endless!

Ingredient notes

- Beef broth – The most convenient way to make homemade beef gravy is with store-bought beef broth. When you’re ready to revamp the flavors, try this recipe with homemade beef stock. It’s just as easy to use but will add more depth and an intense beefy flavor.
- Garlic and onion powder
- Beef bouillon base – An optional ingredient but one that will give the gravy a boost of well-seasoned flavor.
- Water and cornstarch – When mixed together, these two will help thicken the gravy.
- Salt and pepper
How to make beef gravy
Step 1
Heat the broth
- Add the broth, garlic and onion powder, and beef bouillon to a saucepan.
- Heat over medium-high heat until it starts to boil.

Step 2
Make cornstarch slurry
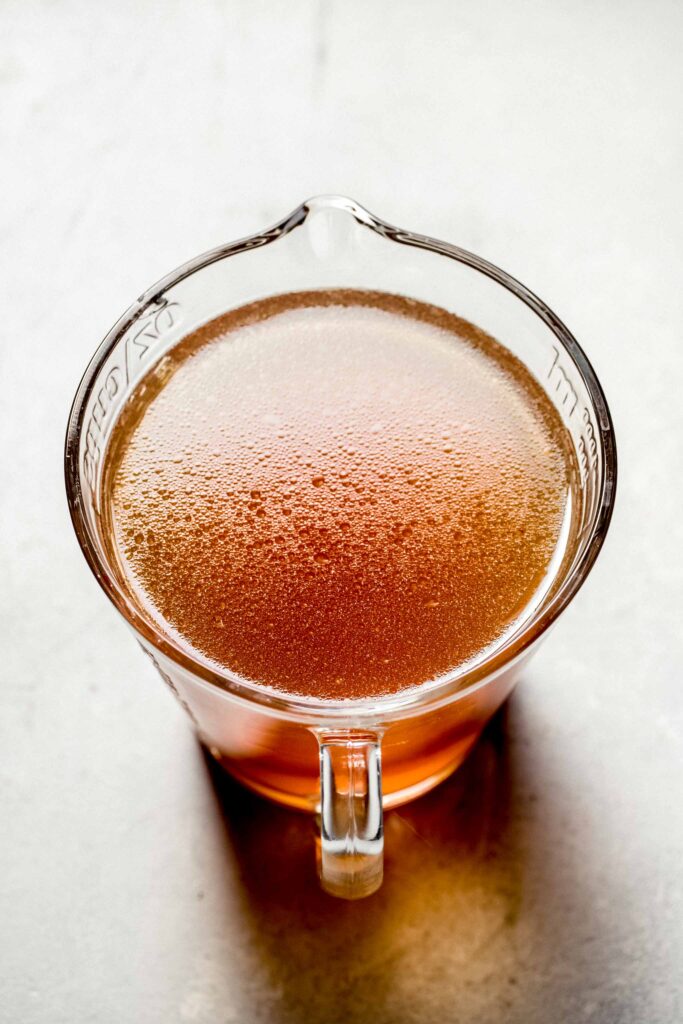
- In a separate bowl, whisk the cold water and cornstarch together to make a slurry.
- Pour the slurry into the boiling beef broth, then reduce the heat to a simmer.

Step 3
Cook to thicken
- Continue to stir the gravy until it thickens.
- Afterward, season it with salt and pepper, then enjoy.
How to make beef gravy with beef drippings
It’s just as easy to make beef gravy with drippings as it is broth. You can save the leftover meat juices or drippings from a pot roast or prime rib roast by straining them into an airtight glass container. Store them in the fridge for up to 1 week or freeze for up to 3 months.
Tips and tricks
- If the gravy isn’t thickening to your liking, stir in a small splash of extra cornstarch slurry at a time until it reaches your desired consistency.
- The best way to avoid lumpy gravy is to continuously whisk it while it’s simmering on the stove.
- Give the gravy an herbaceous twist with a bouquet of thyme, parsley, sage, oregano, rosemary, and/or bay leaves simmered in the pot.
- For a smooth, rich, and luxurious mouthfeel, whisk a little melted butter into the gravy when you add the broth.
- If you’re making the gravy from beef drippings, keep in mind that they’re already seasoned and/or salted. It’s important to always taste the gravy before seasoning it with more salt and pepper.
- I also recommend straining the drippings through a fine mesh strainer ahead of time. This way, you avoid lumps in your gravy.


Serving suggestions
In my opinion, a plate of short ribs and mashed potatoes just isn’t complete without beef gravy drizzled over top. But that’s just one of the endless ways to use it! This long list of serving suggestions is sure to make your mouth water:
- Drizzled over beef – It’s a give-in – beef and gravy are a match made in heaven! Drizzle the gravy over classic pot roast, meatloaf, roast beef, and any other beef dish you love to take it from good to great.
- With potatoes – Jazz up a plate of roasted, baked, smashed, or mashed potatoes with some gravy on top! It’s also the perfect dipping sauce to serve with a plate of french fries and is a must-have with homemade poutine.
- Holiday meals – Put this gravy on the table to pour over your mashed potatoes or mashed cauliflower, roasted turkey, and stuffing during Thanksgiving, Christmas, or any holiday dinner.
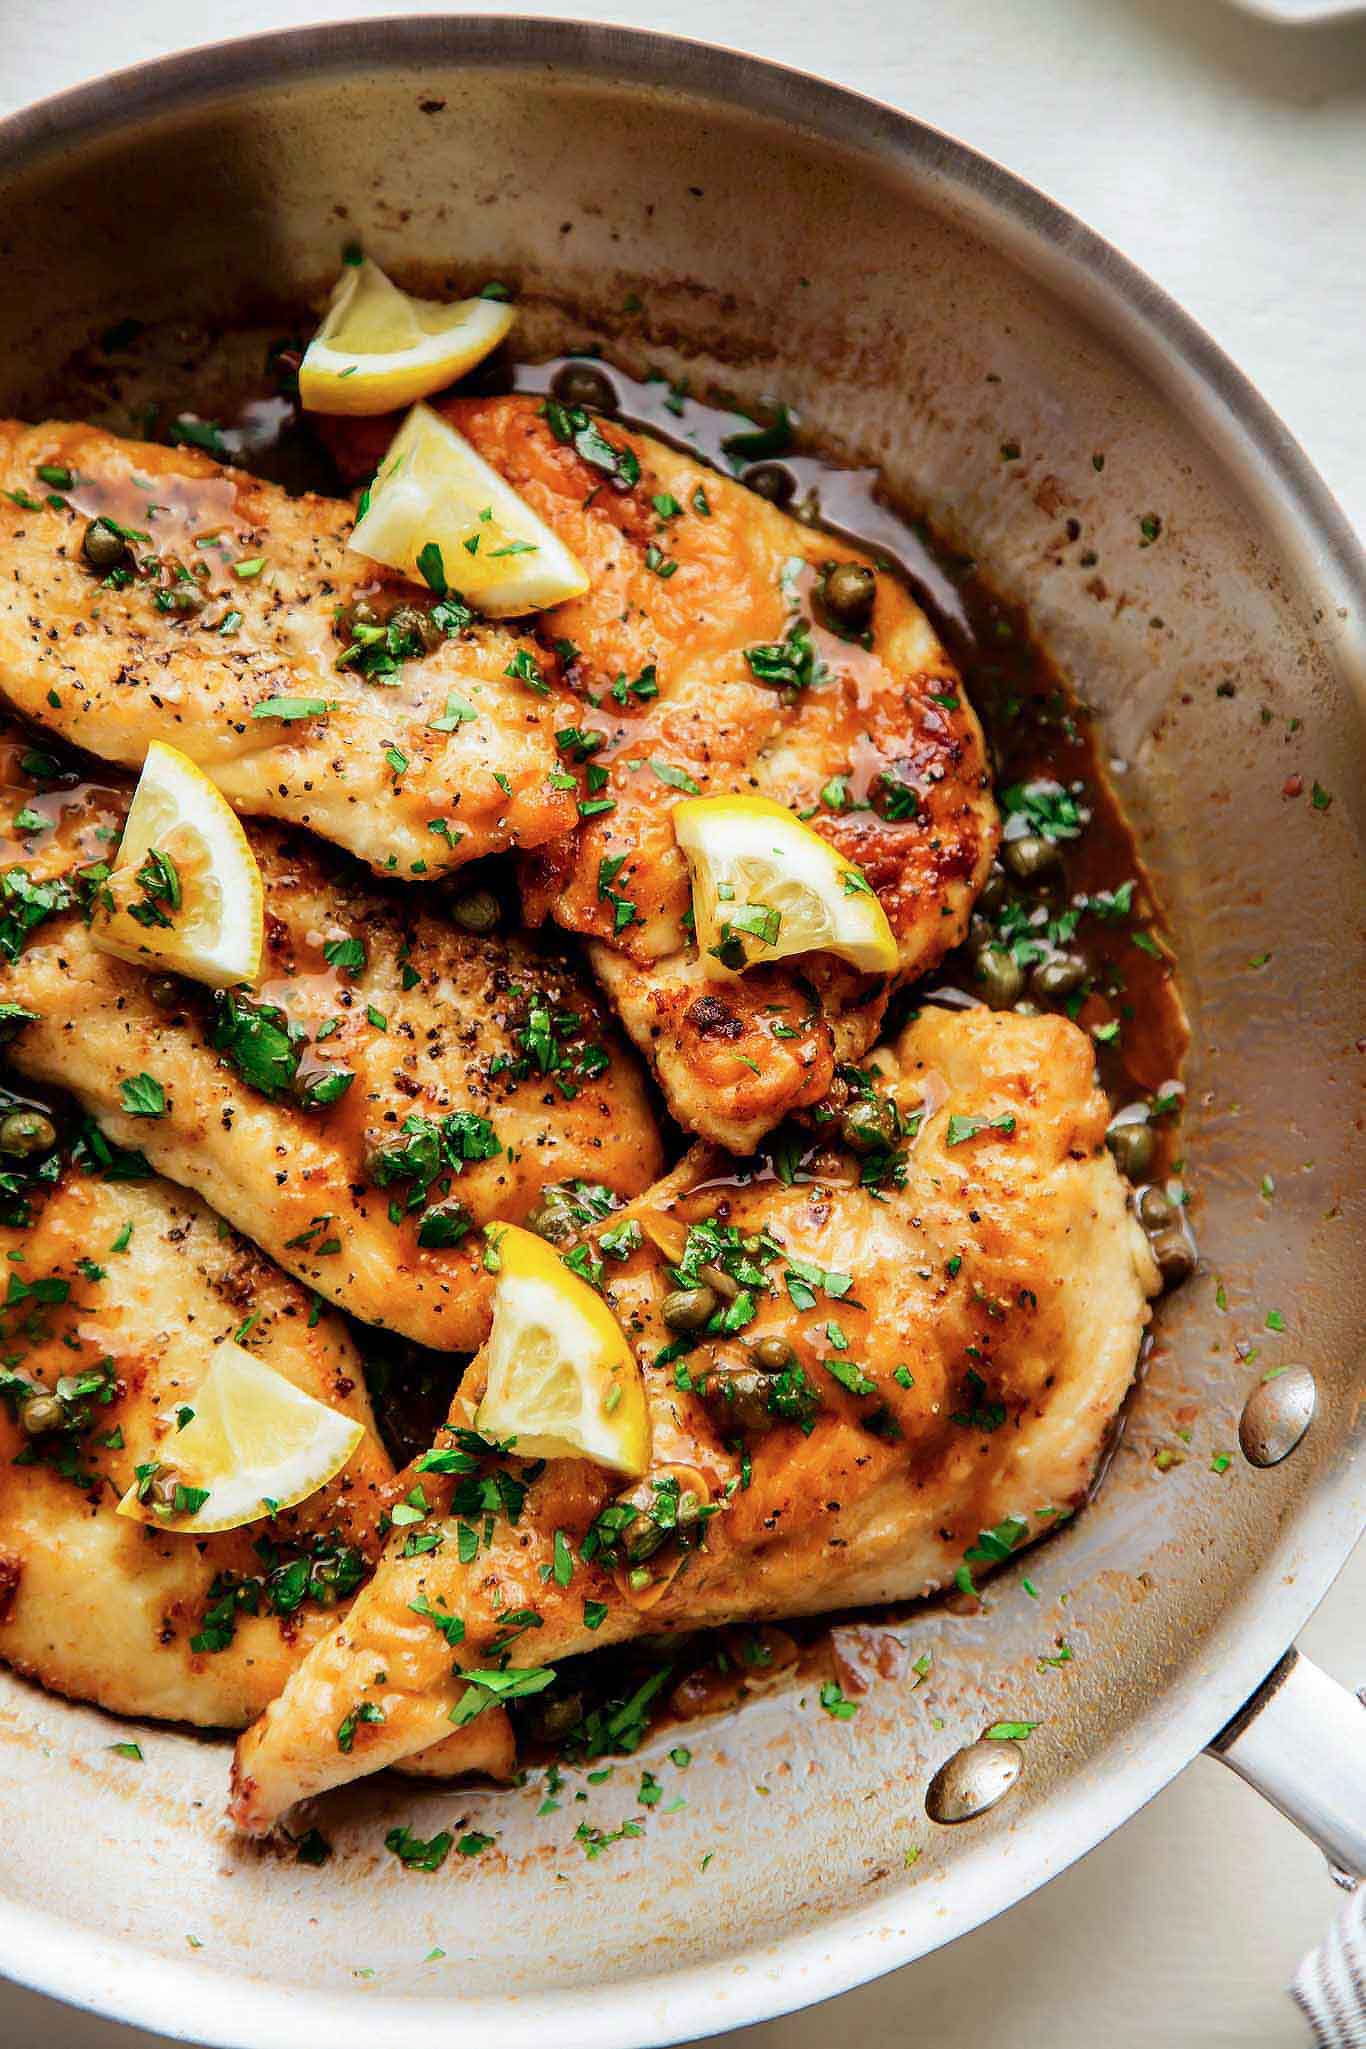
- With chicken – Beef gravy pairs really well with poultry dishes, like spatchcock chicken, sous vide chicken breasts, air fryer chicken thighs, roasted chicken, and more.
Storing and freezing
Save yourself some time and stress by making the gravy up to 3 days ahead of serving. Keep it in an airtight container in the fridge until it’s time to reheat and serve.
The cooled leftovers can be stored in an airtight container in the fridge for 3 to 4 days or in the freezer for 2 to 3 months. Let it thaw in the fridge overnight before reheating.
The gravy will thicken as it cools, so give it a good stir as you reheat it in a saucepan on the stove. You can also microwave it in 30-second increments, being sure to stir it each time.

More sauces to serve with beef
- MORE → 22+ Sauces for Beef
More beef recipes

Did you make this beef gravy recipe?
If you loved this beef broth gravy recipe, I would appreciate it so much if you would leave a ⭐️star review⭐️! Also, be sure to snap a picture of your finished dish and share it with me on Instagram using the hashtag #platingsandpairings and tagging me @platingsandpairings.
For more great Platings & Pairings recipes, be sure to follow me on Pinterest, Facebook, YouTube and Twitter.

Full Recipe
Easy Beef Gravy
Equipment
- Saucepan
Ingredients
- 3 cups beef broth (you can also use beef dripping from a roast)
- 1 teaspoon garlic powder
- 1/2 teaspoon onion powder
- 1 teaspoon beef bouillon base (optional)
- ¼ cup cold water
- 3 Tablespoons cornstarch
- Salt and pepper (to taste)
Instructions
- Add broth, garlic powder, onion powder, and beef base (if using) to a medium saucepan and bring to a boil over medium-high heat.
- In a small bowl whisk together cold water and cornstarch until dissolved. Pour this mixture into the boiling beef broth and reduce heat to a simmer. Stir until thickened.
- Season with salt and plenty of black pepper. Enjoy.
Notes
- Save yourself some time and stress by making the gravy up to 3 days ahead of serving. Keep it in an airtight container in the fridge until it’s time to reheat and serve.
- The cooled leftovers can be stored in an airtight container in the fridge for 3 to 4 days or in the freezer for 2 to 3 months. Let it thaw in the fridge overnight before reheating.
-
If the gravy isn’t thickening to your liking, stir in a small splash of extra cornstarch slurry at a time until it reaches your desired consistency.
-
The best way to avoid lumpy gravy is to continuously whisk it while it’s simmering on the stove.
-
Give the gravy an herbaceous twist with a bouquet of thyme, parsley, sage, oregano, rosemary, and/or bay leaves simmered in the pot.
-
For a smooth, rich, and luxurious mouthfeel, whisk a little melted butter into the gravy when you add the broth.
-
If you’re making the gravy from beef drippings, keep in mind that they’re already seasoned and/or salted. It’s important to always taste the gravy before seasoning it with more salt and pepper.
-
I also recommend straining the drippings through a fine mesh strainer ahead of time. This way, you avoid lumps in your gravy.


Leave a Reply