

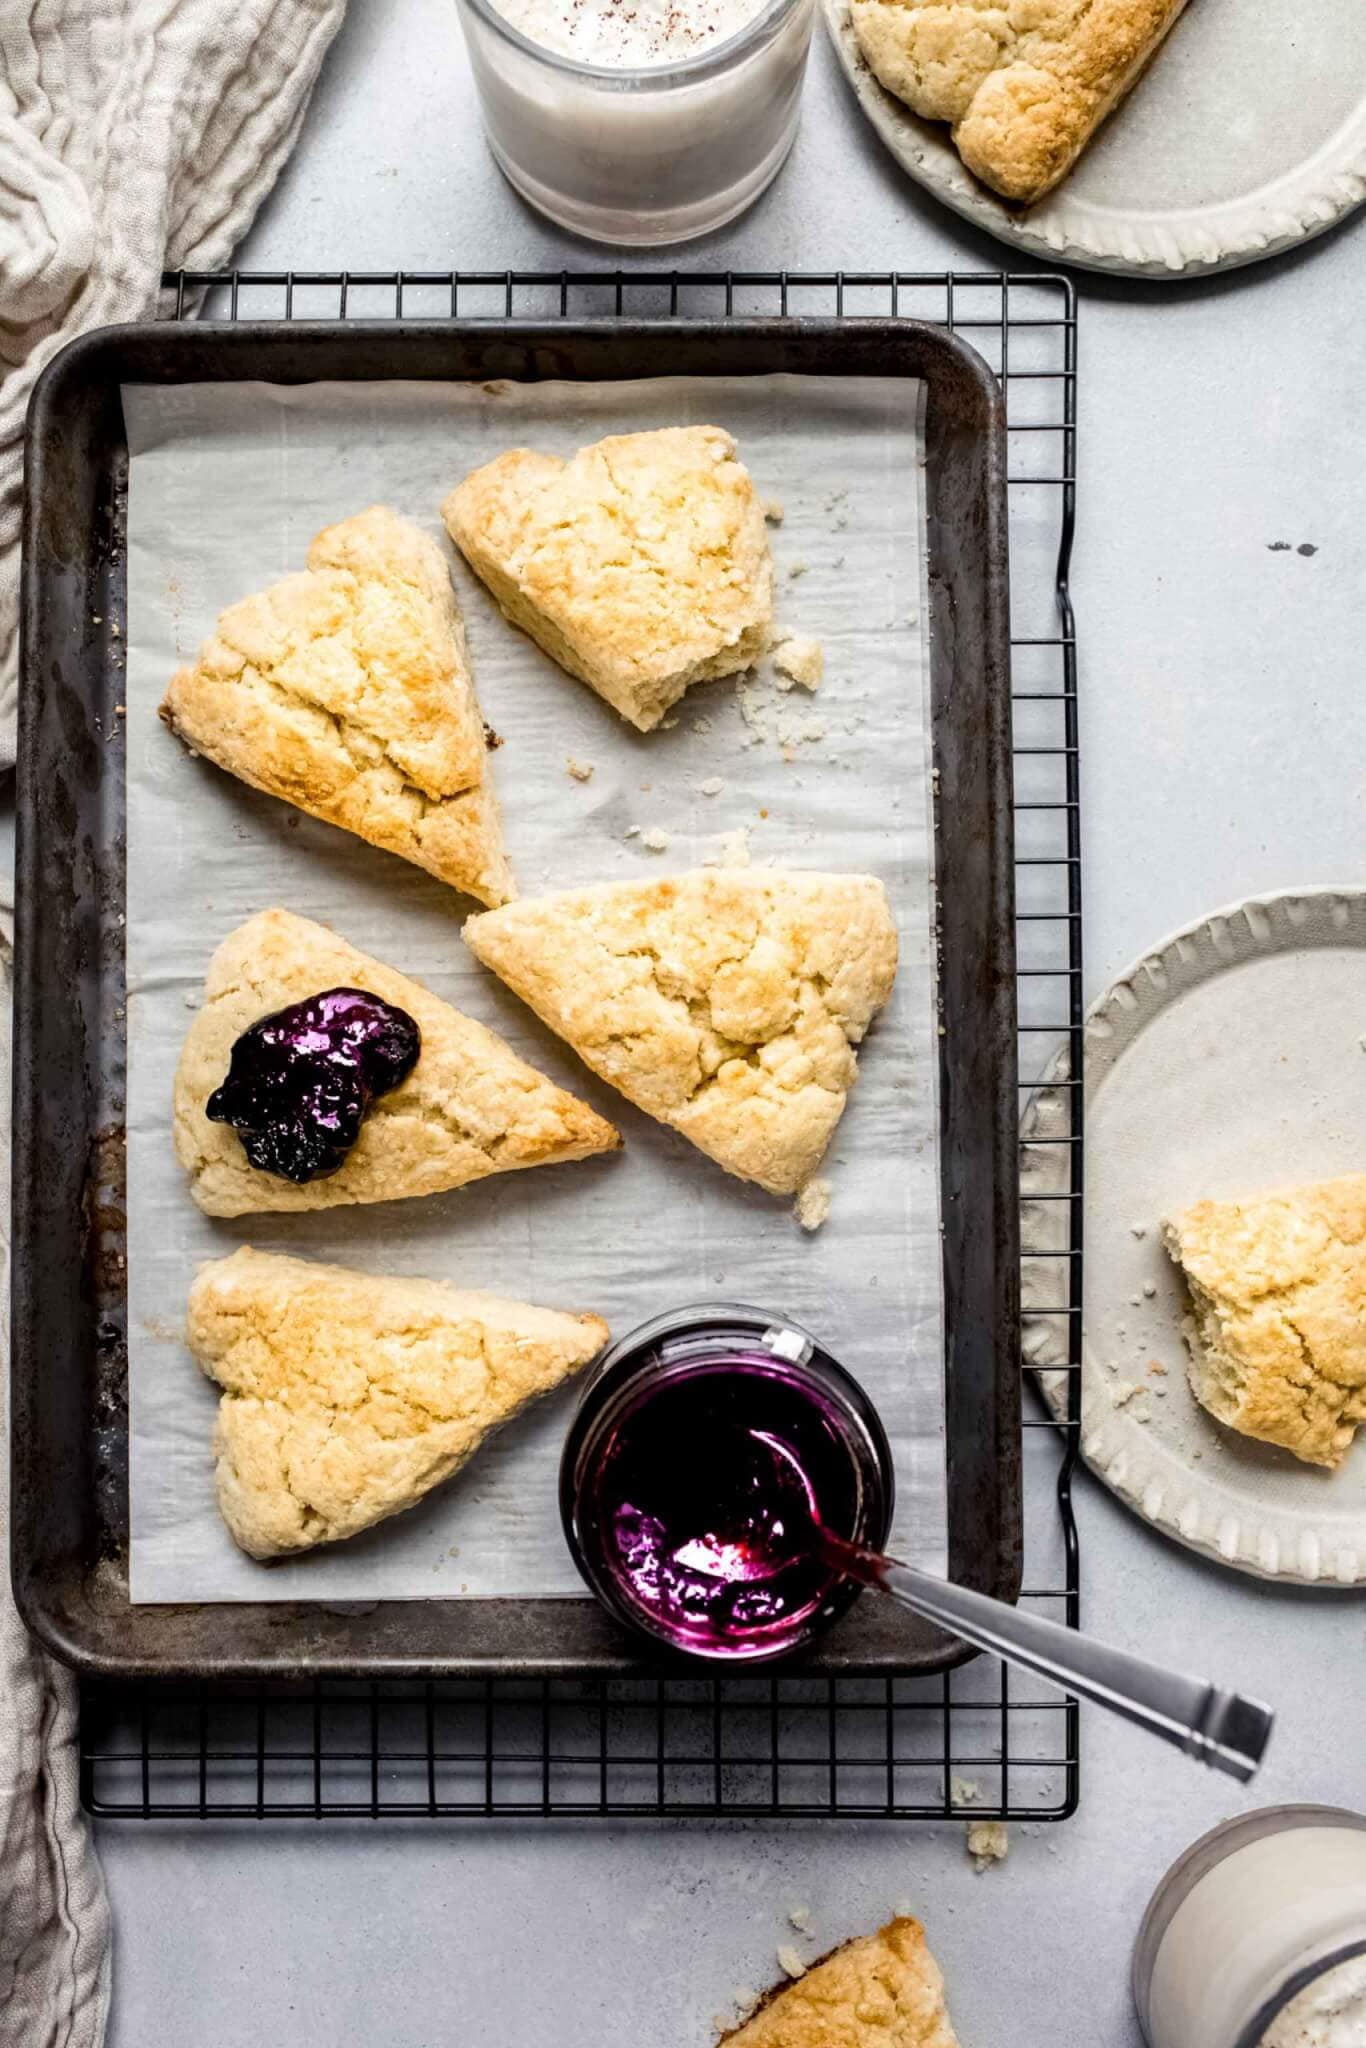
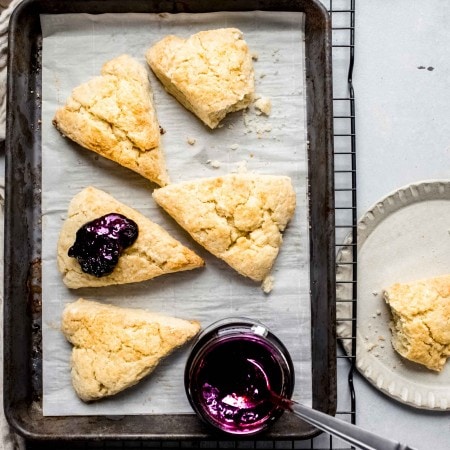
Enjoy these soft and buttery Easy Dreamy Cream Scones for breakfast or brunch. Just like your favorite bakery pastries, these have the perfect golden brown crust and a creamy, decadent inside. Easy to make and ready in under 30 minutes!
Sunday morning brunch calls for indulgence! Pack your plate with pancakes, fruit, and pastries, like these easy cream scones. Made with heavy cream, butter, and eggs, they’re perfectly soft on the inside and crunchy on the outside.
This classic recipe uses simple ingredients and takes less than 30 minutes to bake. A mix of heavy cream and butter infuses into the dough to creates a flaky, irresistible bite.
You can easily play around with this recipe to make it your own. Add in sweet ingredients like cherries and chunks of white chocolate, or add bits of ham, thyme, and shredded cheddar cheese for a more savory scone.
These easy dreamy scones are sure to please a crowd, no matter how they’re prepared and served!
Cream scones vs butter scones
There are two traditional types of scones: cream and butter. They each have a few key differences:
- Traditional cream scones are made without any butter in the dough. The fat from the cream makes them feel heavy and they have a more indulgent taste than butter scones. Cream scones pair nicely with fresh fruit and whipped or clotted cream.
- Butter scones are made by adding both milk and butter to the dough. These are a touch more work because you have to cut the cold butter into the dough. But since there’s less fat, they turn out more sturdy and dry (in a good way), making them perfect for the heavier mix-ins like chocolate or dried berries.
I went ahead and added cream AND butter into this recipe, so you get the best of both worlds!
What kind of cream is best for scones?
Some of you may not want to hear this, but the fattier and heavier liquids you use in these scones, the better the flavor will be. Heavy cream will give you a soft and luscious dough, or you can use buttermilk for a tangier flavor. Half-and-half or milk could also work, but the scones won’t be as soft and doughy.
If you do swap the cream for milk or a lighter option, scale the measurements down so you’re only using half of the amount as the original recipe.
If you have leftover heavy cream, you can freeze it!
How to make easy cream scones
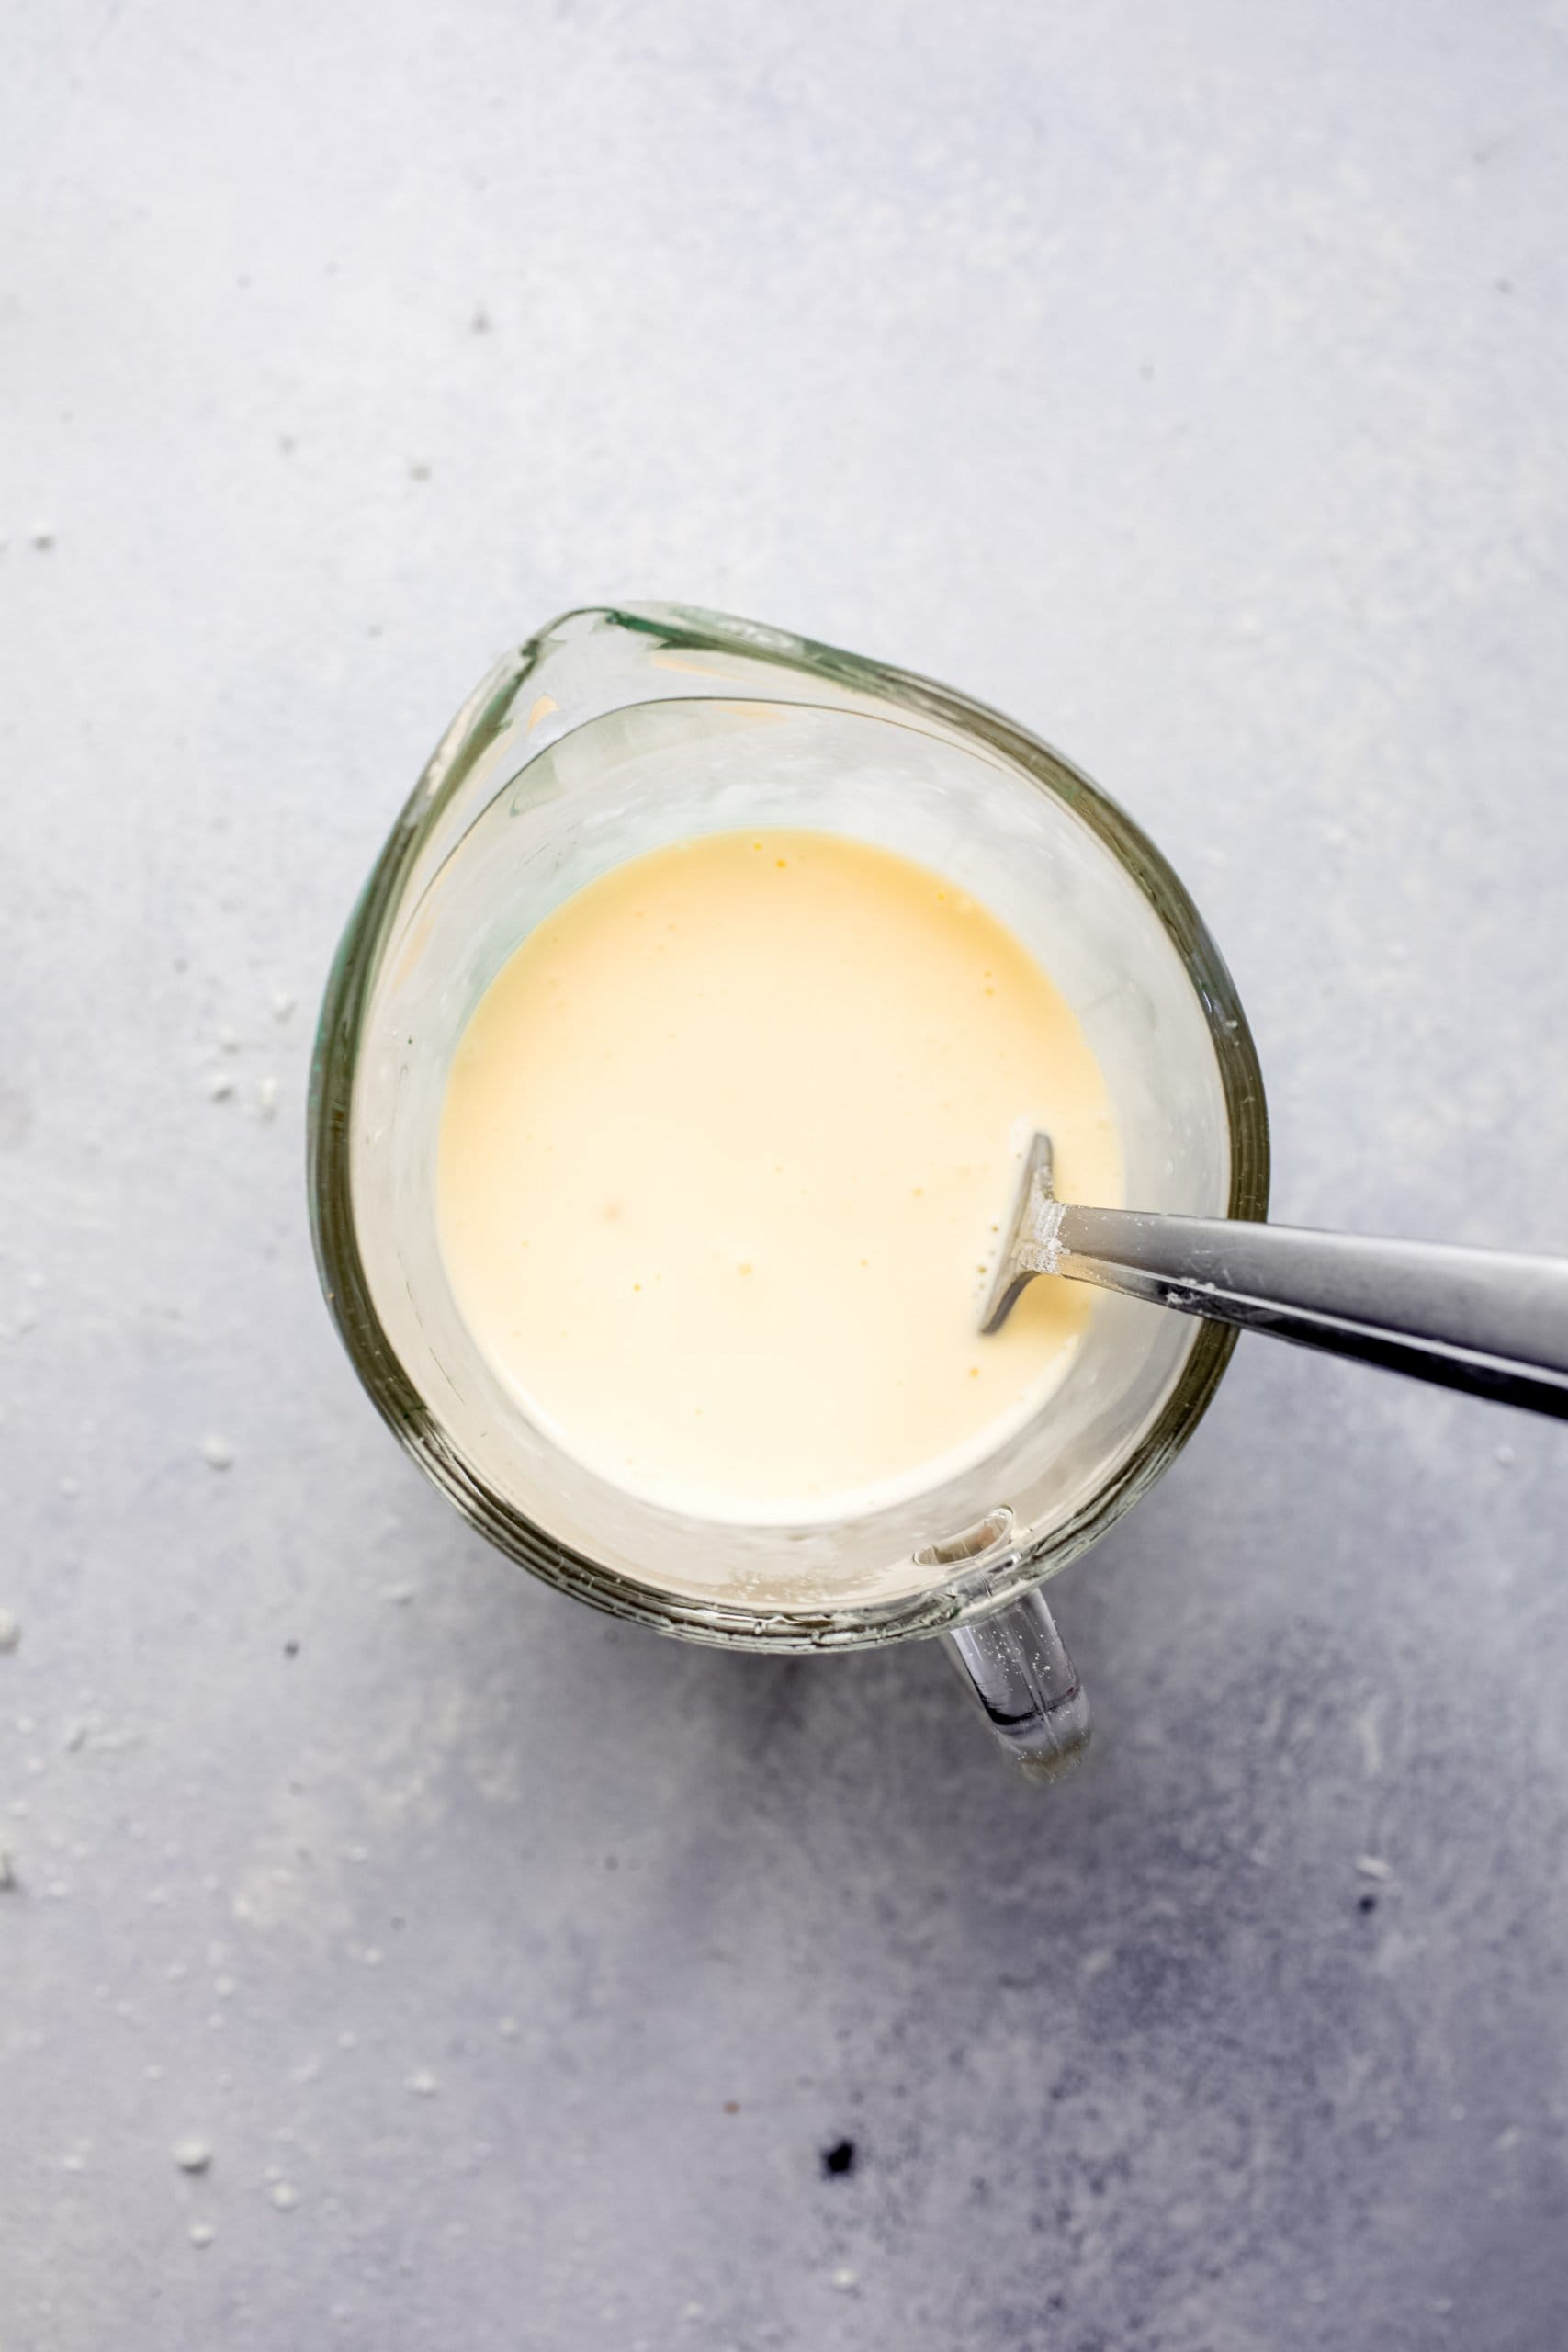
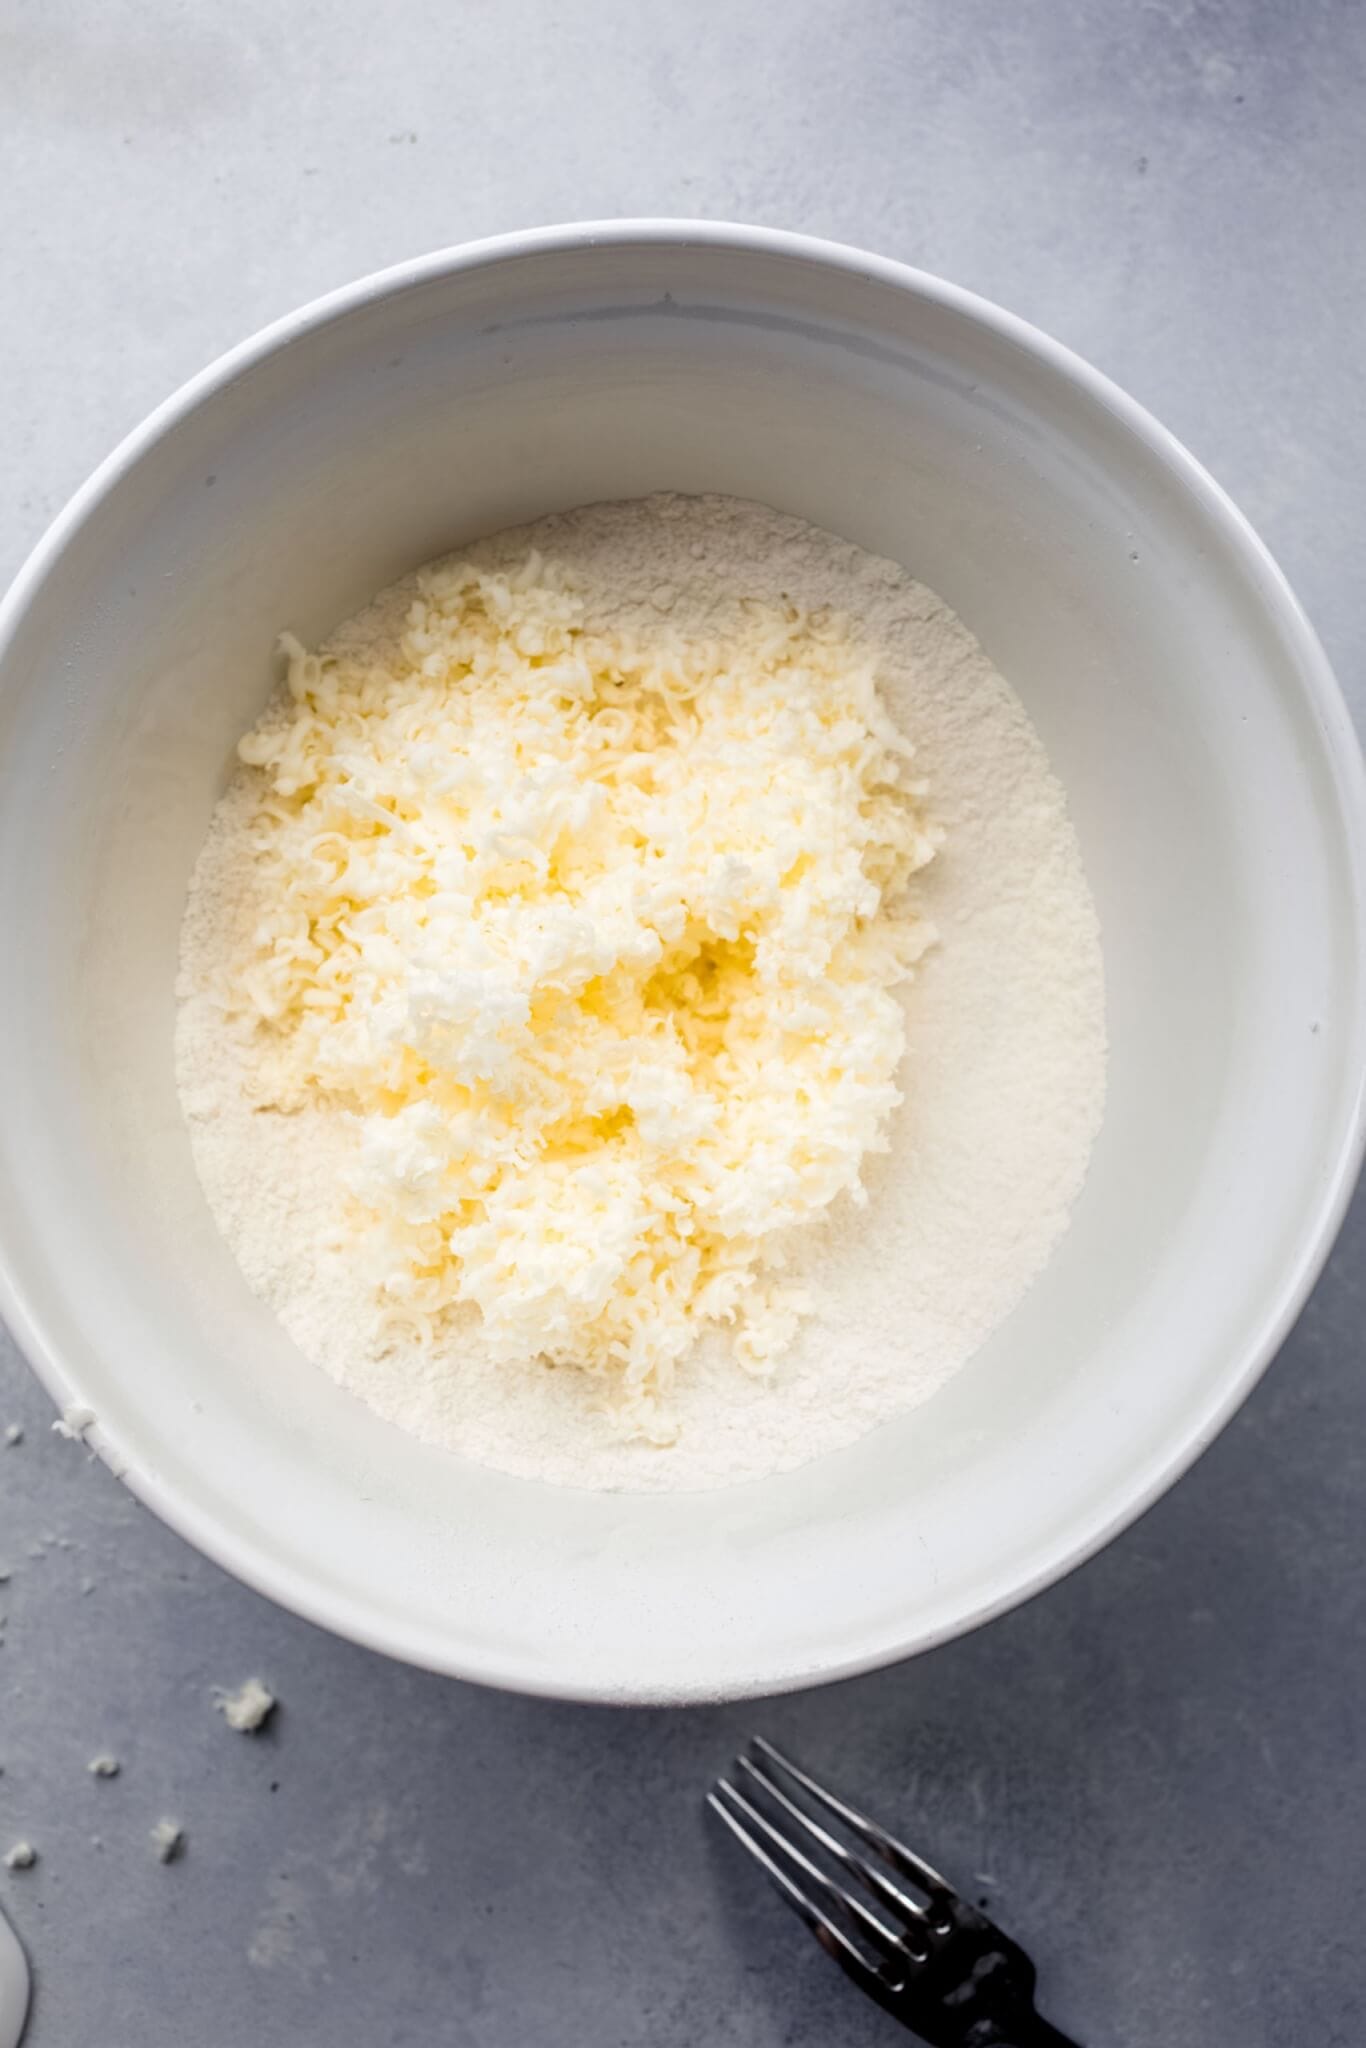
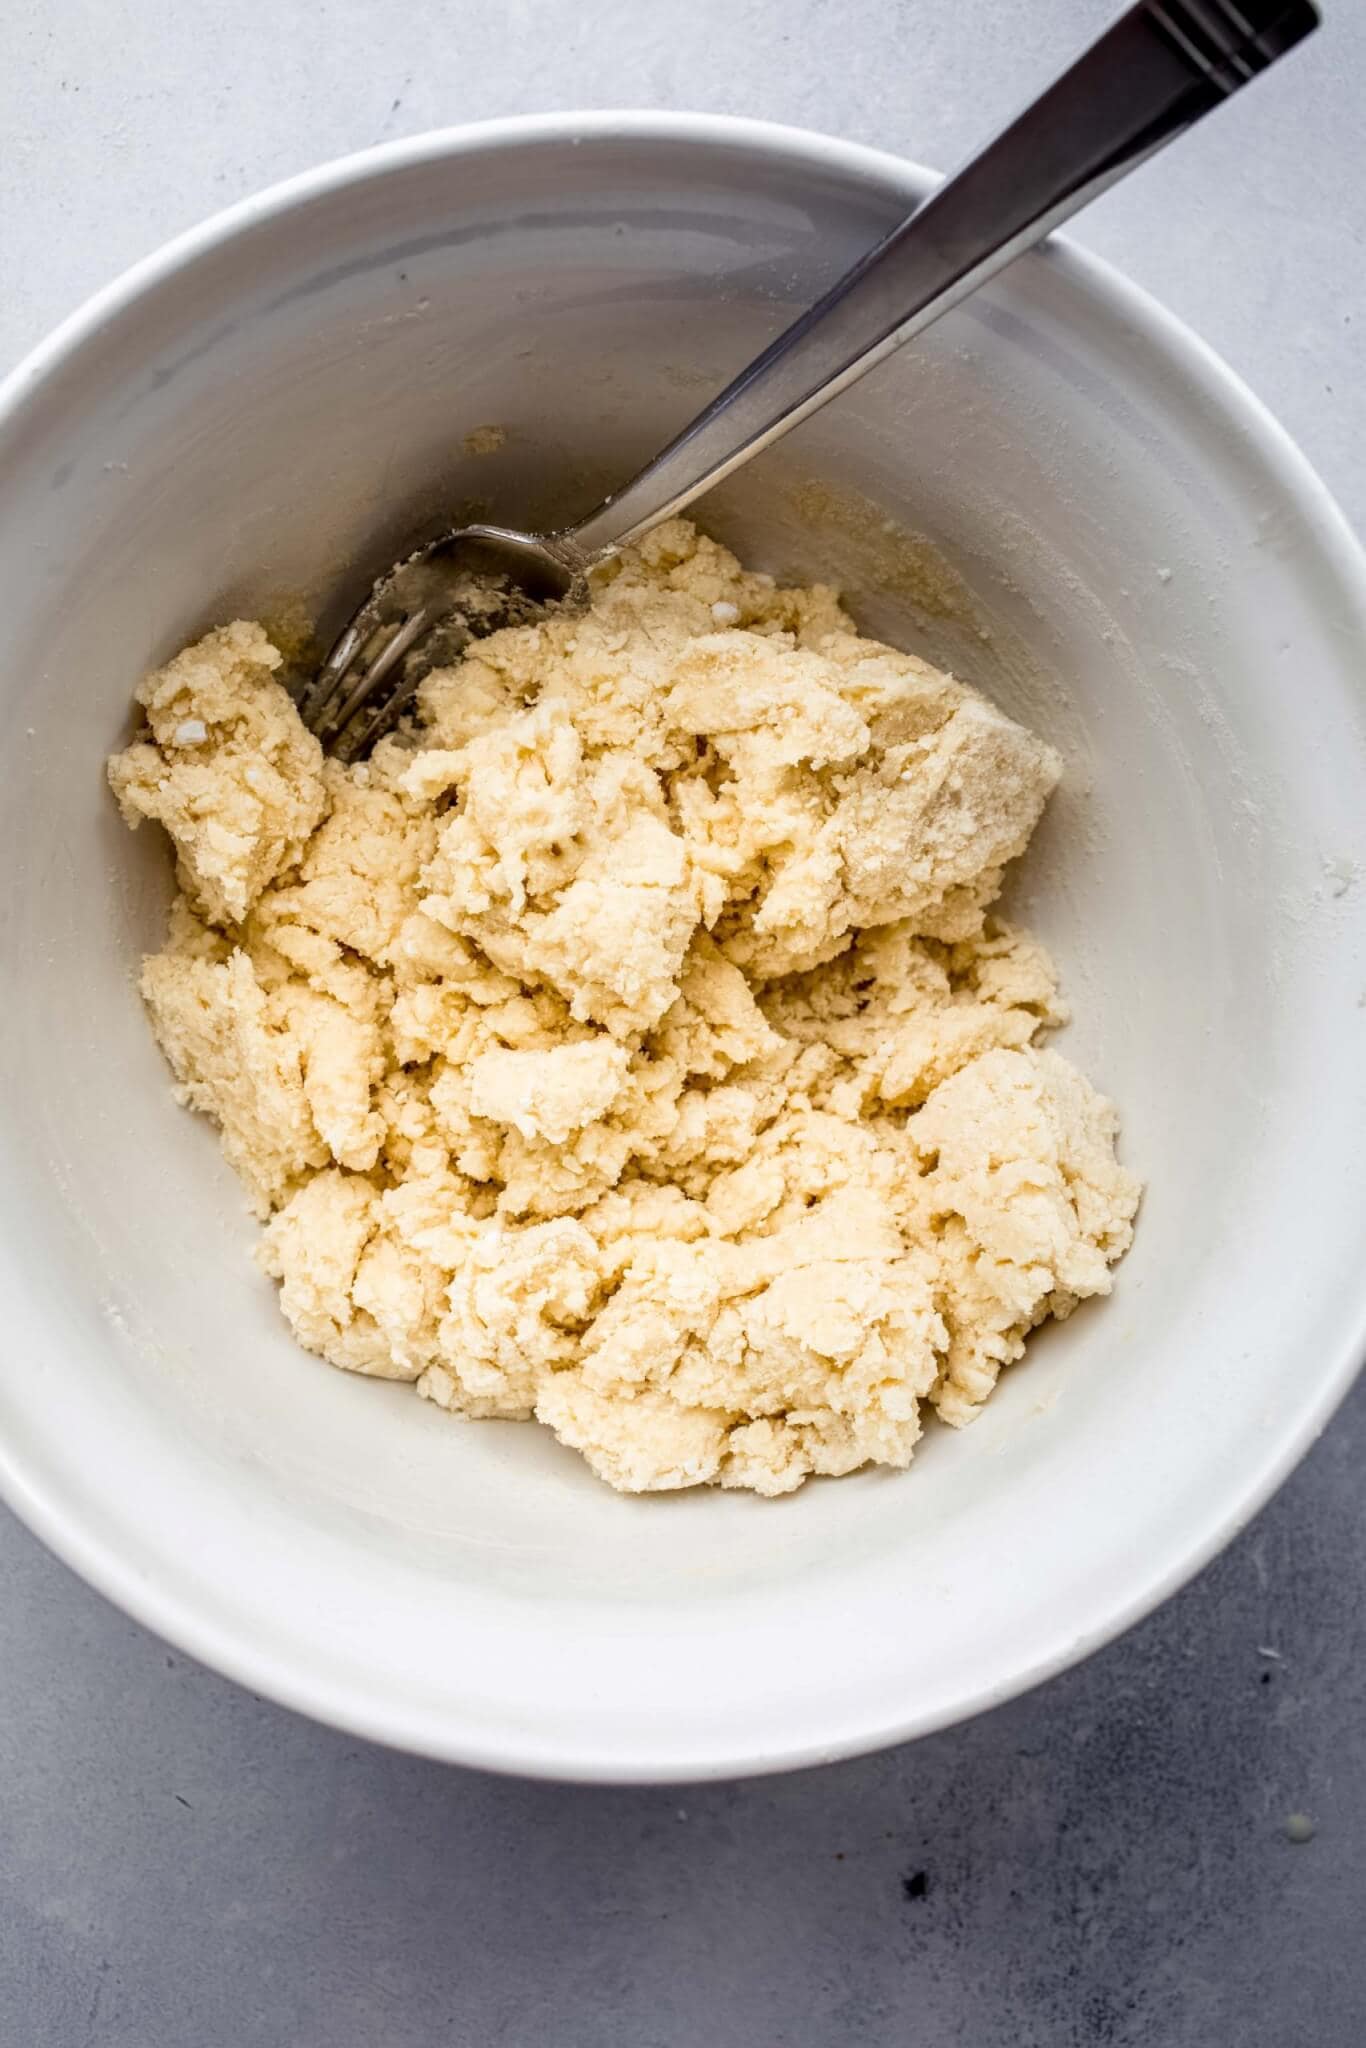
All you have to do is sift your dry ingredients into a mixing bowl and then use a pastry cutter to cut in the cold butter until the pieces are pea-sized and the dough is crumbly. Whisk the cream and eggs together in a large measuring cup, then gently pour it into the bowl and mix until a shaggy dough forms.
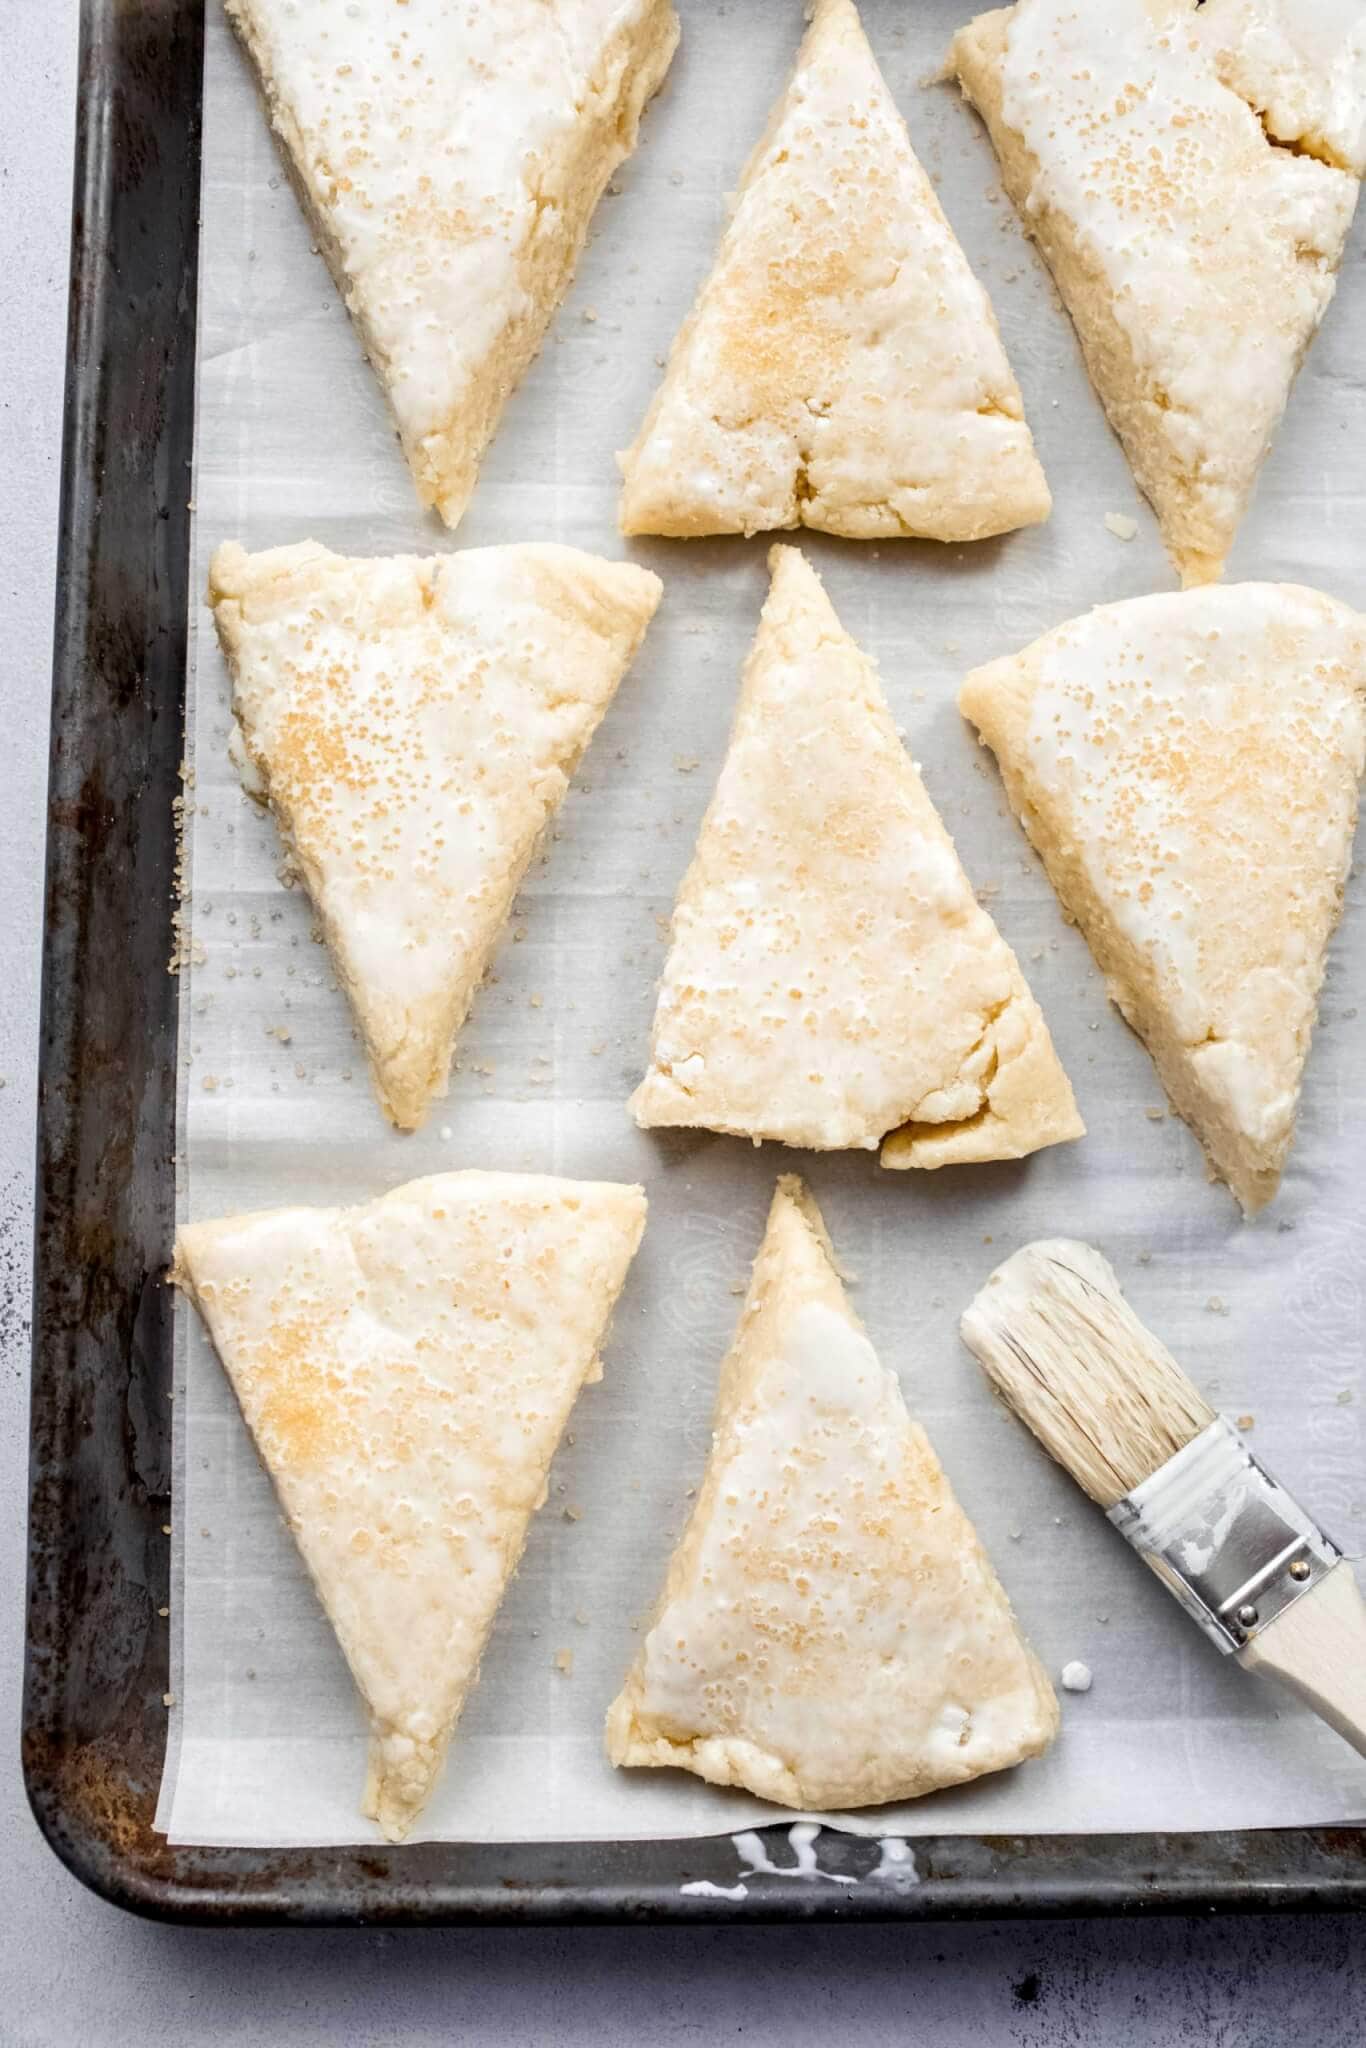
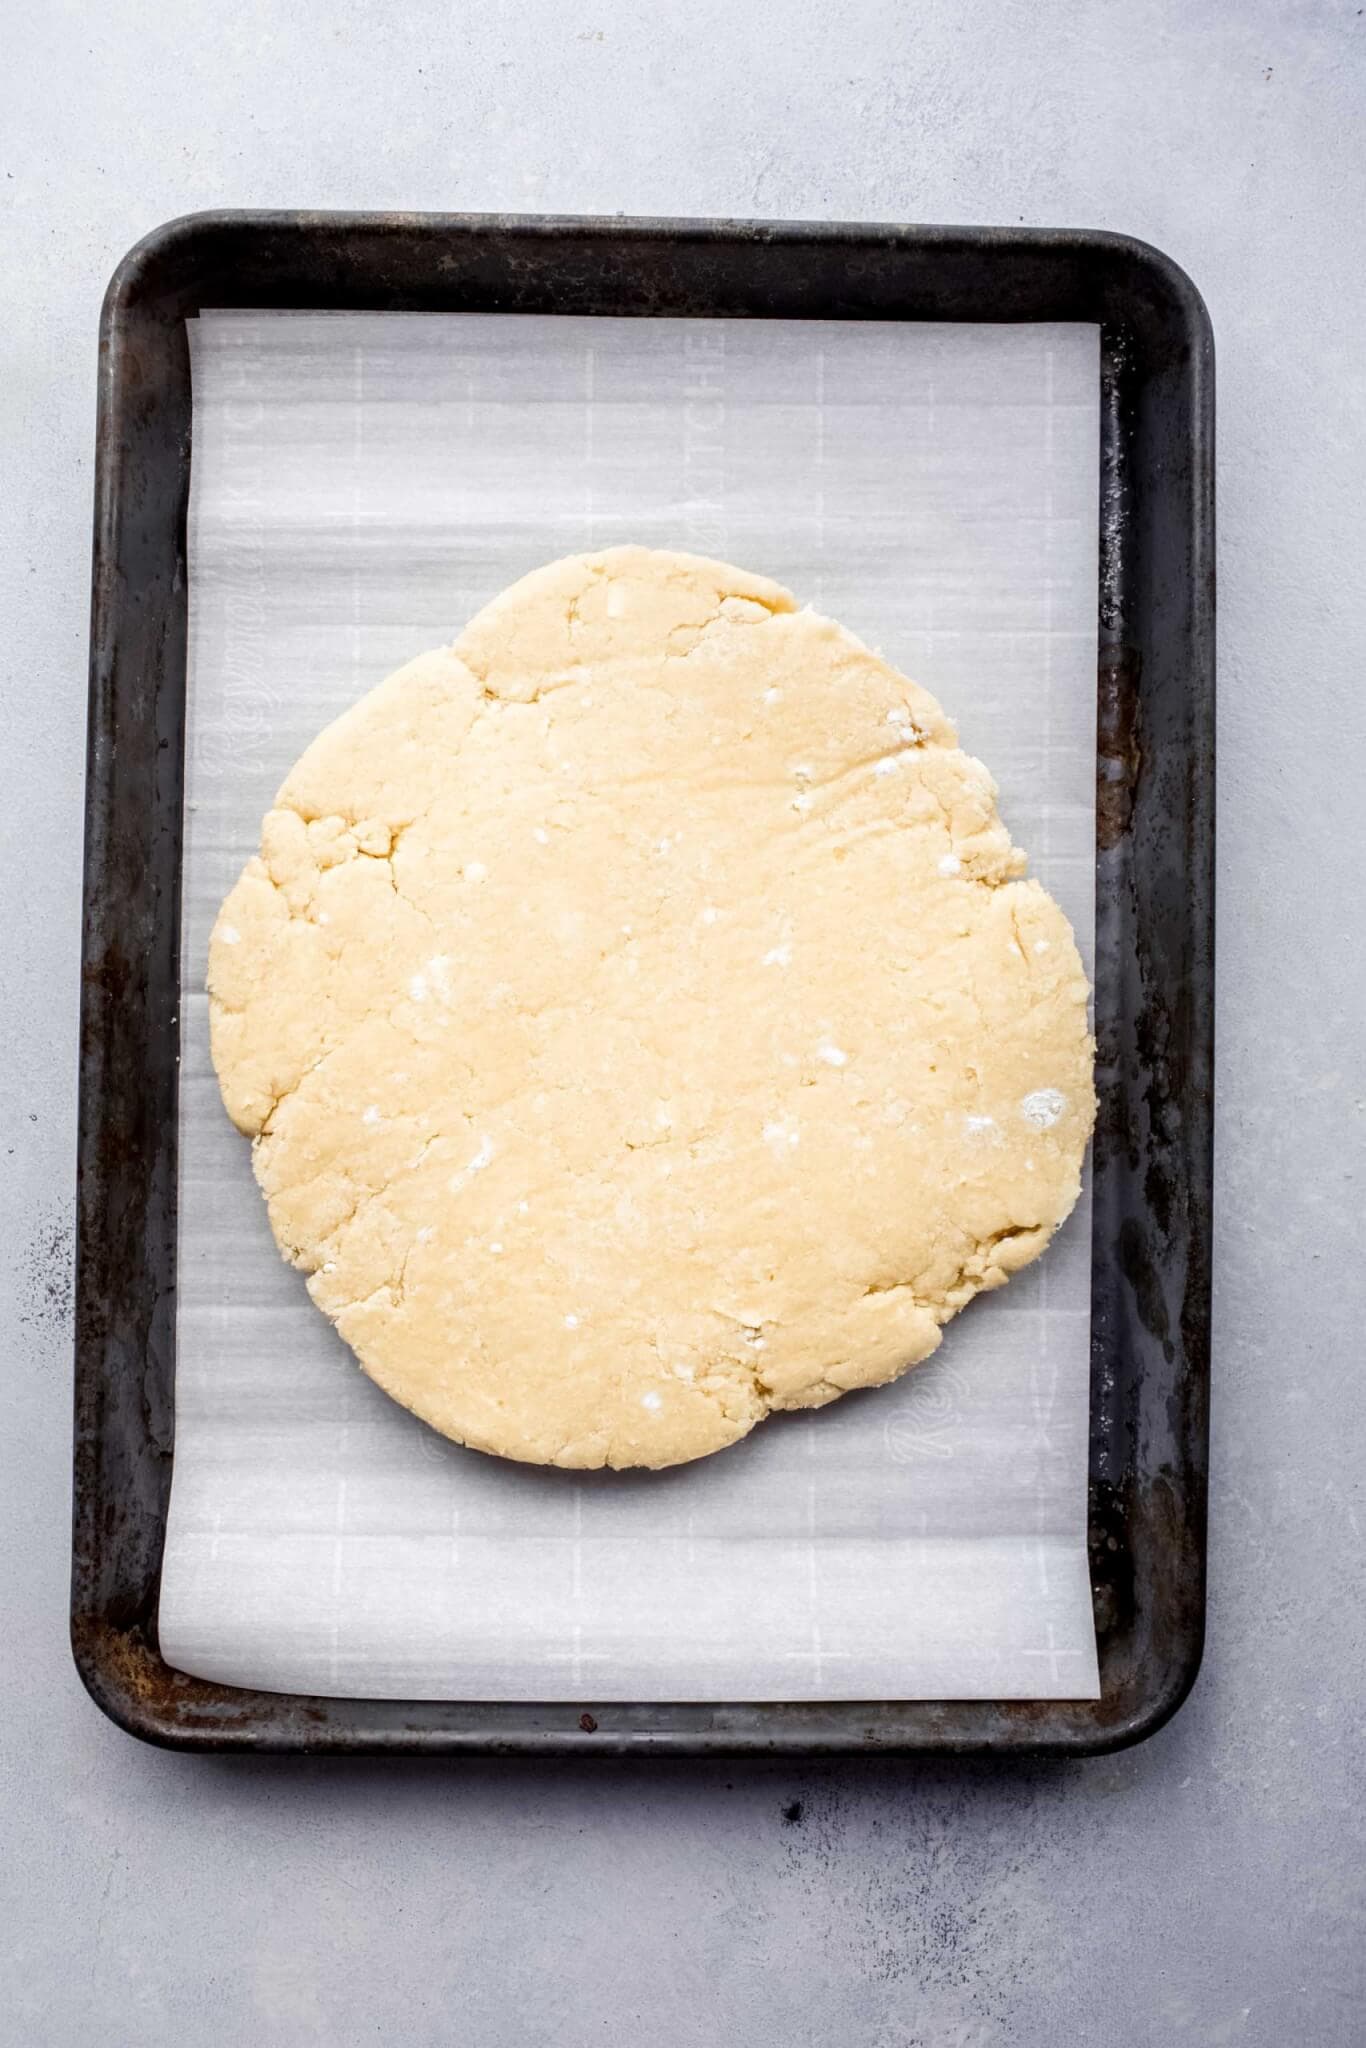
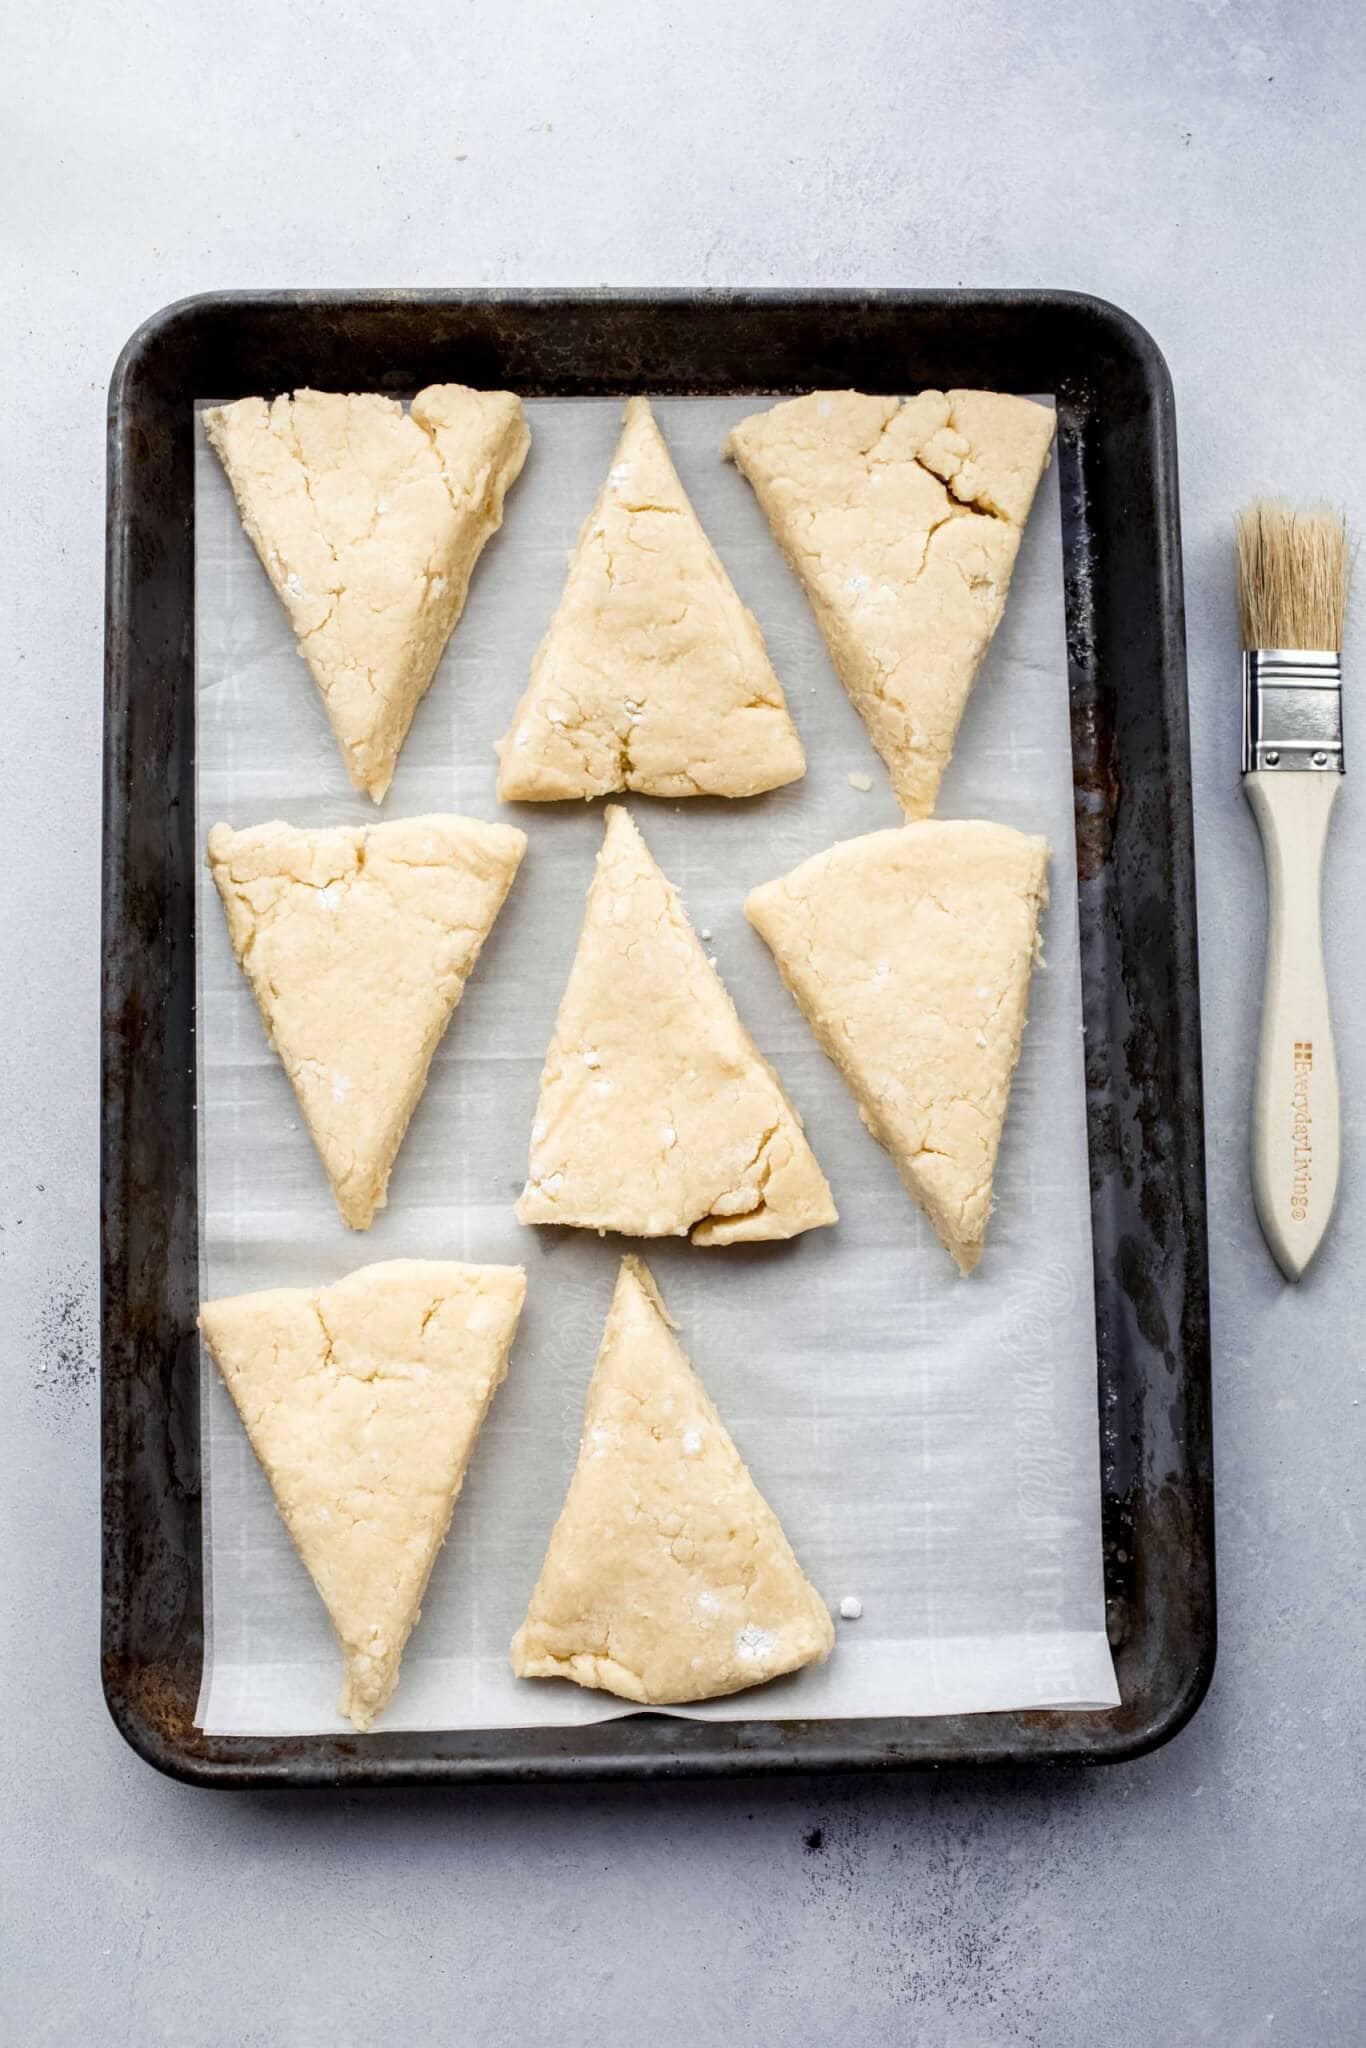
Take the dough out of the bowl and place it on a lined baking sheet. Pat it gently until it forms a smooth, round disc. Cut it into 8 wedges to form the scones, then brush each one with some extra cream and a sprinkle of sugar.
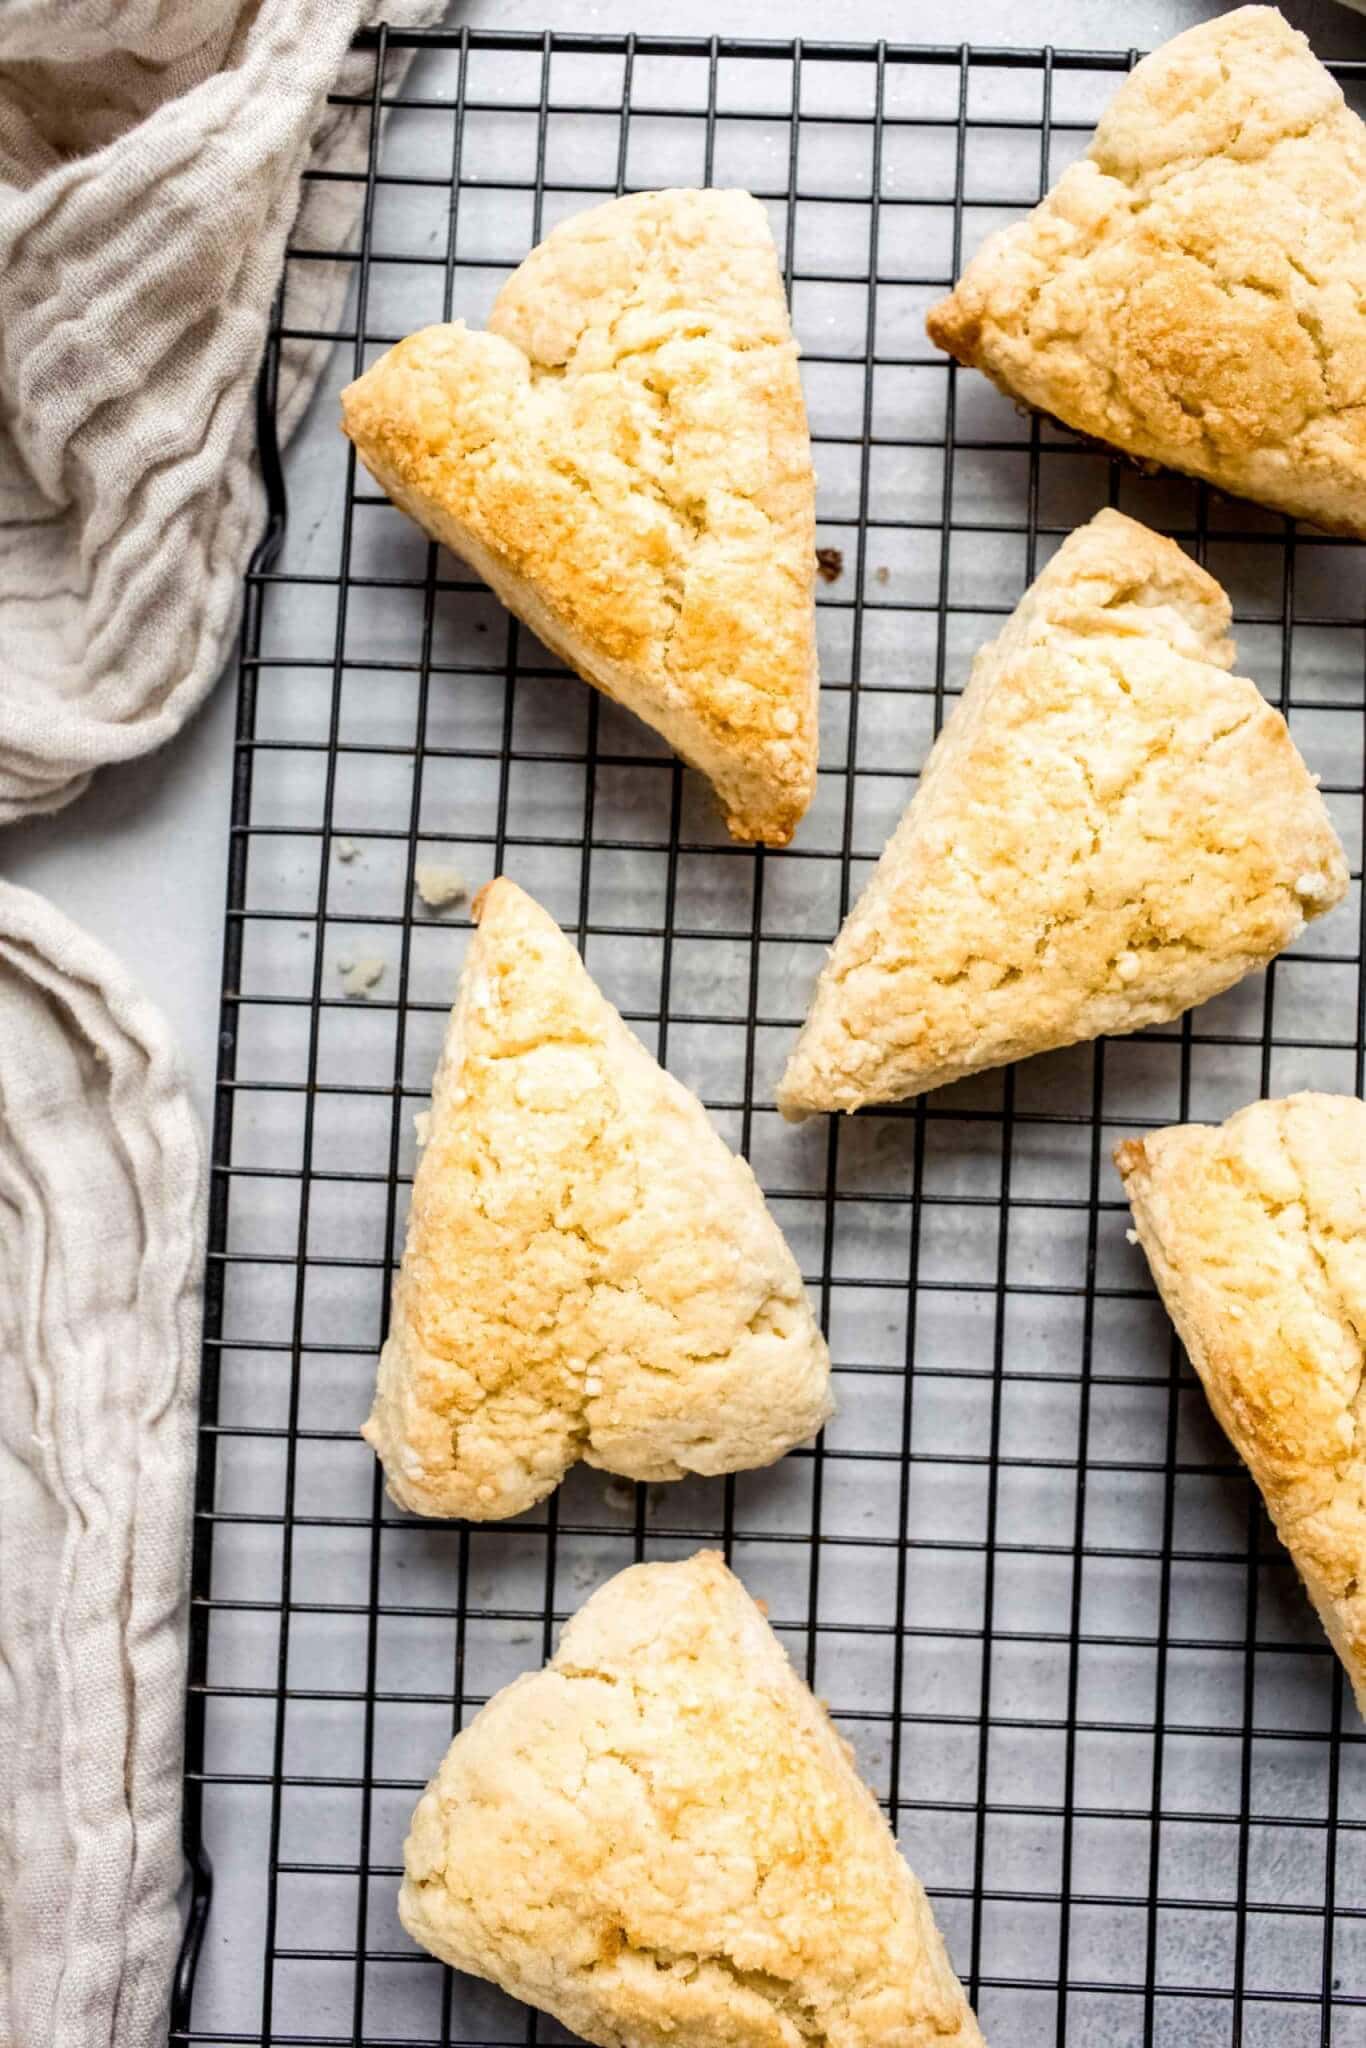
Bake the scones until they’re golden brown and a toothpick inserted into the middle comes out clean.

Tips and tricks
- Don’t overmix the dough. This will overwork the gluten and create tough, dense scones.
- Use cold butter, eggs, and cream. The colder they are, the more flaky and moist your scones will be! While they bake in the oven, the cold flecks of butter will melt and create pockets of dreamy soft dough while keeping the outside crisp.
- Chill the dough before baking. This is optional, but if you’re worried about the scones overspreading in the oven and losing their shape, refrigerate the dough wedges for 20 or 30 minutes before popping them into the oven.
How to serve cream scones
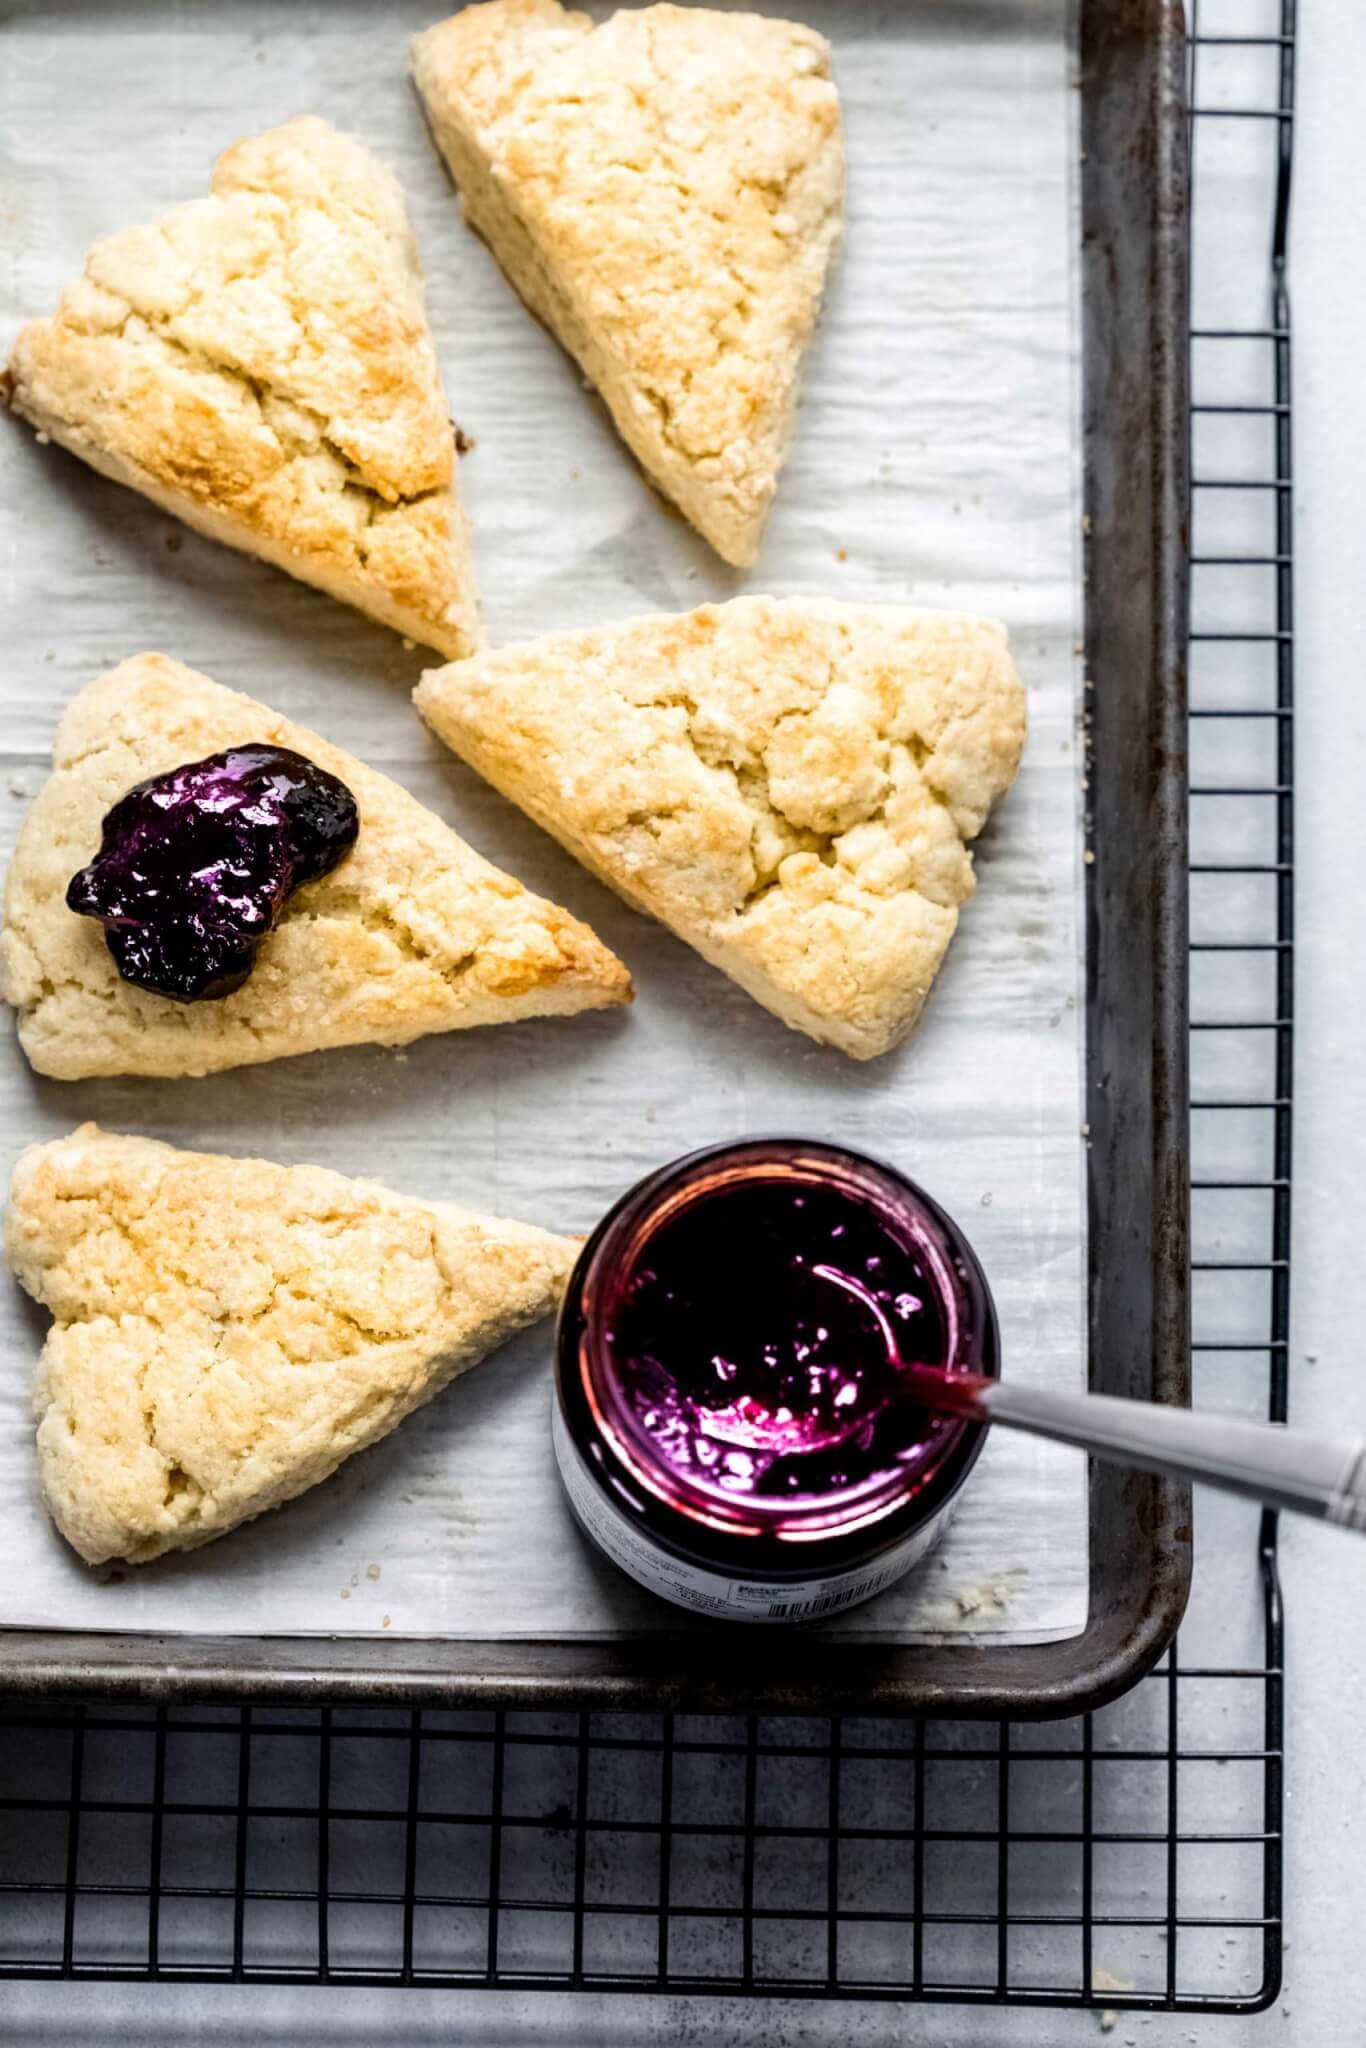
The best cream scones are served with a dollop of clotted cream and strawberry jam. If you don’t have clotted cream, whipped cream or butter is delicious as well.
Can you freeze scones?
It’s so easy to freeze scones before or even after they go in the oven:
- To freeze scones before they go in the oven, shape the dough into wedges on the baking sheet, then place them in the freezer. Once the dough is hard, transfer it to a sealed freezer-safe bag or container and place them back in the freezer.
- Before freezing baked scones, make sure they’ve cooled down to room temperature first. Freeze them in a sealed container or bag. To thaw, leave them on the kitchen counter for a few hours or in the fridge overnight. You can place them in a 350ºF oven to warm up or in a toaster oven for a few minutes.
More breakfast pastry recipes
- Pumpkin Bread With Cream Cheese Swirl
- Greek Yogurt Coffee Cake
- Blackberry Muffins
- Ricotta Toast
- Blueberry And White Chocolate Breakfast Cookies
Cream Scones
Ingredients
- 2 cups all-purpose flour (plus more for work surface)
- 3 Tablespoons sugar (plus more for sprinkling)
- 1 Tablespoon baking powder
- 1/2 teaspoon salt
- 6 Tablespoons unsalted butter (frozen and grated using large holes of box grater)
- 1/3 cup heavy cream (plus more for brushing)
- 2 large eggs (lightly beaten)
Instructions
- Preheat oven to 400 degrees. Line a baking sheet with a Silpat or parchment paper; set aside.
- Sift flour, sugar, baking powder, and salt into a large bowl.
- Using a fork, add the butter and cut into it until the largest pieces are the size of small peas.
- Whisk together the cream and eggs in a large glass measuring cup.
- Make a well in the center of flour mixture, and pour in cream mixture. Stir lightly with fork just until the dough comes together (do not overmix), and gather into a rough, shaggy ball.
- Set the rough ball in the center of the prepared baking sheet and pat it gently into a round about 1 inch thick and 7 inches in diameter.
- With a sharp knife or a pastry scraper, cut the round into eight wedges; separate the wedges.
- Brush the scones with additional heavy cream and sprinkle with additional sugar. Bake until the scones are deep golden and a toothpick inserted into the center of a wedge comes out clean, 18 to 22 minutes. Let the scones cool for 10 to 15 minutes before serving.
Nutrition
This recipe was originally published in 2015. It was updated in 2020 to add new photographs and instructions. The original cream scone recipe remains the same. Enjoy!


Baking only makes up about 10% of my kitchen time, but these honey granules are intriguing!
I don’t bake all that often either Meredith – I much prefer cooking (and drinking wine)… But I do find myself gravitating more towards baking once the holidays and cooler weather hit!
Ha – my kitchen cabinet where I keep my honey is always a sticky mess! I finally placed a ceramic bowl underneath to make it easier to clean and not ruin the cabinets 🙂 These scones look fantastic. We love baking and make scones about once a month at my house, and I’ll have to add this recipe to the rotation! Thanks!
That’s a great idea Marlynn! I’ll have to start doing that with my honey bear!
This is a great idea! My husband loves putting honey on his yogurt which is all fine and dandy but it has created the worst sticky mess in our cabinet. Totally agree that is the biggest honey downfall! These scones look delicious!
Right?! Honey is so delicious, but SO messy!
Mmm, honey! I love getting local honey for all the good it does for allergies, and this is a good way to get it in.
I’ve heard such amazing things about what local honey can do for allergies. It’s so cool!
I should never look at scone-making blogs while drinking tea. Result: Must-haves!
Tea + Scones = A match made in heaven!
Looks tasty! I could just sub a gluten-free flour blend and I would be set. Interesting about the sugar and honey combo. Maybe manufacturers are listening to want customers want??
I think you’re right Tracy. Not only are gluten free alternatives so much more widely available now, but so are alternative sweeteners. I’m happy about that!
These look delicious! I may try them the next time I have a brunch event!
Thanks Melinda – I’ll be you’d be a hit if you made these for your next brunch!
As always, I love your recipes and these look delicious! I’m intrigued by the honey granules and may need to see if I can find them here in Chicago.
Thanks Kathryn – Here’s a link to a store locator (or you can buy online!): http://www.tateandlylesugars.com/us/product/honey-granules
Hi Erin!,
I just came across your site today on feedfeed.info and I’ve been looking through your recipes and income reports all afternoon and am SO impressed you work a full time job and then make time to contribute to this blog after the fact. That’s what my dream is to do at this point in time and hopefully with a little more effort from me and the realization that I need to learn to use my DSLR camera properly (and lighting!), as well as shell out the money for the food blogger pro, I can make my blog as great as yours! Can’t wait to follow along and get some more ideas and inspiration for my own blog!
Staci
WOW – Thank you so much for the kind words Staci! Today was actually my first blogiversary. I have learned SO much over the past year. I hadn’t used a DSLR before last year. My boyfriend actually gave me the camera for my birthday last November. It’s a challenge to use, but it has definitely made for such more high-quality, drool-worthy pictures. I also use a Lowel Ego light and have found that to help tremendously as well. Almost all my photos are shot using artificial light. I finds that it helps tremendously with white balance issues. I checked out your site and think that your recipes sound amazing! Best of luck to you in this continued journey!
If I chill the scones before putting them in the oven, do I brush with heavy cream before chilling or after chilling and before the oven?
Thank you!
I would wait to brush on the cream until right before baking. Enjoy! n
Hi these look delicious. I am confused though because you say traditional cream scones are made without any butter in the dough but you call this a cream scone recipe and it has 6 tablespoons butter. Thank you!!
Hi Eddren – I went ahead and added both into the mix – Just for fun. 😉
These scones look gorgeous! What is the jam you have served them with? It is such a beautiful color!
Hi Loretta – That was a blackberry jam that I served them with 🙂